Binding.
Contents
Design
Fabric
Embroidery
Sewing
Appliqué
QUILT ASSEMBLE GO!
Free motion quilting
Binding
Finishing touches
Baby shower
Binding
I had started to quilt it all together, and then my poor machine started to act up. I decided to give it (and me) a bit of a break, so I started working on the binding. I could *not* wrap my head around how it was supposed to work, and I finally wound up just doing it, and figuring it out that way. I think my problem was that some instructions have the binding folded over before you sew it on, so it's a double thickness, and others just had a single thickness.
On to the tutorials that I used!
This one has some good diagrams.
Continous quilt binding.
This one is really clear, and shows you what to do after you've flipped the binding. (Which was what I was most confused on.)
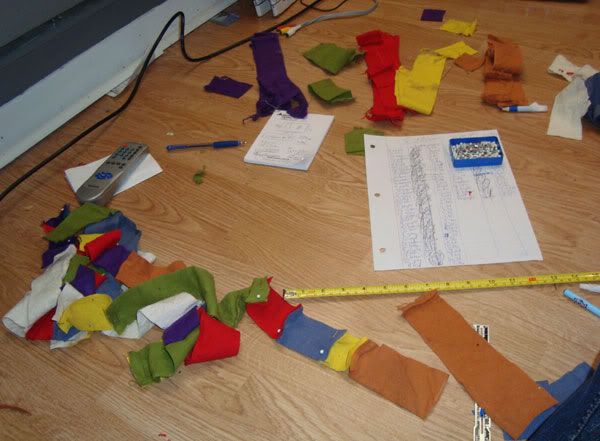
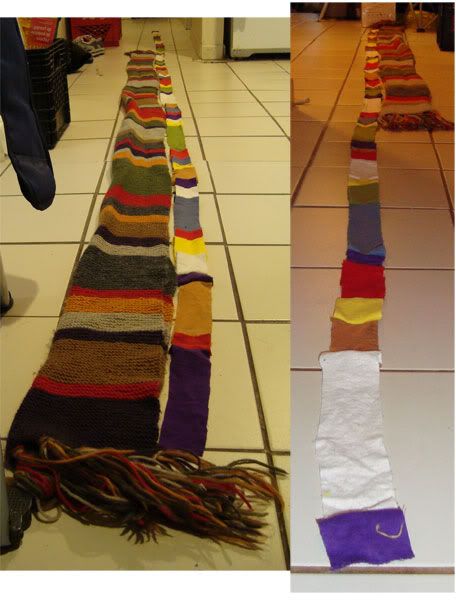
After seeing this fantastic quilt, I fell in love with the idea of incorporating the Scarf into my quilt, especially since I'd knit one for my Mother for Christmas last year. What I decided to do was do two fabric strips and then sew them together for the binding. I figured that the Scarf would be way too busy for the front (and the binding had always been blue in my sketches), so I thought this would be a good compromise.
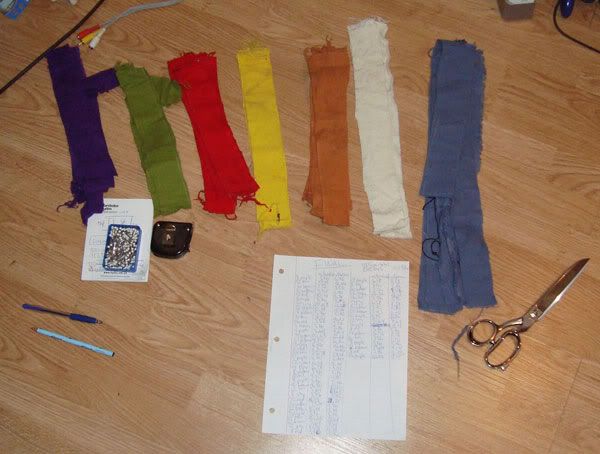
And, just to show how OCD I can get, I figured out the perimeter of the quilt, grabbed the knitted Scarf pattern from Doctor Who Scarf.com, divided the perimeter I had by the total number of lines, and then multiplied each colour by that number to get the proportionate length for the Scarf.
Yes. Yes I did do that.
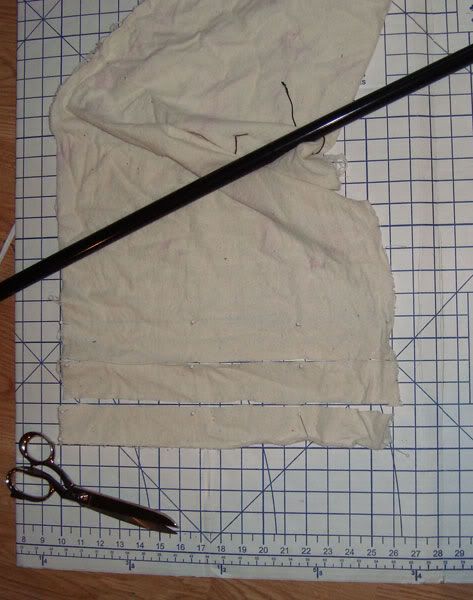
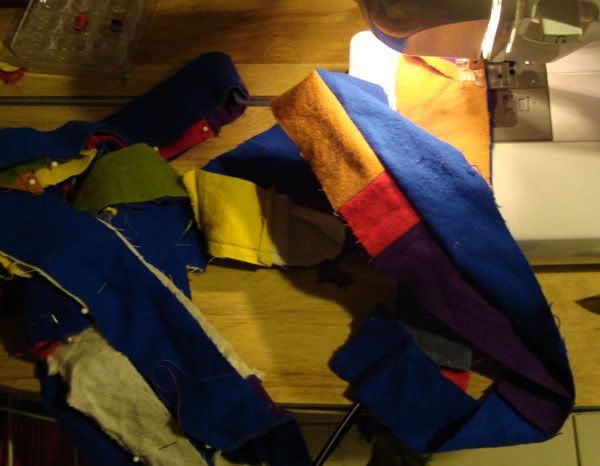
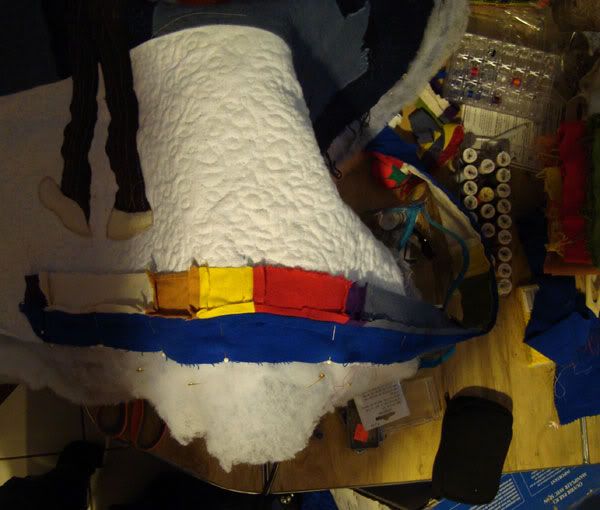
I decided to make the binding fairly wide, so I would have enough to sew the two pieces together. Each side was two inches wide, as you can clearly see in the next photo. e___e (I had forgotten just how wide it was, and then looked down, and felt kind of ridiculous.)
It took an episode of Star Trek (where Kirk and crew get thrown into a replica of the showdown at the OK corral)…
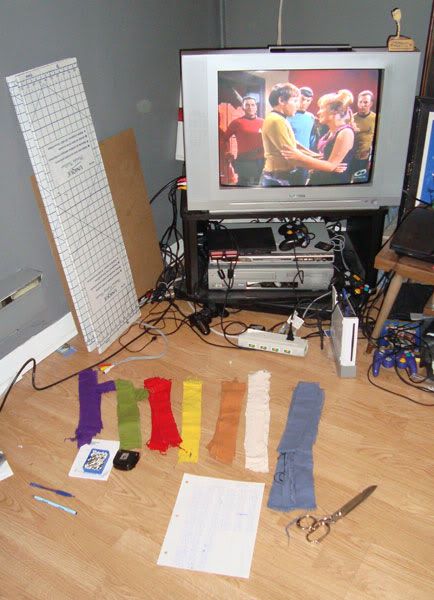
And an episode of Next Generation (where Riker gets Q powers!), then it took an episode of DS9 and… Whatever else was on TV for another couple of hours to sew everything together. Isn't that how everyone measures time?
Until finally…
It is done!
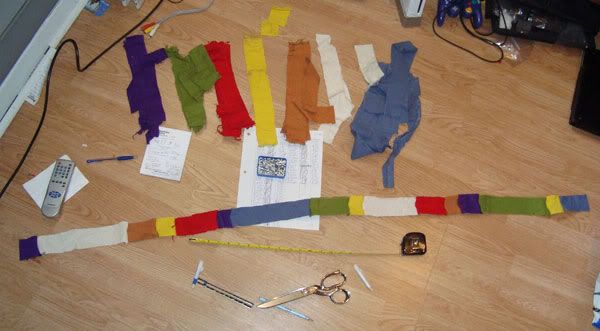
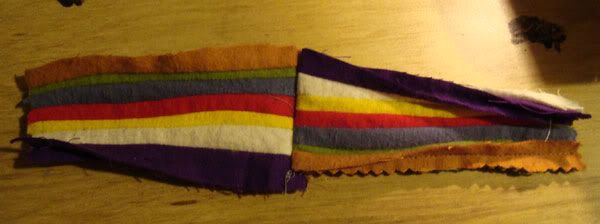
Sewing the two colour strips together…
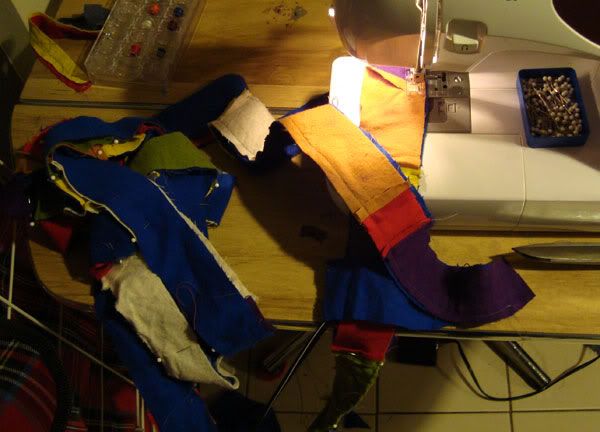
Pinning it down… Oh, I was worried about messing this up.
I decided to sew with the machine onto the front of the quilt, and hand sew the back. I was reading later that there is a way to be able to machine sew both, but I didn't think I was up to that yet.
I was actually worried that I wouldn't have quite enough length to go all around the quilt, what with the mitred corners taking an unspecified amount and all. I made a 'tassel' piece that could join the two ends…
And then found out that I had over-estimated the amount that mitred corners used up, and I had too *much*. So I'm sort of missing a purple, but since it both starts and ends with a purple, I called it FINE.
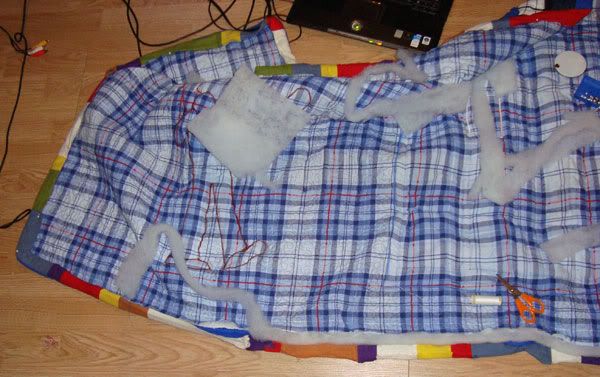
I also trimmed the batting so that it was even with the quilt top, and not the edge of the binding. That was stupid, and I hated it… the binding didn't feel puffy at all. So I went and sewed it all back on…
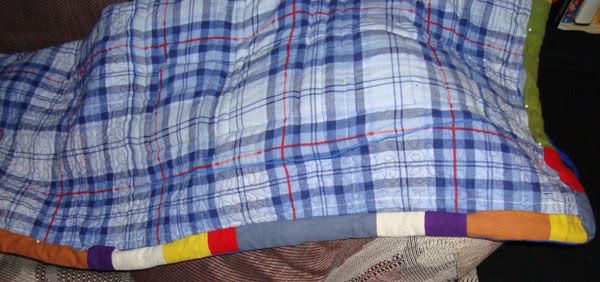
And then flipped my binding and sewed it down.
A lot of the binding tutorials don't cover how to do the other side, they just seem to go up to the mitered corners and then end. This one showed how to do the blind stitching, so your stitches don’t show.
Design
Fabric
Embroidery
Sewing
Appliqué
QUILT ASSEMBLE GO!
Free motion quilting
Binding
Finishing touches
Baby shower
Binding
I had started to quilt it all together, and then my poor machine started to act up. I decided to give it (and me) a bit of a break, so I started working on the binding. I could *not* wrap my head around how it was supposed to work, and I finally wound up just doing it, and figuring it out that way. I think my problem was that some instructions have the binding folded over before you sew it on, so it's a double thickness, and others just had a single thickness.
On to the tutorials that I used!
This one has some good diagrams.
Continous quilt binding.
This one is really clear, and shows you what to do after you've flipped the binding. (Which was what I was most confused on.)
After seeing this fantastic quilt, I fell in love with the idea of incorporating the Scarf into my quilt, especially since I'd knit one for my Mother for Christmas last year. What I decided to do was do two fabric strips and then sew them together for the binding. I figured that the Scarf would be way too busy for the front (and the binding had always been blue in my sketches), so I thought this would be a good compromise.
And, just to show how OCD I can get, I figured out the perimeter of the quilt, grabbed the knitted Scarf pattern from Doctor Who Scarf.com, divided the perimeter I had by the total number of lines, and then multiplied each colour by that number to get the proportionate length for the Scarf.
Yes. Yes I did do that.
I decided to make the binding fairly wide, so I would have enough to sew the two pieces together. Each side was two inches wide, as you can clearly see in the next photo. e___e (I had forgotten just how wide it was, and then looked down, and felt kind of ridiculous.)
It took an episode of Star Trek (where Kirk and crew get thrown into a replica of the showdown at the OK corral)…
And an episode of Next Generation (where Riker gets Q powers!), then it took an episode of DS9 and… Whatever else was on TV for another couple of hours to sew everything together. Isn't that how everyone measures time?
Until finally…
It is done!
Sewing the two colour strips together…
Pinning it down… Oh, I was worried about messing this up.
I decided to sew with the machine onto the front of the quilt, and hand sew the back. I was reading later that there is a way to be able to machine sew both, but I didn't think I was up to that yet.
I was actually worried that I wouldn't have quite enough length to go all around the quilt, what with the mitred corners taking an unspecified amount and all. I made a 'tassel' piece that could join the two ends…
And then found out that I had over-estimated the amount that mitred corners used up, and I had too *much*. So I'm sort of missing a purple, but since it both starts and ends with a purple, I called it FINE.
I also trimmed the batting so that it was even with the quilt top, and not the edge of the binding. That was stupid, and I hated it… the binding didn't feel puffy at all. So I went and sewed it all back on…
And then flipped my binding and sewed it down.
A lot of the binding tutorials don't cover how to do the other side, they just seem to go up to the mitered corners and then end. This one showed how to do the blind stitching, so your stitches don’t show.