Icon Tutorial No. 1: Kendappa-ou
(My first tutorial!) This tutorial was sorta-kinda based off of my Second Place icon for 
clamp_bishoujo's Week 48 contest, Destiny.
Level: Easy
Program: Adobe Photoshop 7.0 (probably transferable)
Go from this to
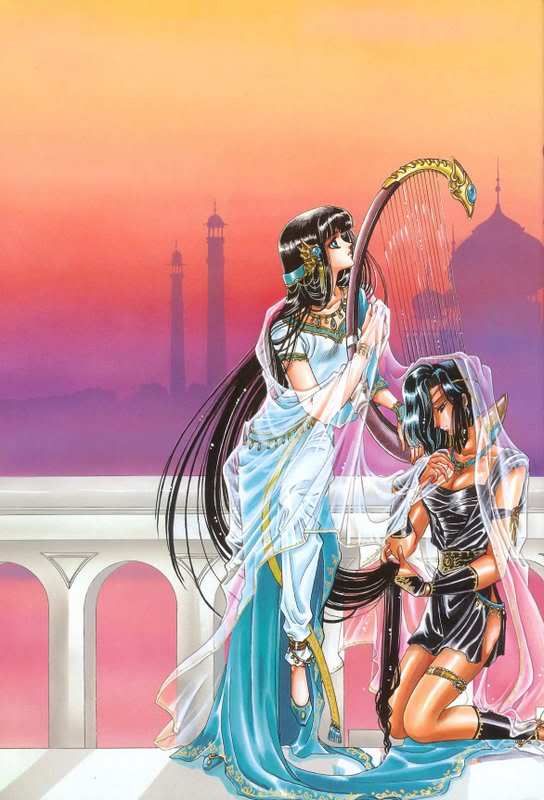
1. Start with this image and crop the picture so the focus is on Kendappa-ou. I personally prefer to resize the image to 96x96px from the beginning, so you won't have to do it later.
(Helpful Hint No. 1: Preset your measurements (Where Can I Do This?)
You should now have something like this:
2. Duplicate the layer (CTRL A>>CTRL C>>CTRL V) and sharpen the image (FILTER>>SHARPEN>>SHARPEN). Set this layer to 40% opacity.
You should now have something like this:
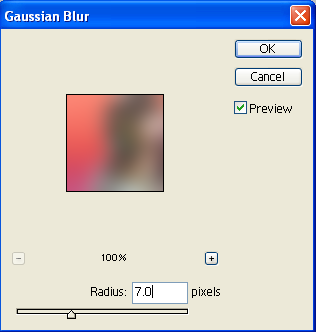
3. Duplicate the first layer (CTRL A>>CTRL C>>CTRL V) and place it on top of the sharpened layer. Then Gaussian Blur the third layer (FILTER>>BLUR>>GAUSSIAN BLUR), first setting the radius to 7.0 (You Should See). Set this layer to SCREEN at 75% opacity.
You should now have something like this:
4. Duplicate the layer you just manipulated (CTRL A>>CTRL C>>CTRL V) and place it on top of it. Set the Gaussian Blurred fourth layer to OVERLAY at 75% opacity.
You should now have something like this:
5. Now use this light texture by
myrasis and place it on top. Set this layer to SCREEN at 40% opacity. Now that you can see more clearly, shift the texture slightly to the left so it's no longer obscurring Kendappa's face.
You should now have something like this:
6. Text time! Type the letter "D" using the font Porcelain at 30pt and in the color #F36465. Move the letter left and set it to LINEAR LIGHT at 100% opacity.
(Helpful Hint No. 2: Magnify (zoom) your screen to 300%-400% for more visibility and mobility. You'll have an easier time placing the layers in more exact locations.)
You should now have something like this:
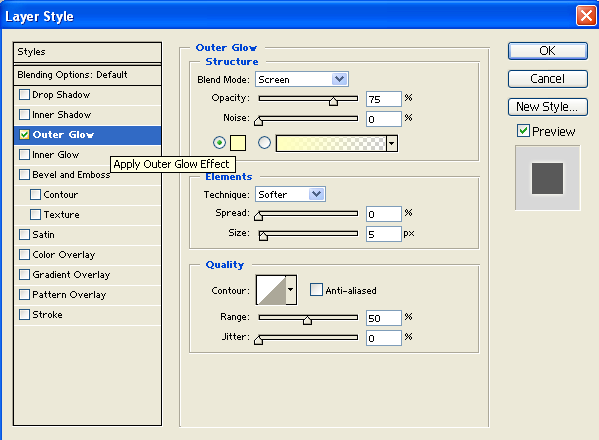
7. Next, type in the letters "awn" using the font Casteller at 8 pt and in the color #F32123. Adjust blending options so it has an outer glow (Where Can I Do This?). Move the letters so that they connect with the "D". Set at 100% opacity.
You should now have something like this:
8. Add some tiny text using this brush by Moi ^^ under the "awn" in the color #F32123. If you think the color is too light, Sharpen the layer (FILTER>>SHARPEN>>SHARPEN). Set at 100% opacity.
You should now have something like this:
9. At this stage, save (FILE>>SAVE AS) your image (preferably as a .png). Open a new document at 100x100px with a white background. Open your saved file and paste it onto the blank document (CTRL A>>CTRL C>>CTRL V). It will be perfectly centered, so don't try to reposition it!
You should now have something like this:
10. Add a dotted border using this brush, also by yours truly in the color #F9686C, at 100% opacity. Taadaa! All done!
Your finished product should look like this:
_________
Was this tutorial helpful? Confusing? Too hard? Feedback would be wonderful!
[x] Like what you see? FRIEND
wicked_avis to stay updated on fresh tutorials, textures, brushes, and icons!
clamp_bishoujo's Week 48 contest, Destiny.
Level: Easy
Program: Adobe Photoshop 7.0 (probably transferable)
Go from this to
1. Start with this image and crop the picture so the focus is on Kendappa-ou. I personally prefer to resize the image to 96x96px from the beginning, so you won't have to do it later.
(Helpful Hint No. 1: Preset your measurements (Where Can I Do This?)
You should now have something like this:
2. Duplicate the layer (CTRL A>>CTRL C>>CTRL V) and sharpen the image (FILTER>>SHARPEN>>SHARPEN). Set this layer to 40% opacity.
You should now have something like this:
3. Duplicate the first layer (CTRL A>>CTRL C>>CTRL V) and place it on top of the sharpened layer. Then Gaussian Blur the third layer (FILTER>>BLUR>>GAUSSIAN BLUR), first setting the radius to 7.0 (You Should See). Set this layer to SCREEN at 75% opacity.
You should now have something like this:
4. Duplicate the layer you just manipulated (CTRL A>>CTRL C>>CTRL V) and place it on top of it. Set the Gaussian Blurred fourth layer to OVERLAY at 75% opacity.
You should now have something like this:
5. Now use this light texture by
myrasis and place it on top. Set this layer to SCREEN at 40% opacity. Now that you can see more clearly, shift the texture slightly to the left so it's no longer obscurring Kendappa's face.
You should now have something like this:
6. Text time! Type the letter "D" using the font Porcelain at 30pt and in the color #F36465. Move the letter left and set it to LINEAR LIGHT at 100% opacity.
(Helpful Hint No. 2: Magnify (zoom) your screen to 300%-400% for more visibility and mobility. You'll have an easier time placing the layers in more exact locations.)
You should now have something like this:
7. Next, type in the letters "awn" using the font Casteller at 8 pt and in the color #F32123. Adjust blending options so it has an outer glow (Where Can I Do This?). Move the letters so that they connect with the "D". Set at 100% opacity.
You should now have something like this:
8. Add some tiny text using this brush by Moi ^^ under the "awn" in the color #F32123. If you think the color is too light, Sharpen the layer (FILTER>>SHARPEN>>SHARPEN). Set at 100% opacity.
You should now have something like this:
9. At this stage, save (FILE>>SAVE AS) your image (preferably as a .png). Open a new document at 100x100px with a white background. Open your saved file and paste it onto the blank document (CTRL A>>CTRL C>>CTRL V). It will be perfectly centered, so don't try to reposition it!
You should now have something like this:
10. Add a dotted border using this brush, also by yours truly in the color #F9686C, at 100% opacity. Taadaa! All done!
Your finished product should look like this:
_________
Was this tutorial helpful? Confusing? Too hard? Feedback would be wonderful!
[x] Like what you see? FRIEND
wicked_avis to stay updated on fresh tutorials, textures, brushes, and icons!