.07
go from this and this to this using Photoshop 7.0
take this image. crop it down, resize to a height of 400.
move it to the left side of a new canvas - 400px height by 600px width. white background.
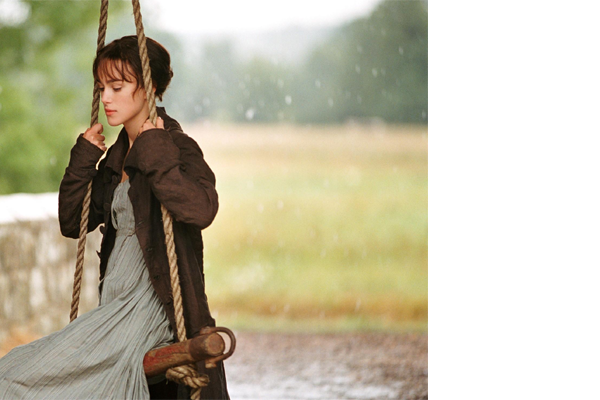
Duplicate the picture. Flip the duplicate horizontally.
Move it over just a touch.
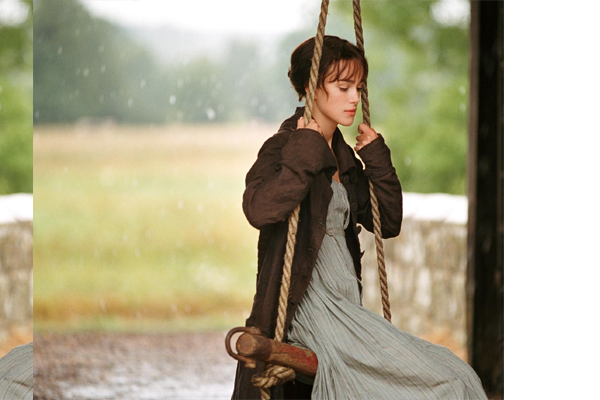
Add a layer mask to the duplicated layer. (see this tutorial for how-to's)
Using a soft air brush in black (whatever size you're comfortable with), run the paint brush over the left side of the top image. Then, use a smaller air brush to work around her swing.
I moved the duplicated layer in a bit, so the two are closer together.
My end result after the layer mask was:
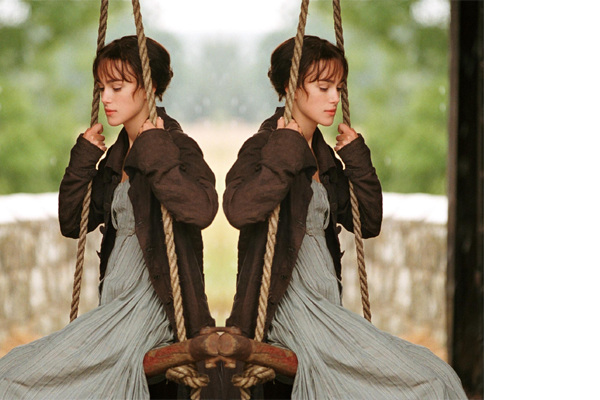
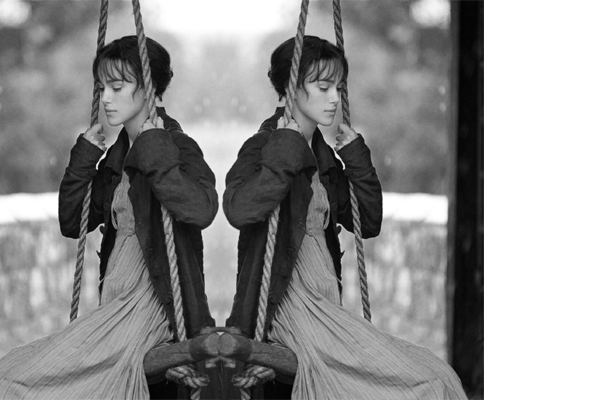
Merge the layer downward so the images are both in one layer. Desaturate it.
Open your next picture. I used this image.
Crop it three different ways. Resize them to 130 px height, and leave the width at whatever they are.
Mine were:
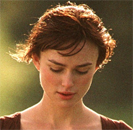
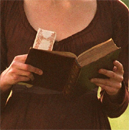
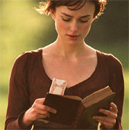
Bring each of these croppings onto your canvas. Position them along the right hand side, leaving some space in between. Don't worry if the space between the images is not exactly even, but try and line them up vertically.
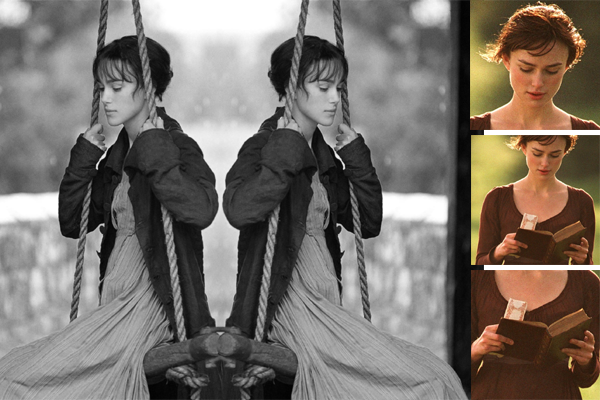
Merge these three into one layer. Desaturate it. Merge all the Keira layers together.
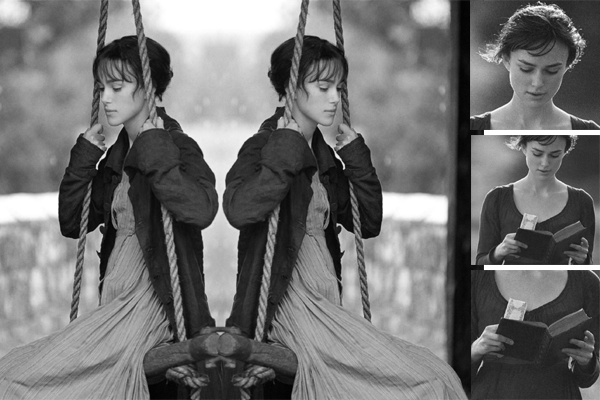
Use your line tool. (this might be hidden in the menu of your rectangle tool)
Set it at 4px in white.
Drag a line in between "Keira on a swing" and "Keira reading a book." Position it so it covers the frames of the smaller images.
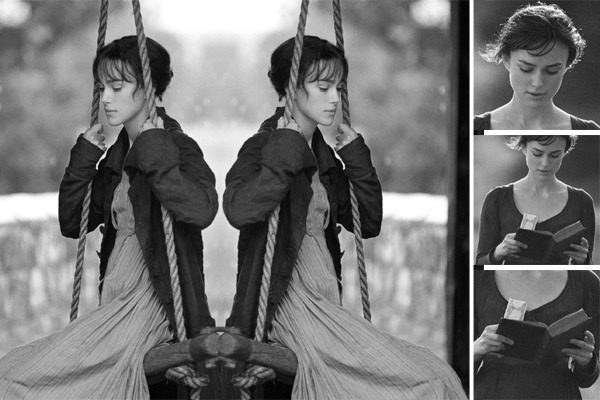
Now take the tool again, this time set it to 8px wide. Draw lines in between the smaller images.

Merge all the line layers together. Duplicate once. Merge them together again.
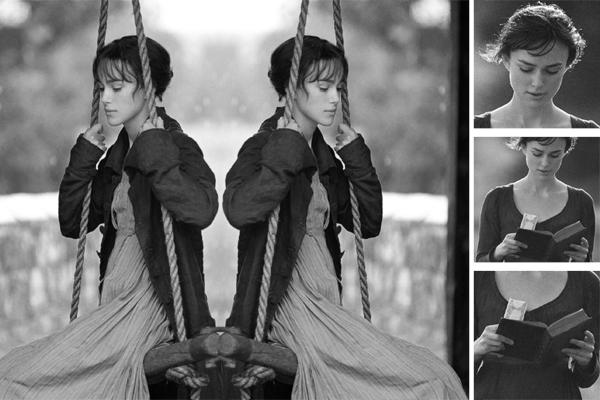
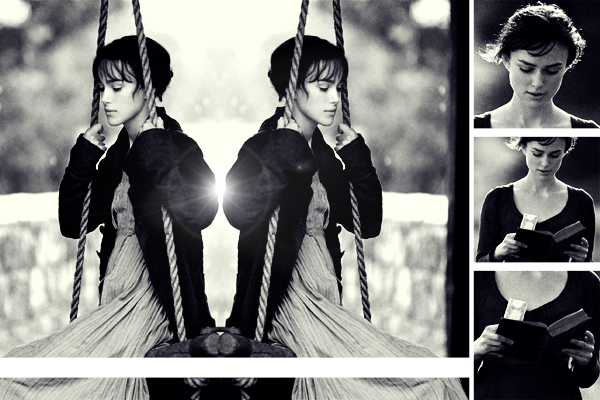
Return to your Keira layer. Under contrast/brightening, up the contrast by 33.
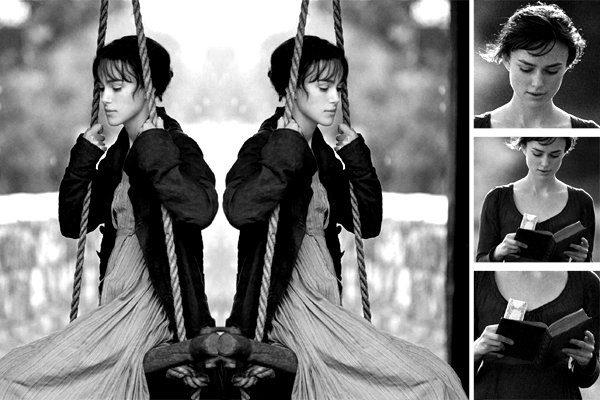
Create a new layer in between the Keira layer and the Lines layer. Fill it with #04001C. Set to exclusion.
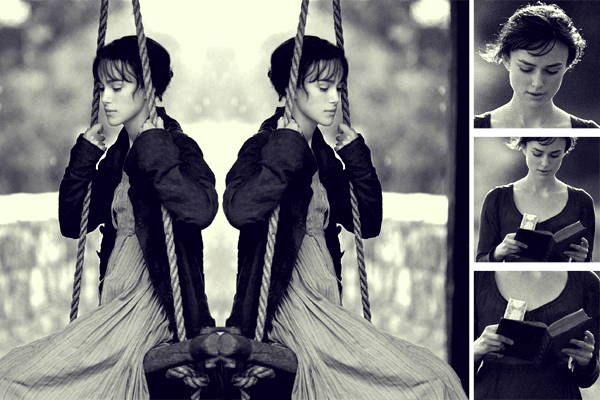
Duplicate your Keira layer. Bring it on top of your Exclusion layer (below the lines), and set it to Soft Light.
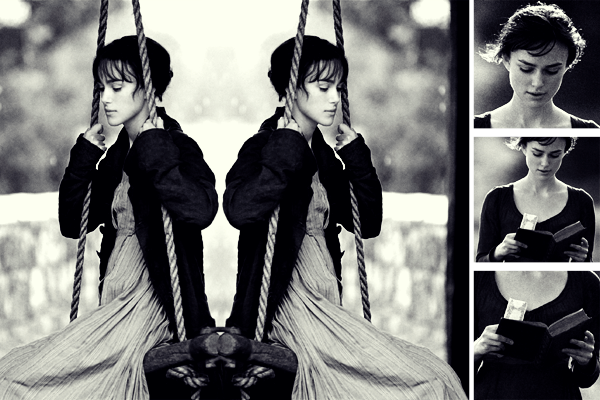
Create a new layer. Fill it black. Go to Filter > Render > Lens Flare. Add a 35mm Prime, brightness 68%, lens flare somewhere towards the middle. Select ok.
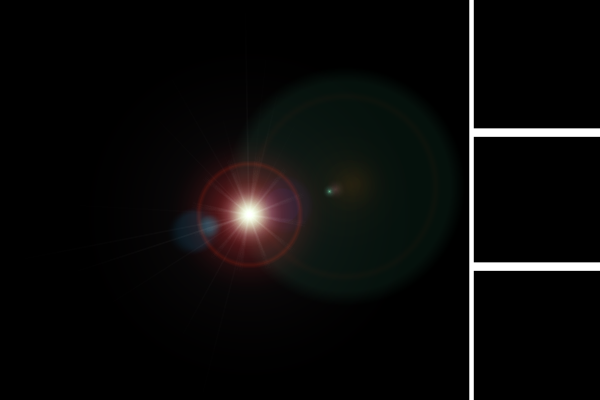
Desature the layer. Set it to screen. Position it in between the two swinging Keiras.
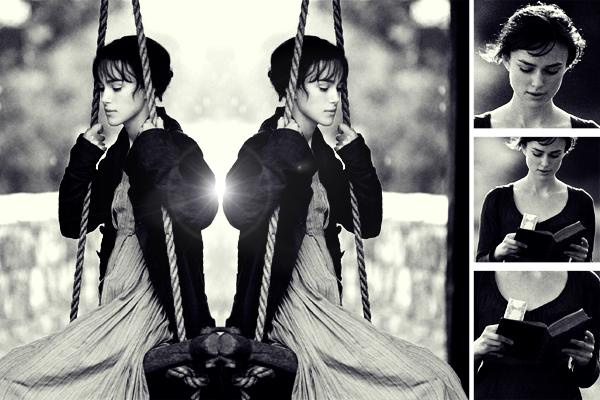
Back to your trusty line tool. In white, 20px wide, draw a line towards the bottom of the image, but not along the bottom.
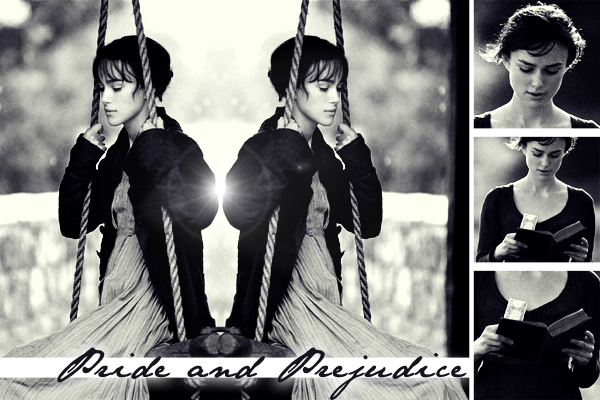
Add your text. I wrote "pride and prejudice" in the font JaneAusten (found at dafont.com) and added a outer glow (3% spread; 18px size). That's it!
Please remember, these tutorials are not to duplicated (except for practice) - instead, use them to inspire your own graphics.
I'd love to see the results!
Any questions/comments, please leave them here. :]
take this image. crop it down, resize to a height of 400.
move it to the left side of a new canvas - 400px height by 600px width. white background.

Duplicate the picture. Flip the duplicate horizontally.
Move it over just a touch.

Add a layer mask to the duplicated layer. (see this tutorial for how-to's)
Using a soft air brush in black (whatever size you're comfortable with), run the paint brush over the left side of the top image. Then, use a smaller air brush to work around her swing.
I moved the duplicated layer in a bit, so the two are closer together.
My end result after the layer mask was:

Merge the layer downward so the images are both in one layer. Desaturate it.

Open your next picture. I used this image.
Crop it three different ways. Resize them to 130 px height, and leave the width at whatever they are.
Mine were:


Bring each of these croppings onto your canvas. Position them along the right hand side, leaving some space in between. Don't worry if the space between the images is not exactly even, but try and line them up vertically.

Merge these three into one layer. Desaturate it. Merge all the Keira layers together.

Use your line tool. (this might be hidden in the menu of your rectangle tool)
Set it at 4px in white.
Drag a line in between "Keira on a swing" and "Keira reading a book." Position it so it covers the frames of the smaller images.

Now take the tool again, this time set it to 8px wide. Draw lines in between the smaller images.

Merge all the line layers together. Duplicate once. Merge them together again.

Return to your Keira layer. Under contrast/brightening, up the contrast by 33.

Create a new layer in between the Keira layer and the Lines layer. Fill it with #04001C. Set to exclusion.

Duplicate your Keira layer. Bring it on top of your Exclusion layer (below the lines), and set it to Soft Light.

Create a new layer. Fill it black. Go to Filter > Render > Lens Flare. Add a 35mm Prime, brightness 68%, lens flare somewhere towards the middle. Select ok.

Desature the layer. Set it to screen. Position it in between the two swinging Keiras.

Back to your trusty line tool. In white, 20px wide, draw a line towards the bottom of the image, but not along the bottom.

Add your text. I wrote "pride and prejudice" in the font JaneAusten (found at dafont.com) and added a outer glow (3% spread; 18px size). That's it!

Please remember, these tutorials are not to duplicated (except for practice) - instead, use them to inspire your own graphics.
I'd love to see the results!
Any questions/comments, please leave them here. :]