Tutorial: How I made boring shoes into cute shoes!
In which I tell you how to turn boring shoes into shoes like so:

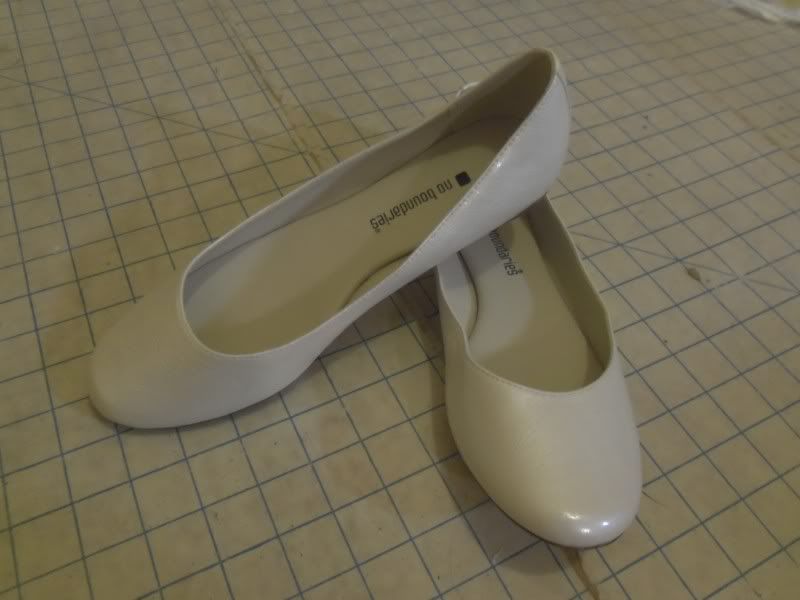
So first, you need some shoes. I wanted some cute shoes, but the ones I liked didn't come in my size, and the ones I liked second best were $40. I decided I could make ones I like just as well for a lot cheaper. I managed to find the base shoes at a thrift store, on sale, for about $3!
I didn't get a picture of the materials, but here's the list!
Shoes
Fabric (I used 1/8th of a yard. If you want to do a lot more things, you might need more, but I wouldn't think more than 1/4th.
Interfacing*
Thread/Needles/Pins
Measuring tape/pencil/paper
Iron
Attachments (snaps, buckles, etc. I will be using snaps with decorative buckles)/any tools they require
Pliers**
*If you're using something exceptionally stiff, such a vinyl or leather, you don't need this. Most other fabrics will.
**This will make sewing on these shoes so much easier on your fingers. Take it from me, use needlenose pliers.
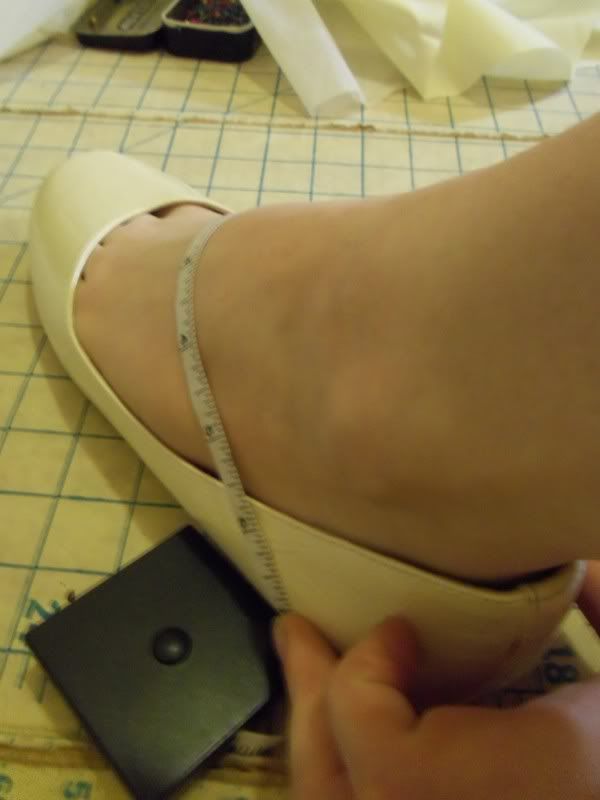
So start off by taking some measurements. I wanted straps across my feet, and an ankle strap, so I measured all the strap lengths (adding for hems and such).
Then you need to measure it all out, and cut. To figure how how wide to make the straps, use some paper; take what you want the finished strap width to be, and using paper play with how far you want the turned under part to go. You could also sew channels, depending on the fabric.
I didn't manage to take a non blurry part of this. But they're long rectangles, you can do it.
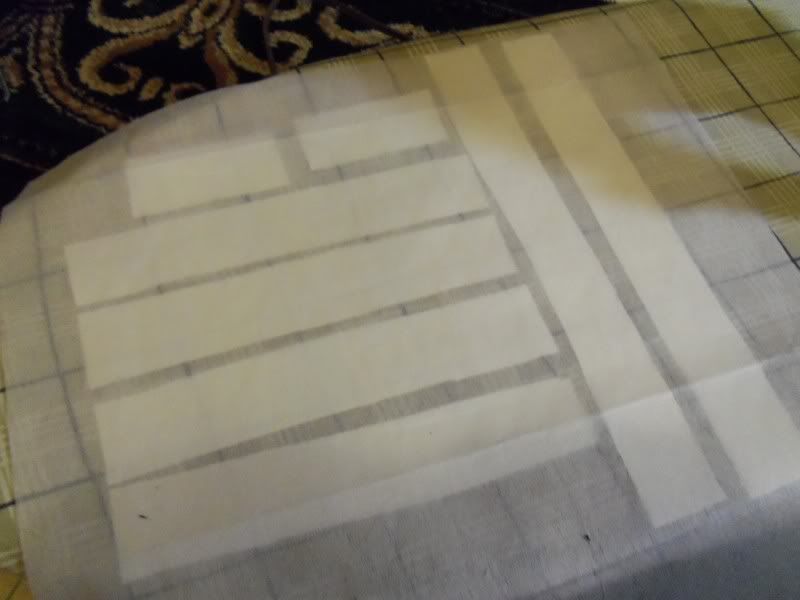
Then, interface everything. The type of fabric will determine the sort of interfacing, and if it's something very thin you may want to starch it as well (or just get different fabric).
The shortest pieces pictured are loops for the ankle strap to sit in. You'll see more of those again later.
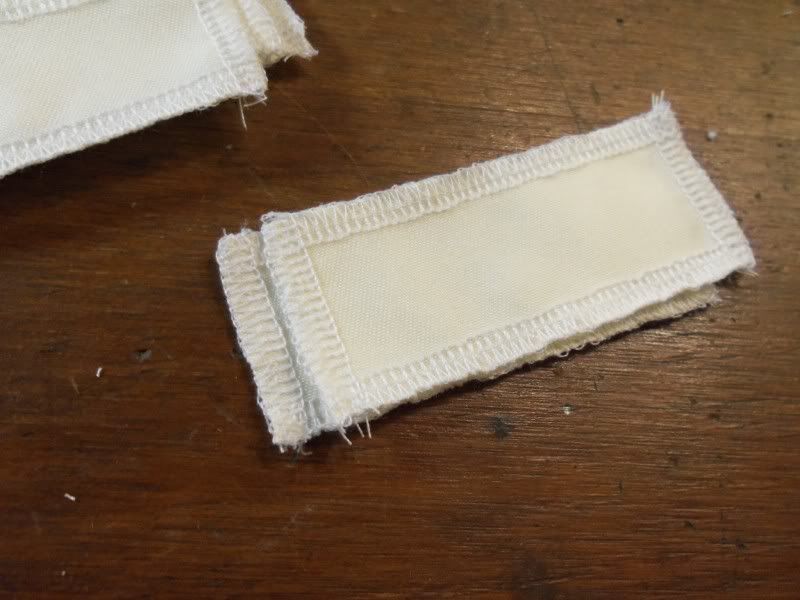
Now, I have a serger, so I finished off all the edges first. If you don't, you may need to do a rolled hem on the fabric, depending on how much it frays. This will lay a lot more smoothly, though.
If it's vinyl or leather, skip this step.
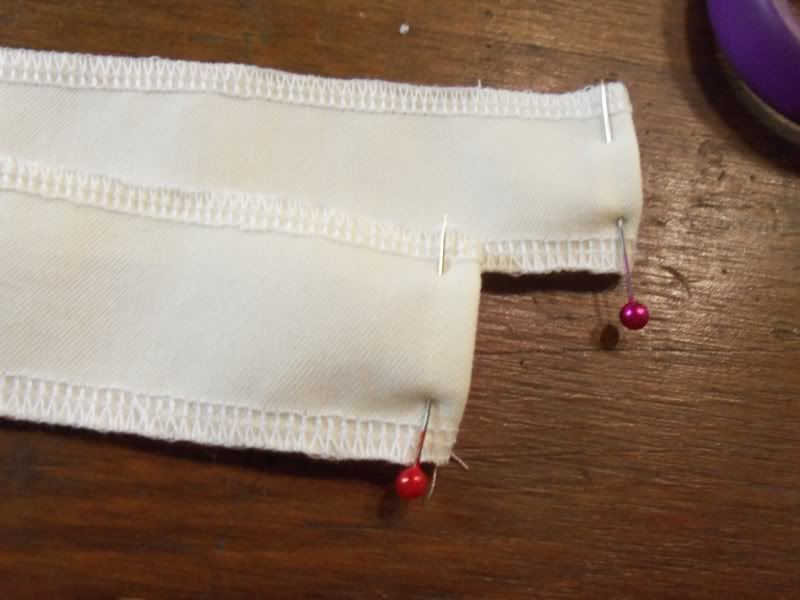
Then, do all the short ends first.
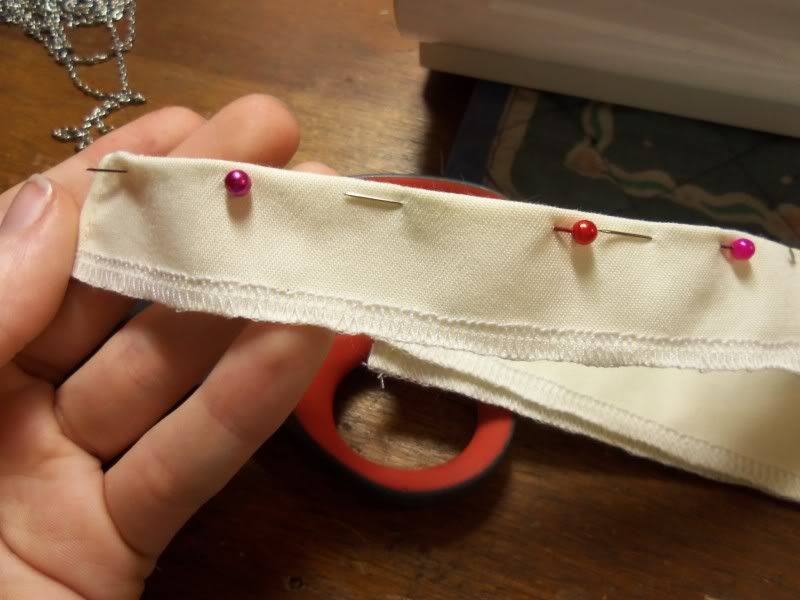
Then the long bits.
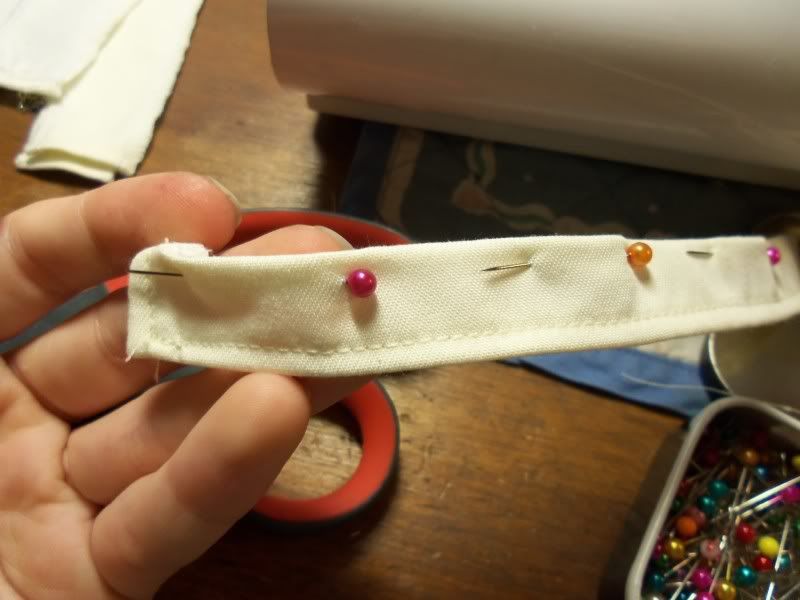
More long bits!
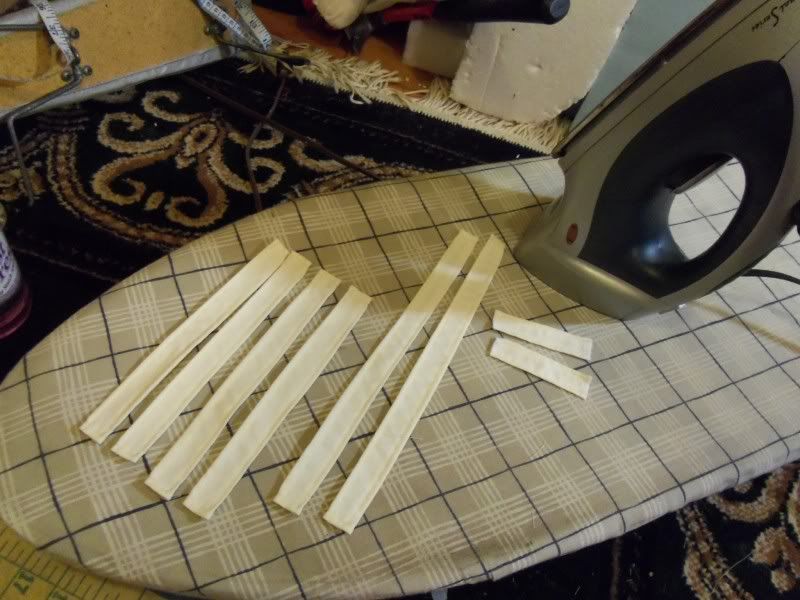
Then press everything!
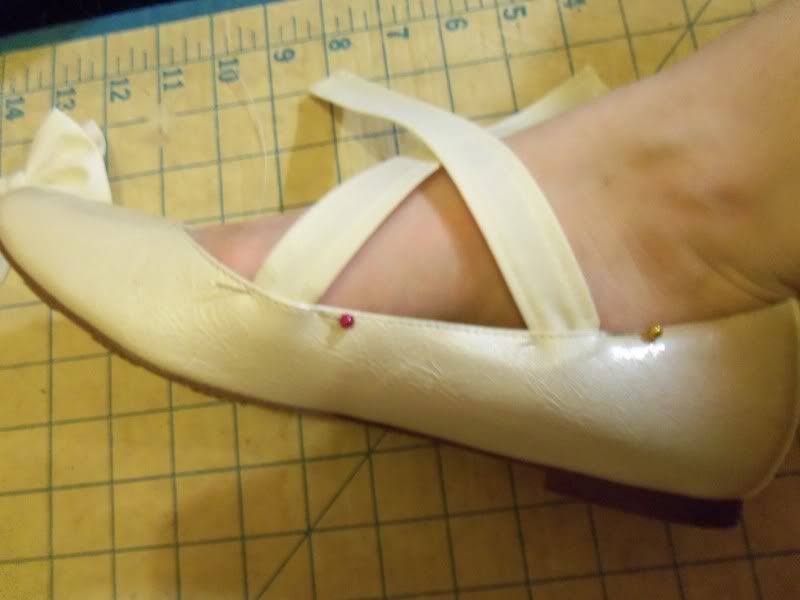
Figure out on one shoe where you want the straps to sit, and at what sort of angle. This is mostly just trial and error.
Try to push the pins through the original stitching holes, as it will go in a lot easier.
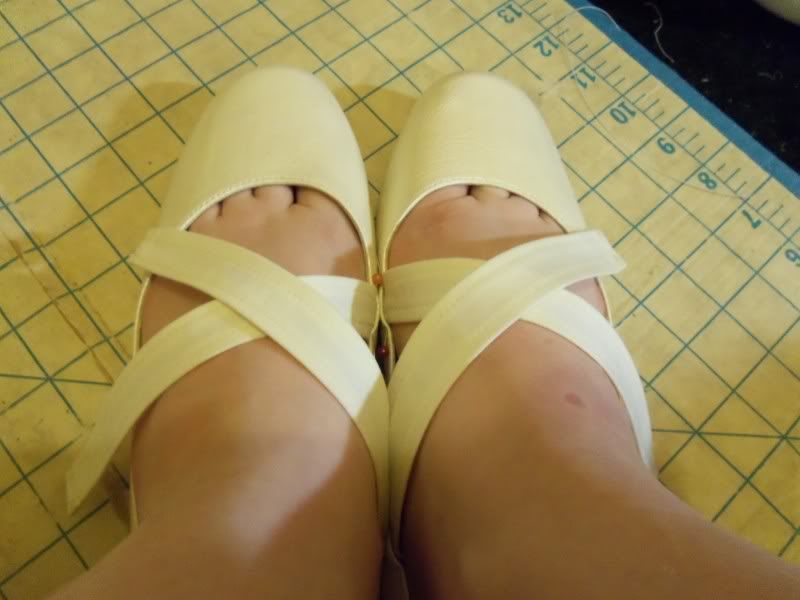
Then make them match!
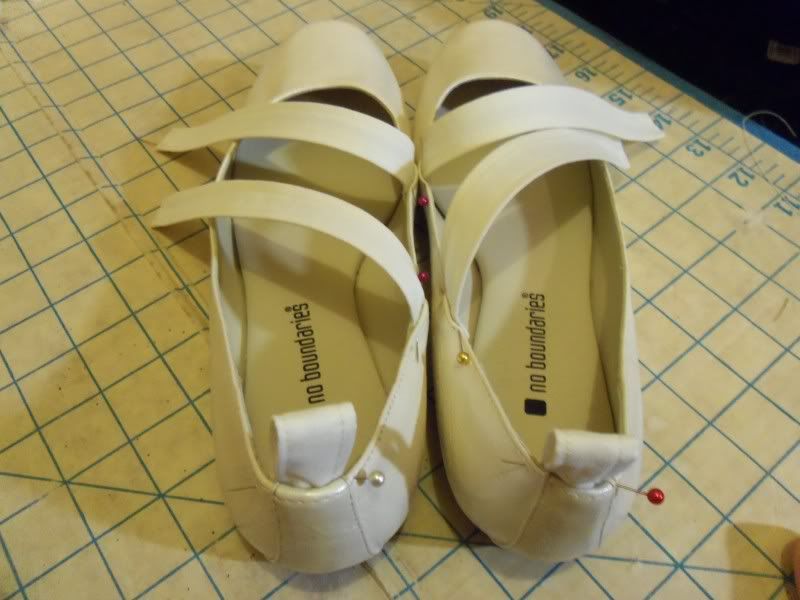
And if you're doing ankle straps, figure out that loop, too.
Now comes the hard part.
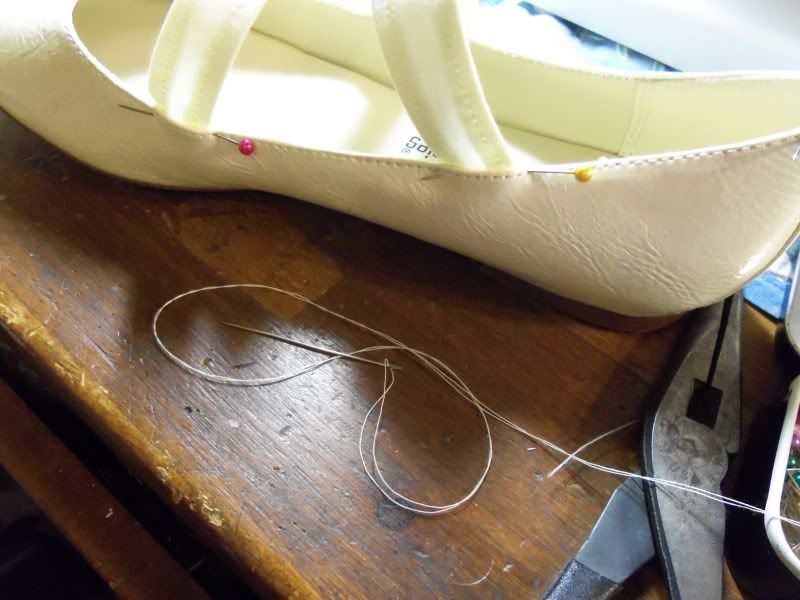
Since the shoe is too weird of a shape to sit on the sewing machine comfortably, I chose to hand all my straps. This is where your pliers come in VERY handy. Depending on the shoes, you may break a needle or two. Just go slow and think of how pretty they'll be when they're done!
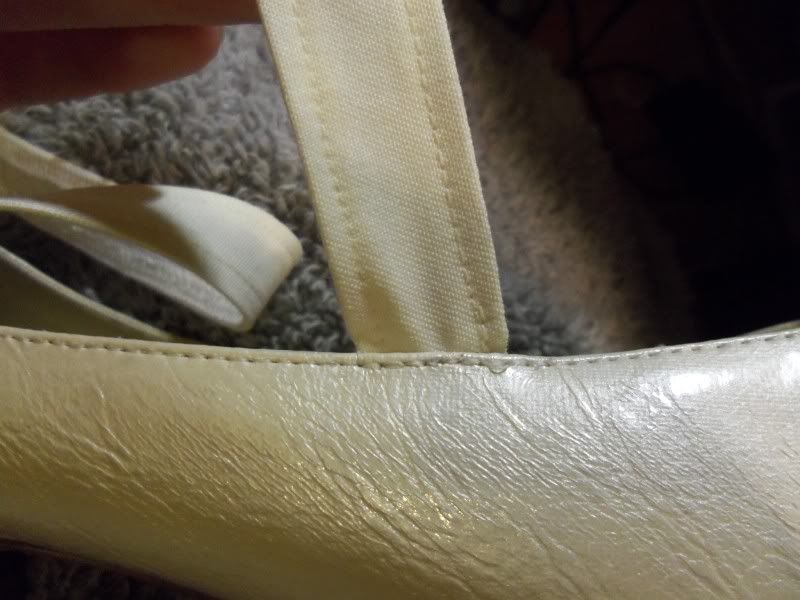
Using the original stitching holes, carefully stitch on the straps (on the insides of your feet). The ankle bit is usually harder, but you can do it!
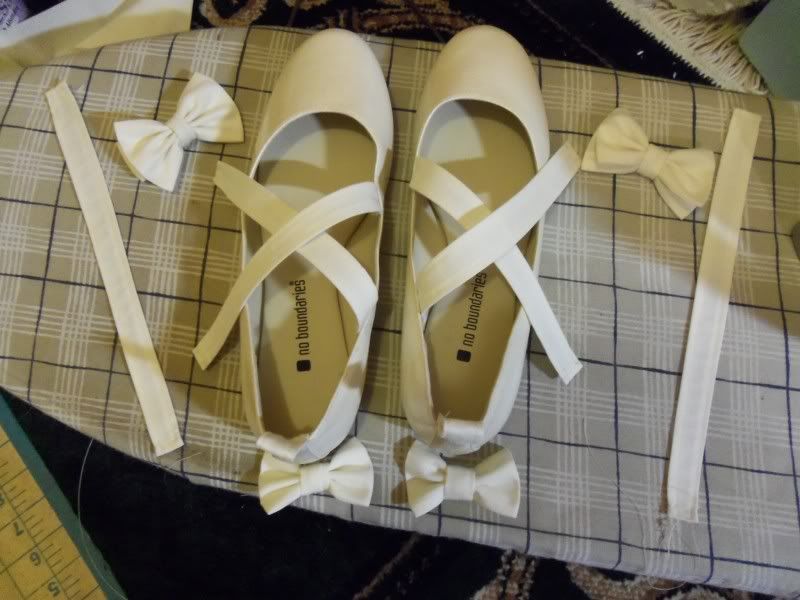
You're almost there!
To see how I did the bows, click here
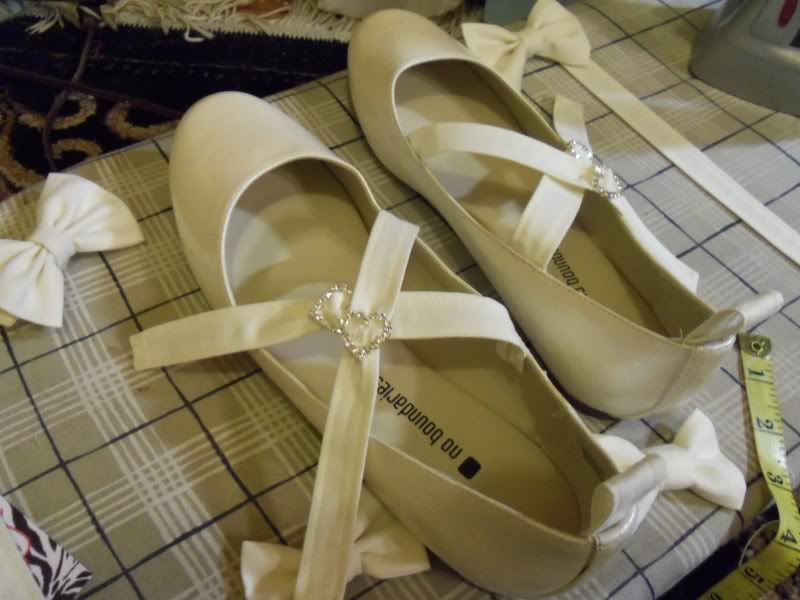
If you're adding decorative buckles, put them on before the snaps.
For the snaps, follow the directions, and watch your fingers.
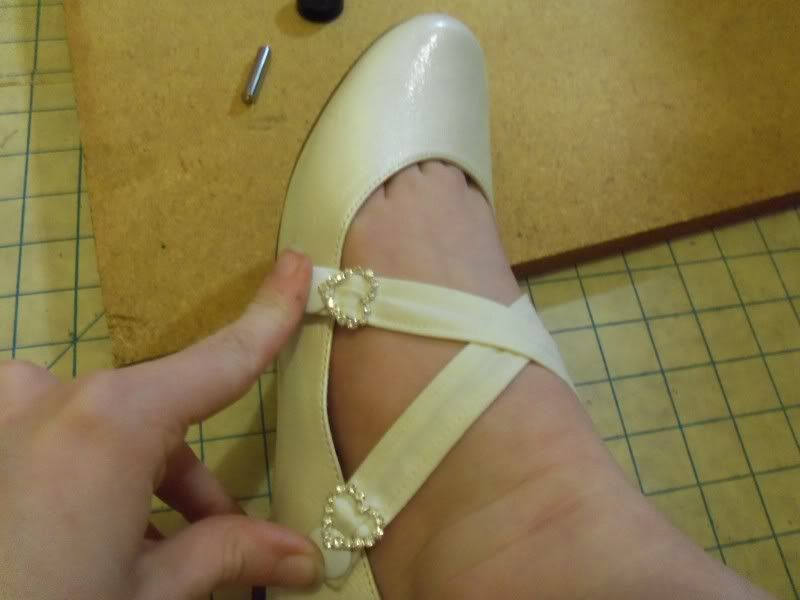
I did all the tops of the snaps first, as they seem to go on easier.
Then, figure out where you want the bottom half of the snap to sit, and make a small mark with a sharpie.
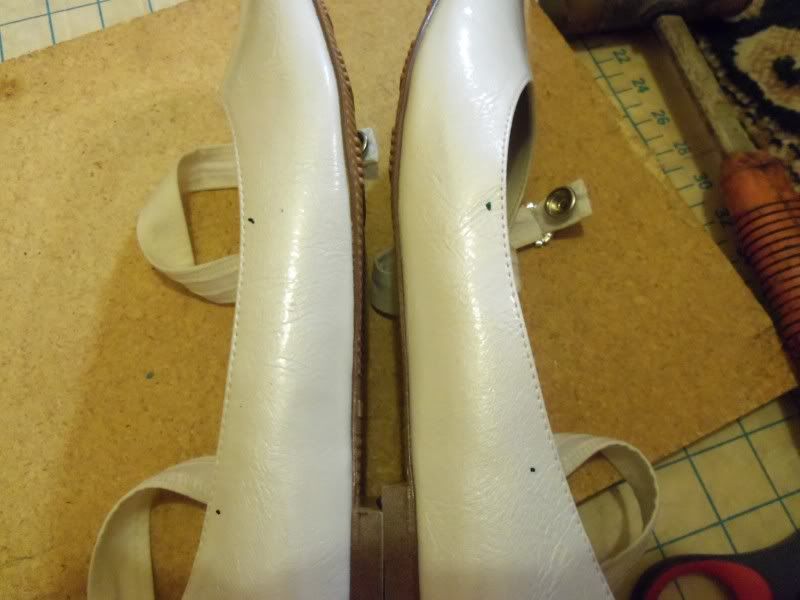
Match them up, then start putting in the bottoms.
*****
Side note!:
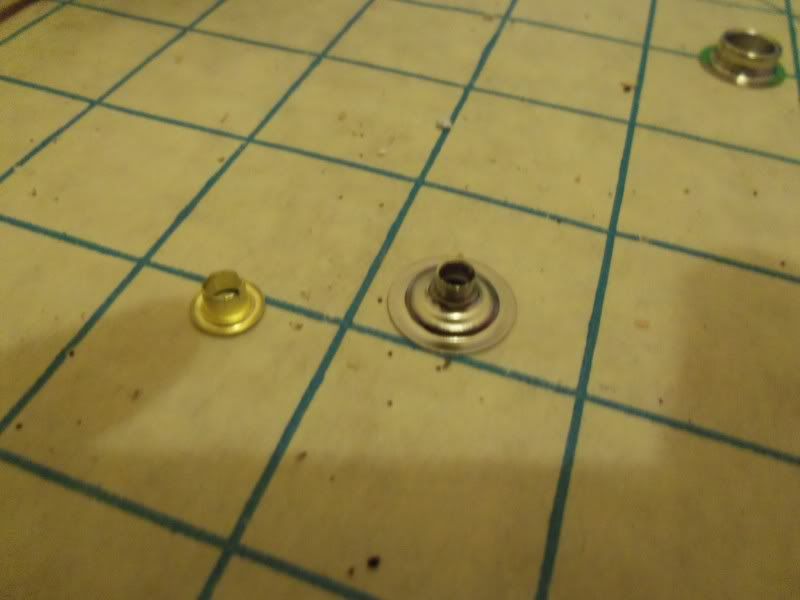
I was having trouble making the bottoms of the snaps stay, so I ended up using eyelets as the post, as they flatten out more. Depending on the shoe, this may or may not be what you want to do as well.
*****
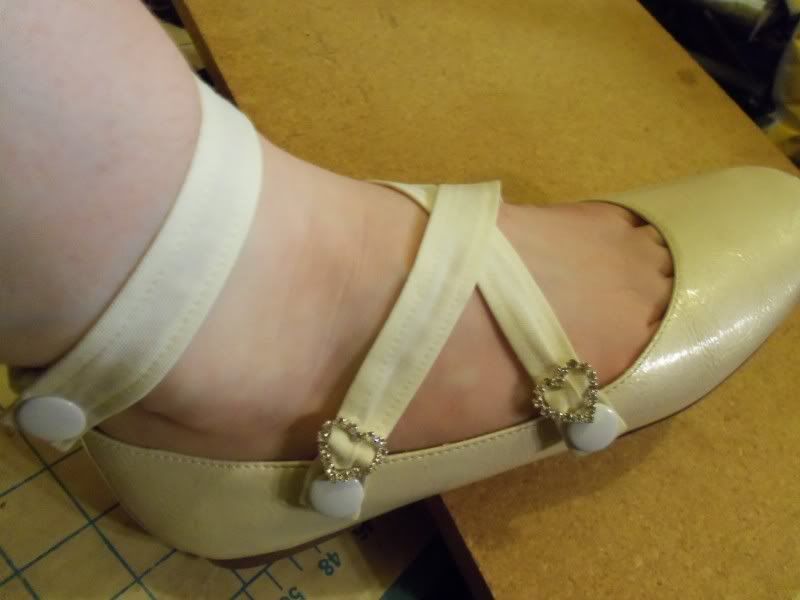
Test the fit.
You're almost there!
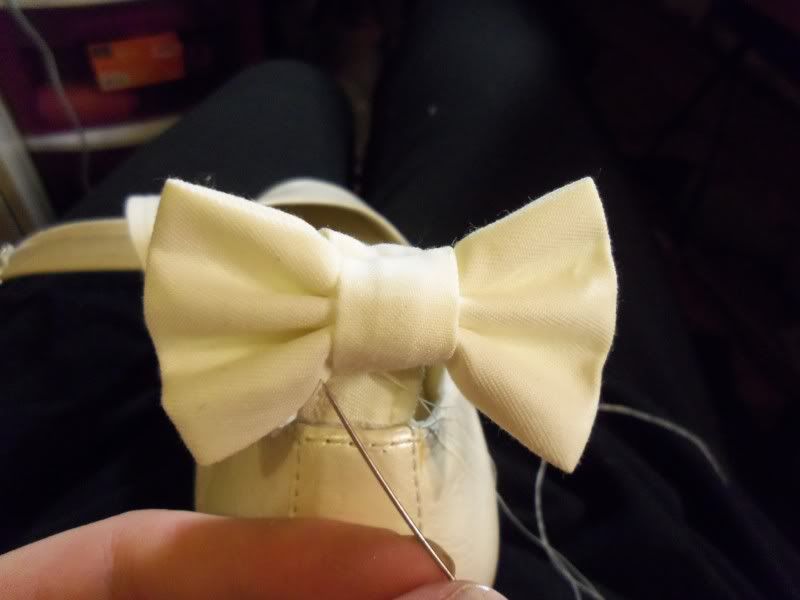
Add the bows!
For the bows on the ankles, I skipped putting on tails.
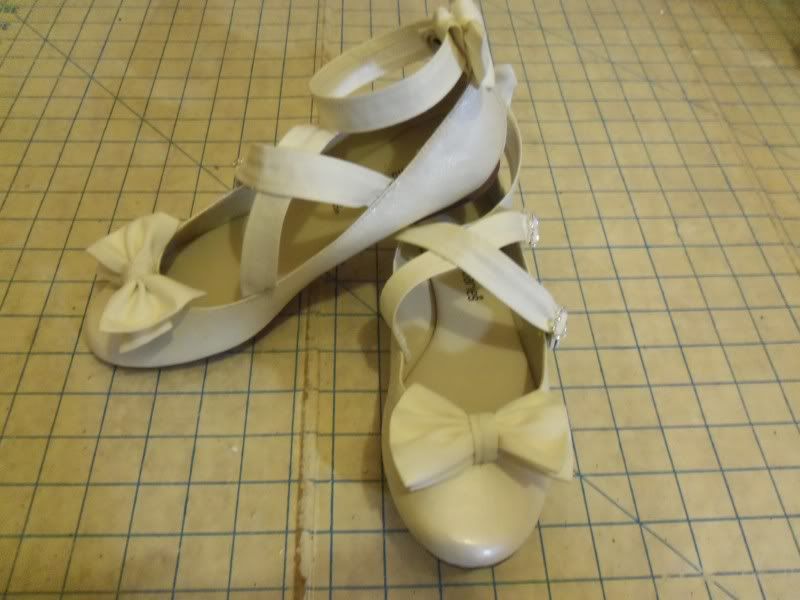
Then pat yourself on the back, kiddo, you did it! Wear your new shoes with pride, and extra savings in your pockets. <3
(Originally posted over here How I made some boring shoes into cute shoes!
EDIT: See them with the whole look here!


So first, you need some shoes. I wanted some cute shoes, but the ones I liked didn't come in my size, and the ones I liked second best were $40. I decided I could make ones I like just as well for a lot cheaper. I managed to find the base shoes at a thrift store, on sale, for about $3!
I didn't get a picture of the materials, but here's the list!
Shoes
Fabric (I used 1/8th of a yard. If you want to do a lot more things, you might need more, but I wouldn't think more than 1/4th.
Interfacing*
Thread/Needles/Pins
Measuring tape/pencil/paper
Iron
Attachments (snaps, buckles, etc. I will be using snaps with decorative buckles)/any tools they require
Pliers**
*If you're using something exceptionally stiff, such a vinyl or leather, you don't need this. Most other fabrics will.
**This will make sewing on these shoes so much easier on your fingers. Take it from me, use needlenose pliers.

So start off by taking some measurements. I wanted straps across my feet, and an ankle strap, so I measured all the strap lengths (adding for hems and such).
Then you need to measure it all out, and cut. To figure how how wide to make the straps, use some paper; take what you want the finished strap width to be, and using paper play with how far you want the turned under part to go. You could also sew channels, depending on the fabric.
I didn't manage to take a non blurry part of this. But they're long rectangles, you can do it.

Then, interface everything. The type of fabric will determine the sort of interfacing, and if it's something very thin you may want to starch it as well (or just get different fabric).
The shortest pieces pictured are loops for the ankle strap to sit in. You'll see more of those again later.

Now, I have a serger, so I finished off all the edges first. If you don't, you may need to do a rolled hem on the fabric, depending on how much it frays. This will lay a lot more smoothly, though.
If it's vinyl or leather, skip this step.

Then, do all the short ends first.

Then the long bits.

More long bits!

Then press everything!

Figure out on one shoe where you want the straps to sit, and at what sort of angle. This is mostly just trial and error.
Try to push the pins through the original stitching holes, as it will go in a lot easier.

Then make them match!

And if you're doing ankle straps, figure out that loop, too.
Now comes the hard part.

Since the shoe is too weird of a shape to sit on the sewing machine comfortably, I chose to hand all my straps. This is where your pliers come in VERY handy. Depending on the shoes, you may break a needle or two. Just go slow and think of how pretty they'll be when they're done!

Using the original stitching holes, carefully stitch on the straps (on the insides of your feet). The ankle bit is usually harder, but you can do it!

You're almost there!
To see how I did the bows, click here

If you're adding decorative buckles, put them on before the snaps.
For the snaps, follow the directions, and watch your fingers.

I did all the tops of the snaps first, as they seem to go on easier.
Then, figure out where you want the bottom half of the snap to sit, and make a small mark with a sharpie.

Match them up, then start putting in the bottoms.
*****
Side note!:

I was having trouble making the bottoms of the snaps stay, so I ended up using eyelets as the post, as they flatten out more. Depending on the shoe, this may or may not be what you want to do as well.
*****

Test the fit.
You're almost there!

Add the bows!
For the bows on the ankles, I skipped putting on tails.

Then pat yourself on the back, kiddo, you did it! Wear your new shoes with pride, and extra savings in your pockets. <3
(Originally posted over here How I made some boring shoes into cute shoes!
EDIT: See them with the whole look here!