How I make cute bows!
A tutorial on how to make cute bows, like so!
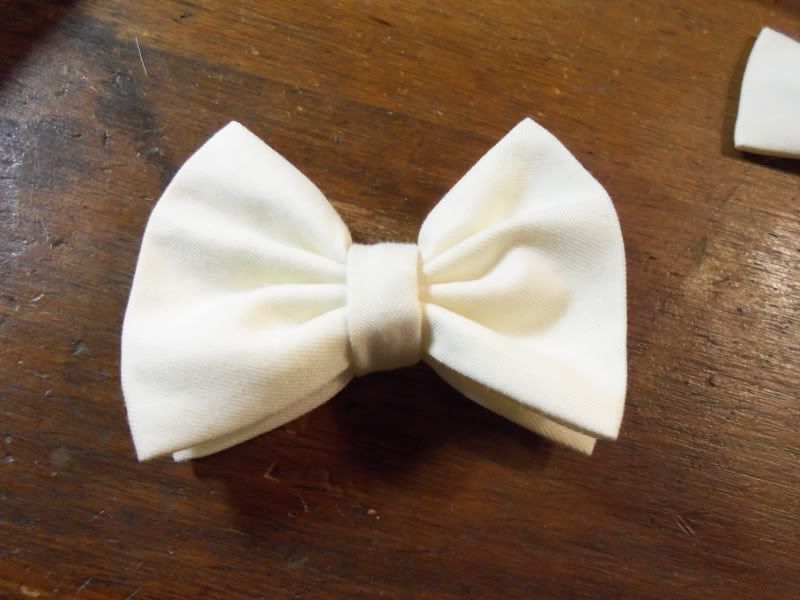
Bows can be useful for all kinds of accessorizing, on dresses, in hair, on shoes, anywhere!
I like my method, and think it makes for cute, but more importantly sturdy, bows.
Here we go!
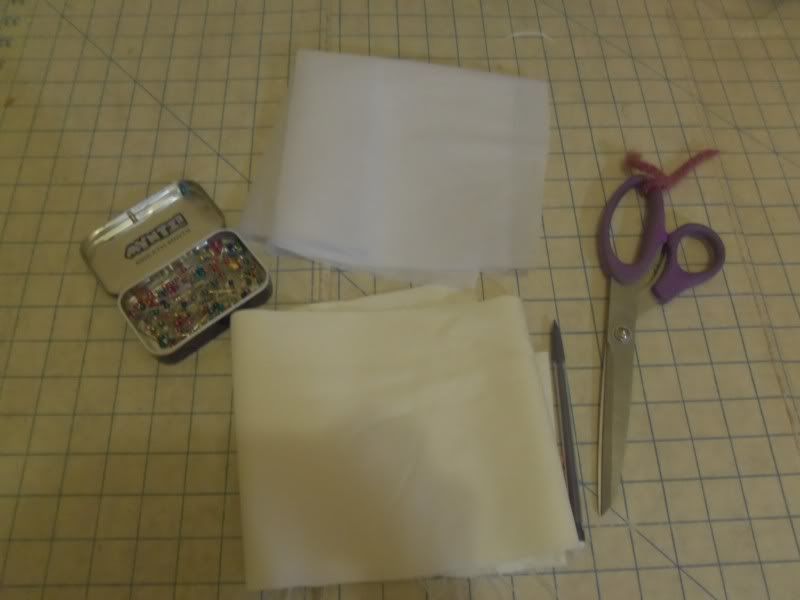
Materials:
Fabric (twice as wide as finished bow width)
Interfacing*
Pins
Pencil
Scissors
Measuring tape (not pictured)
Thread (not pictured)
Hand sewing needle
*The interfacing may or may not be needed, depending on the fabric and placement of the bow. I will be putting my bows on shoes, so I'm interfacing them.
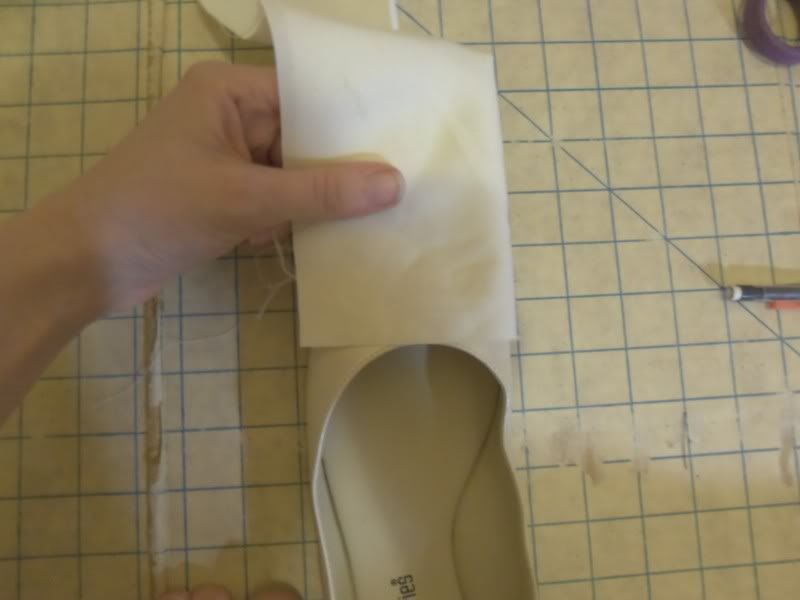
First I started by figuring out how big I wanted my bow. I want it to fit nicely on the front of this shoe.
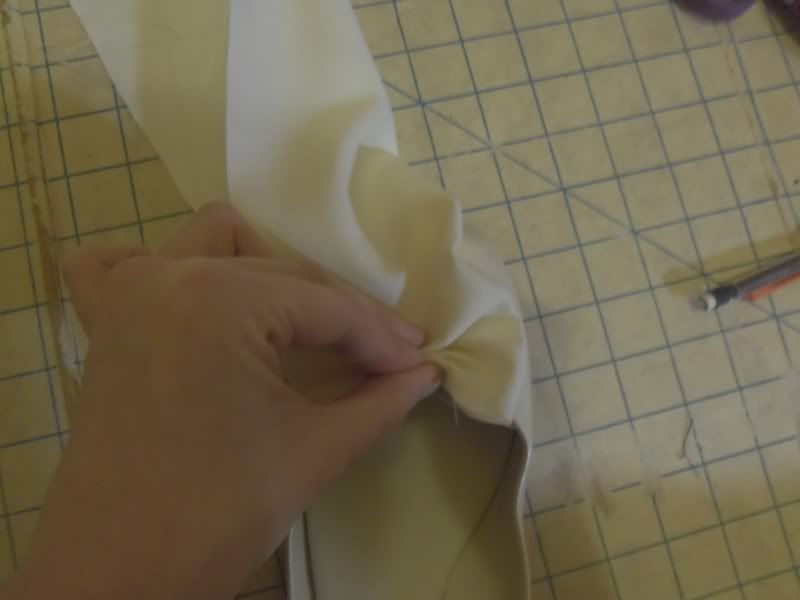
Then, by pinching it, I figured out roughly how wide I wanted it.
Then I measured and cut two of those.
The tails are the same, but slightly less wide.
I also cut one long channel (we'll use that).
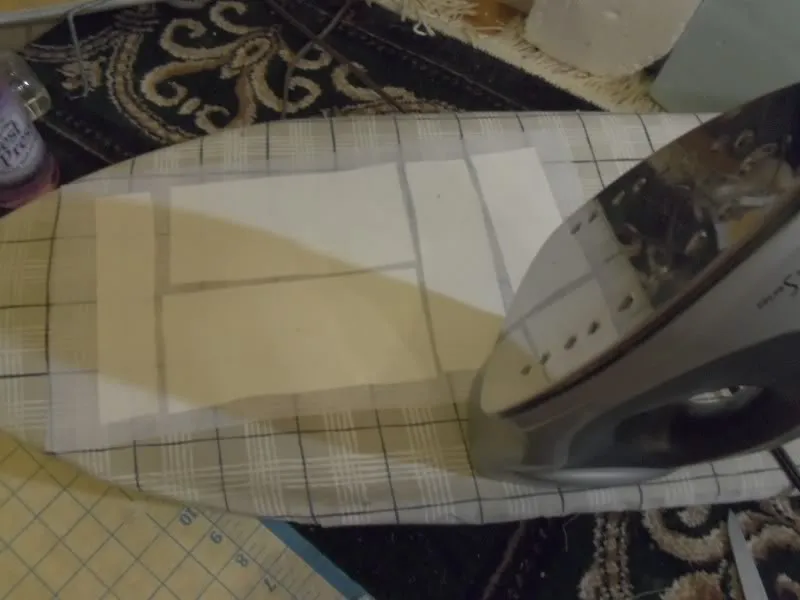
Then I interfaced everything!
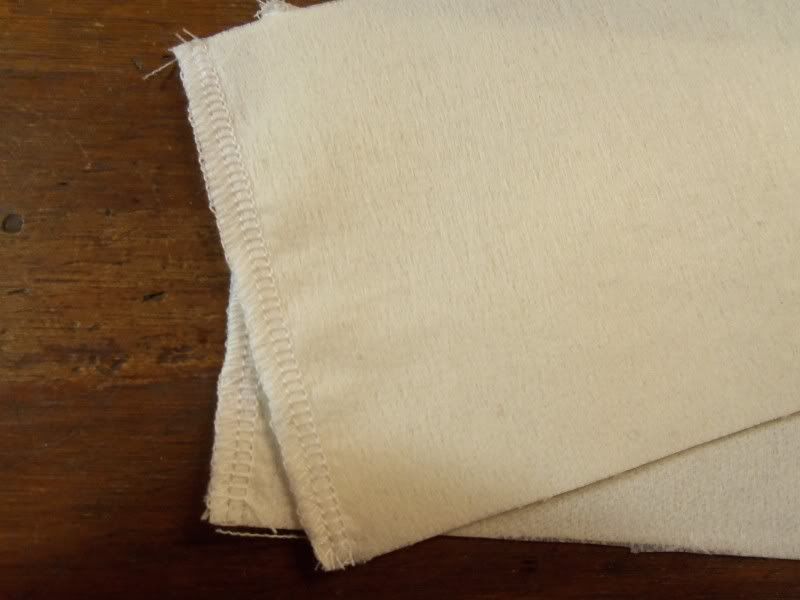
I have a serger, so I serged all the edges. This isn't necessary, but I like the finish. If it's a satin, sheer, or something that will unravel, I tend to suggest finishing this edge in some way.
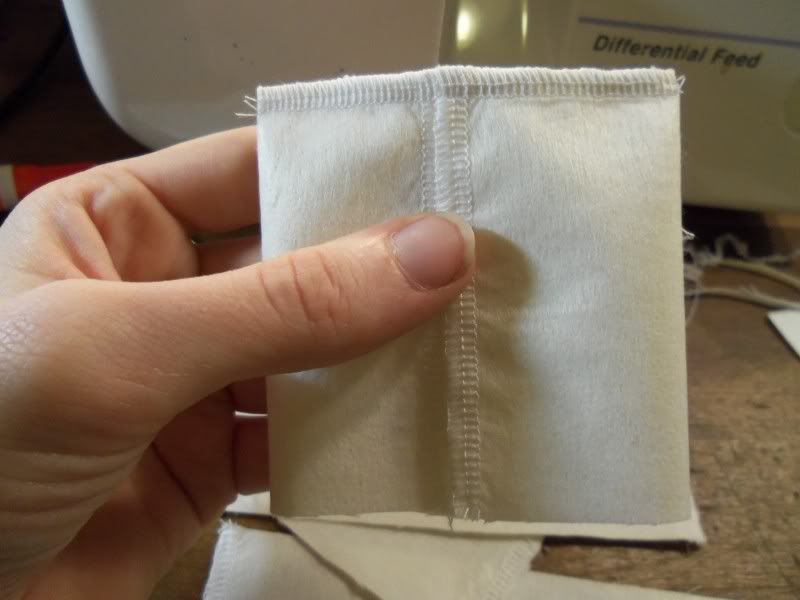
Now, folding the fabric right side in, line it up so that the edges are in the middle, like so, and sew it into place.
Do this for all of them.
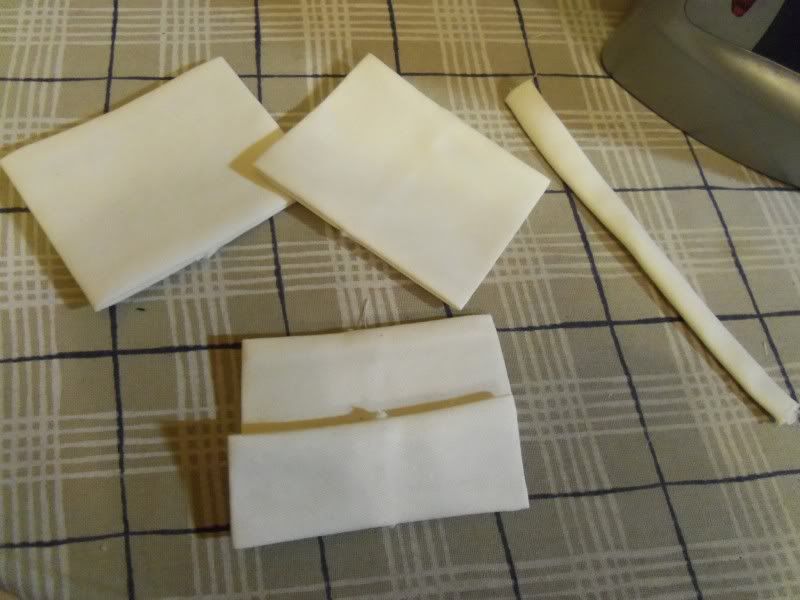
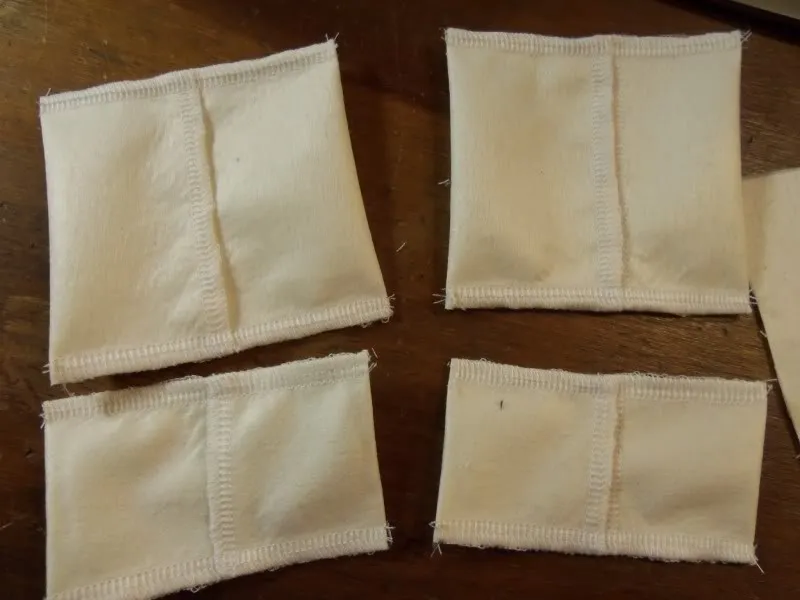
Then turn, and press!

Now, take your hand sewing needle and some thread, and run a stitch down the middle, catching both sides of the overlapped edges.
Once that's around, pull it tight and wrap it around a few times, knotting at the end.
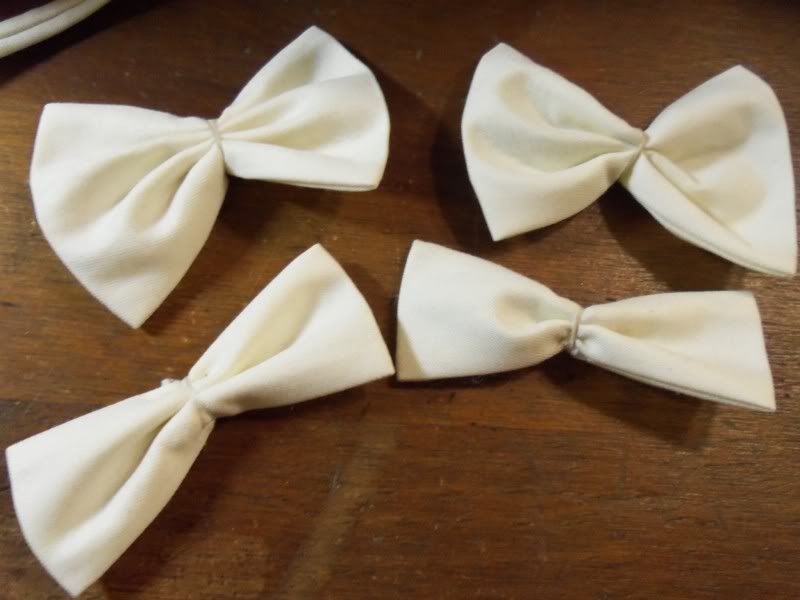
Do it for all of them.
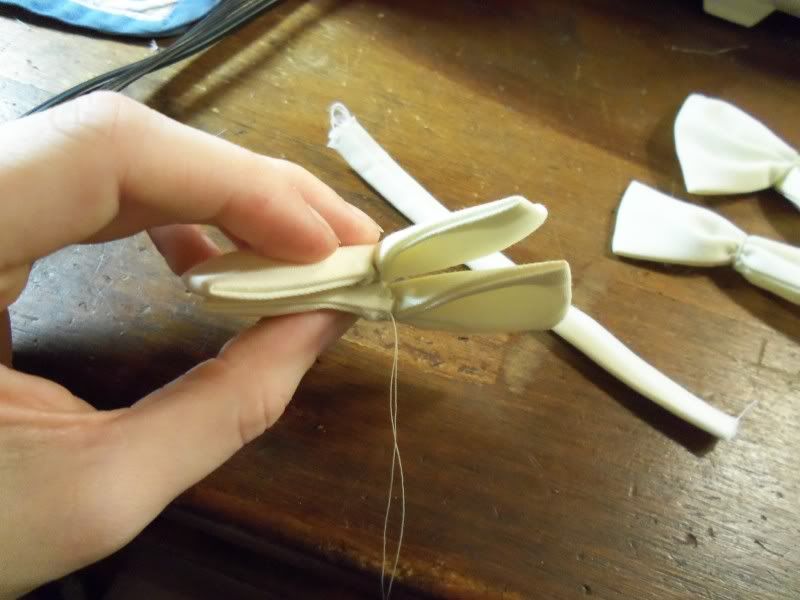
Figure out which tails look best with which bow, and how you want them to sit, then wrap some thread around those two as well (wrapping them together).
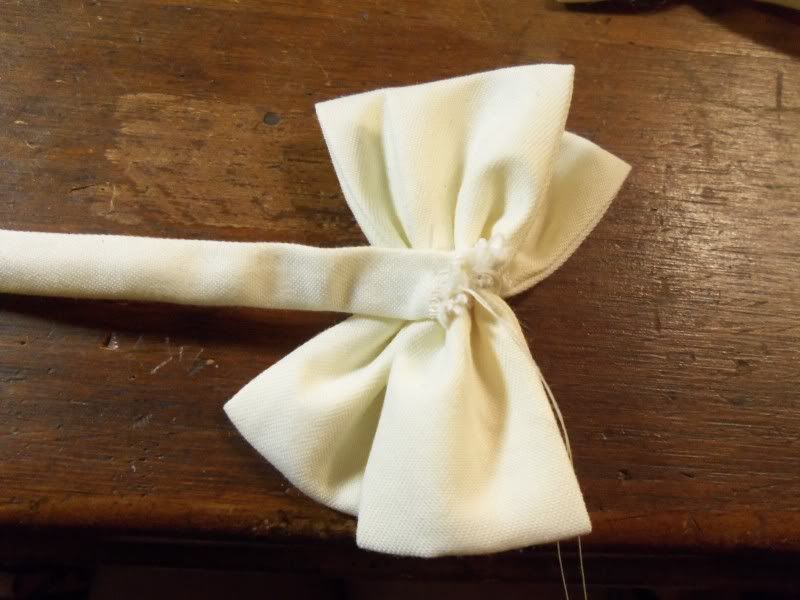
Tack down one end of your channel.
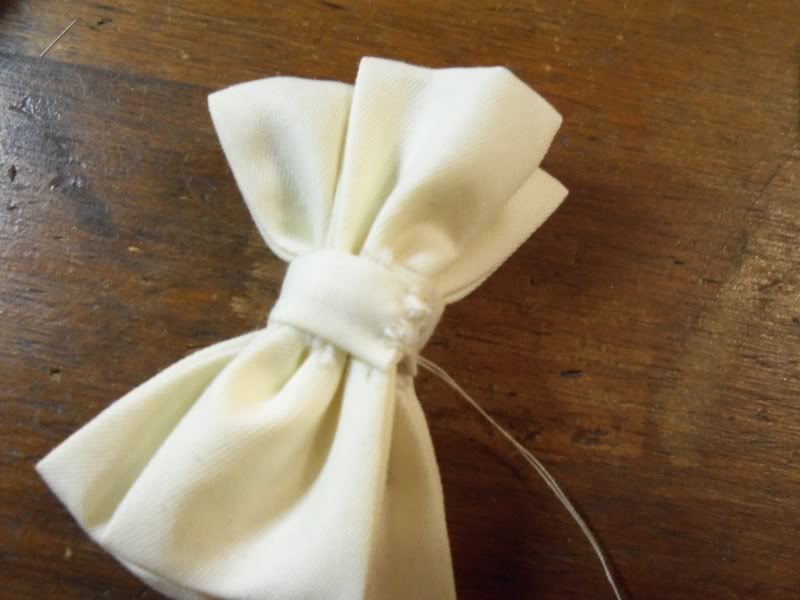
Then wrap it around, trim it to the exact size you want, and sew that down, too!
If your thread wasn't wrapped around the exact middle, this is the time to fix it but adjusting the channel slightly to one side or the other.
And now you have a cute bow!

Bows can be useful for all kinds of accessorizing, on dresses, in hair, on shoes, anywhere!
I like my method, and think it makes for cute, but more importantly sturdy, bows.
Here we go!

Materials:
Fabric (twice as wide as finished bow width)
Interfacing*
Pins
Pencil
Scissors
Measuring tape (not pictured)
Thread (not pictured)
Hand sewing needle
*The interfacing may or may not be needed, depending on the fabric and placement of the bow. I will be putting my bows on shoes, so I'm interfacing them.

First I started by figuring out how big I wanted my bow. I want it to fit nicely on the front of this shoe.

Then, by pinching it, I figured out roughly how wide I wanted it.
Then I measured and cut two of those.
The tails are the same, but slightly less wide.
I also cut one long channel (we'll use that).

Then I interfaced everything!

I have a serger, so I serged all the edges. This isn't necessary, but I like the finish. If it's a satin, sheer, or something that will unravel, I tend to suggest finishing this edge in some way.

Now, folding the fabric right side in, line it up so that the edges are in the middle, like so, and sew it into place.

Do this for all of them.

Then turn, and press!

Now, take your hand sewing needle and some thread, and run a stitch down the middle, catching both sides of the overlapped edges.
Once that's around, pull it tight and wrap it around a few times, knotting at the end.

Do it for all of them.

Figure out which tails look best with which bow, and how you want them to sit, then wrap some thread around those two as well (wrapping them together).

Tack down one end of your channel.

Then wrap it around, trim it to the exact size you want, and sew that down, too!
If your thread wasn't wrapped around the exact middle, this is the time to fix it but adjusting the channel slightly to one side or the other.
And now you have a cute bow!