turorial #4
A tutorial explaining layer masks. These are probably the best things since the internet xD
OH! and I use Photoshop 7.0. Now lets get on with the tutorial....
INTRO:
Layer Masks basically perform the same functions as that of an eraser. But the cool thing about them is that they don't literally erase any part of the image, the just cover (mask) them up, making it seem as if they were erased. This is especially useful for those like me who don't have the patience to quietly erase all the parts of an image without messing up.
ADDING A LAYER MASK:
Now there are two ways to add a layer mask:
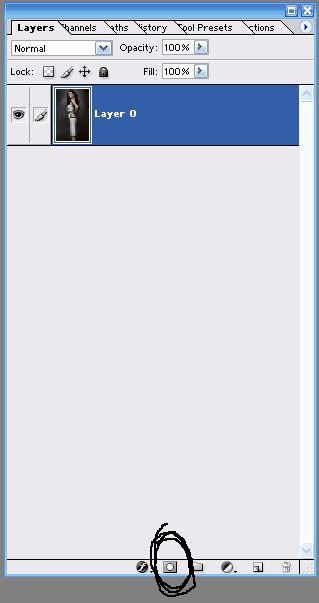
First by the little camera like icon on the layer palette.
View
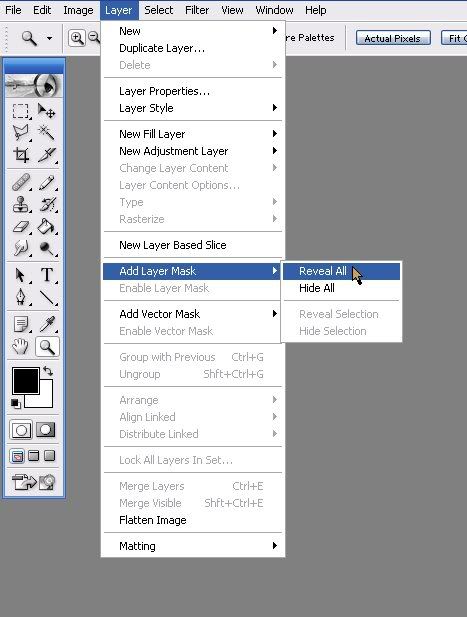
Second by Layer > Add Layer Mask > Reveal All.
View
MASKING:
This is the main function of layer masks, to cover up an part of the image ans make it seem like its been erased. Now all these pictures are in *PNG format, so to those of you who may see grey background, the grey background is not present, you browsers don't support *PNG transparency (most likely you're using Internet Explorer, sad.)
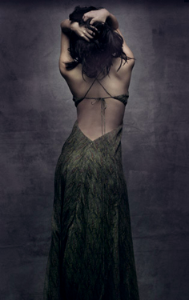
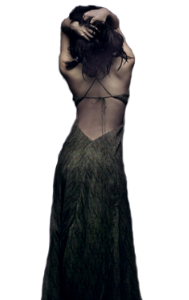
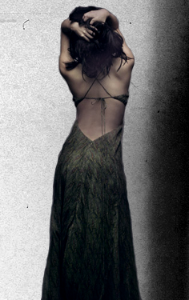
Now the first step is choose your base. Mine is:
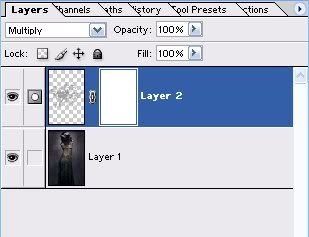
Second add a layer mask to the base image by any one of the afore mentioned ways. Your layer palette should be like this:

After than choose a brush (preferably a solid round brush), if you'll notice when you click on the mask, your fore background, i.e. the color you selected, automatically turns to black. This is because when use your brush on a layer mask, the black color masks the part and when you use white the mask disappears and the image will appear as it was before. This is why its better than erasing, you can undo your erasing any time you wish. Now brush over the part you want to mask, keep in mind that you must select the layer mask in the layers palette, that means the white layer alongside the image should be selected by clicking on it (chances are your software will do it for you).
Once you've done that start brushing over the area you want to mask, for me its the background. so I start brushing over it. If you are worried that you won't get a prefect mask, then don't worry, just brush over the part quickly while avoiding the complex parts like face, hair, arms, or legs. This is what I got:
Now I zoom in on the image and start brushing the complex parts slowly.
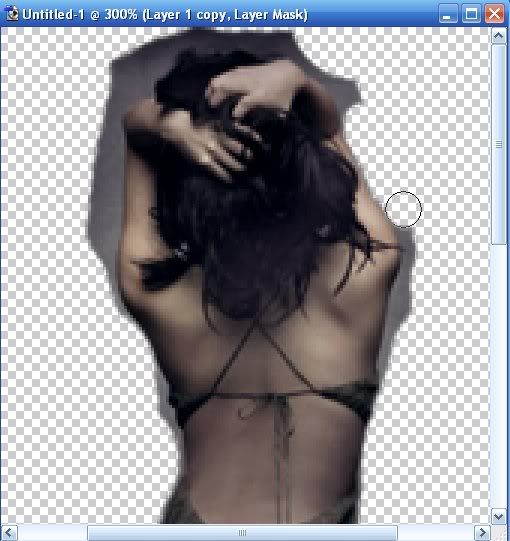
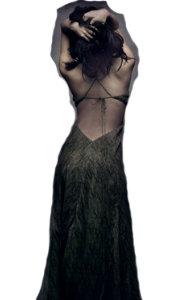
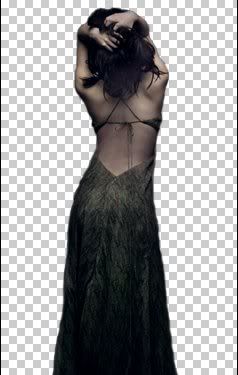
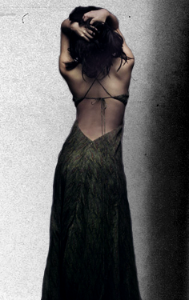
When you have covered the complex parts you should be done and your image should look like this without any background, which is you final image.
In Photoshop it will look like this and your layer mask should look like this. The white part is the part which I wanted to show in the image and the black part is the one I decided to hide.
TEXTURE BACKGROUND:
Now I have a image with no background, but I don't what such an image, i want to add a different background. I want to add this texture (from peoplemachines).
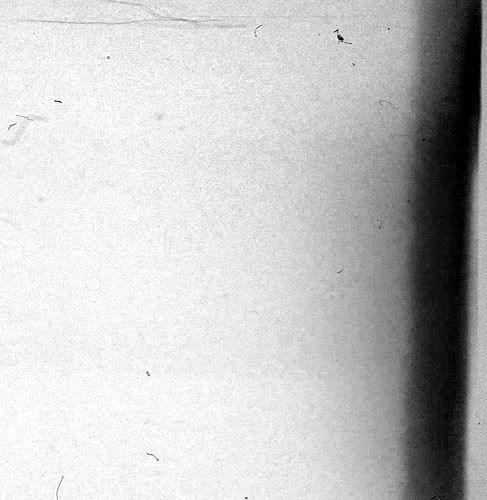
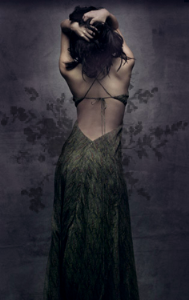
I created a new layer below the image and I paste the texture and now I have this:
Now when you do such editing, you'll notice the image looks very "cut out" type, you can easily make out that it is not the original background. To hide such parts you can duplicate the image and set the layer mode to "Soft Light". This seems a bit more believable ;)
BACKGROUND BRUSH:
Suppose I want to add a brush behind the girl without erasing the background. How I do that? Why with Layer Masks of course! First choose a brush, I chose a floral brush by 77words. I make a new layer and use the brush on that layer in the color #8C8C92. This is what I have:
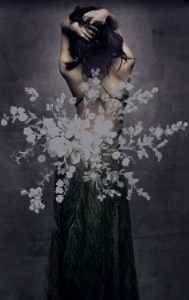
Not very flattering, is it? Before I mask the brush I change the layer mode to "Multiple" so that it can blend better with the background, getting this
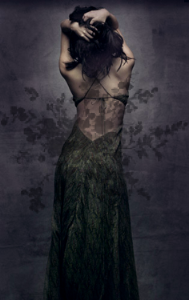
Now I add a layer mask to the brush layer (view) and I mask the part of the brush I don't want to appear. Finally my desired result:
DESATURATION:
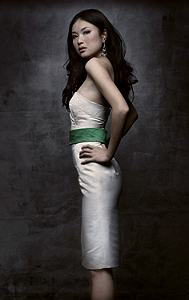
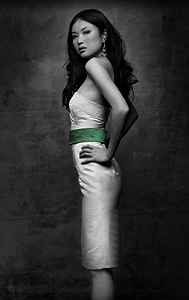
How to create those black and white images with a little bit of color in them. First select a image. I choose this one:
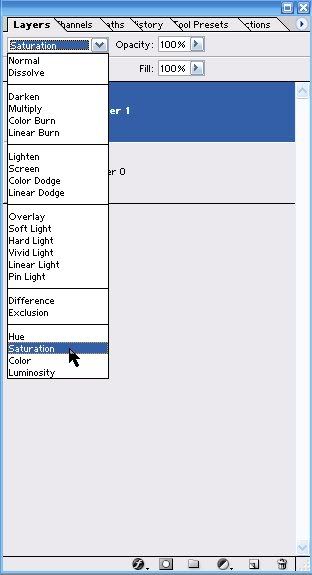
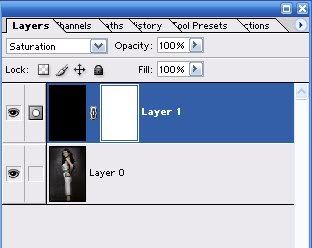
Now create a new layer above the image. Fill the layer with #000000 (black) or #FFFFFF (white). Change the layer mode to "Saturation" (view). This is what you'll have:

Add a layer mask to the saturation layer (view). Next, use the brush on the layer mask layer in the place which you want to retain the original colors. I want the green belt to have its colors. After I brush the part of the saturation layer on the belt I get this:
I hope these tips where helpful in anyway. Comments make me happy and inspire me to write more xD