Marco&Dylan Icon Tutorial. High Contrast, Complimentary Colors,
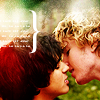
from this In photoshop (easily translatable!)
I started off with this image right here. I'm addicted to giving interesting cropping to images right now, and so rather than showing more of Marco and Dylan's bodies, I stuck with just focusing on the kiss, and the area above it. The green in the background will also come in helpful later. How you place the light textures in the following tutorial will depend on how you crop your image.
oo1.)
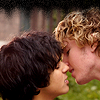
I first cropped the image, resized it, and went through my standard first prep steps for an icon. These steps include Duplicating the first layer, sharpening it, and setting it to screen. Merge all visible layers, then going up to IMAGE>ADJUSTMENT>BRIGHTNESS/CONTRAST and depending on the image it's somewhere in the -5 Brightness +20 Contrast. I also used a soft thin black brush along the top of the image for this particular icon.
oo2.)
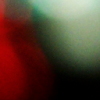
I took this light texture made by gender and placed it in a new layer and set it to SCREEN.
oo3.)
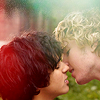
The right side of the image is awfully washed out now.
oo4.)
Using a soft brush, i erased the top right corner so that it looked like this (white represents tranparency)
oo5.)
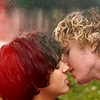
Much better right? But the colors aren't all that vibrant.
oo6.)
Duplicate your light texture screen layer.
oo7.)
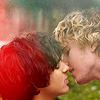
A little better now.
oo8.)

Here's another light texture made by gender;. Place this over the icon on SCREEN as well.
oo9.)
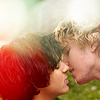
Here's what we've got so far.
o10.)
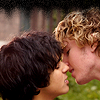
Go to the very bottom layer, and duplicate it. Bring the layer to the top and set it to SOFT LIGHT.
o11.)
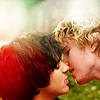
This makes the colors and the subjects show up much clearer.
o12.)
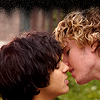
Duplicate the SOFT LIGHT layer so that you now have two total at the top of the icon. leave it on SOFT LIGHT.
o13.)
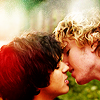
The contrast is higher now, and I love the way this brings the gold out in John Bregar's hair.
o14.)
Take this brush made by ewanism; and in a new layer, place it in black and set it at SOFT LIGHT.
o15.)
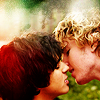
Result.
o16.)

For finishing touches I added a braquet and tiny text. I think the text says something about bananas and waffles but i really can't be sure.
I'd love to see what you all came up with and I hope that this was helpful, and not one of those tutorials that only works for that ONE picture (those aren't much fun. =\ )