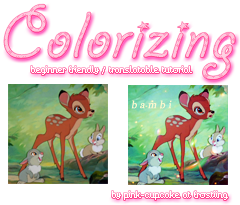
Colorizing ♥
*In this tutorial I'll be teaching
you how to colorize!
Step 1
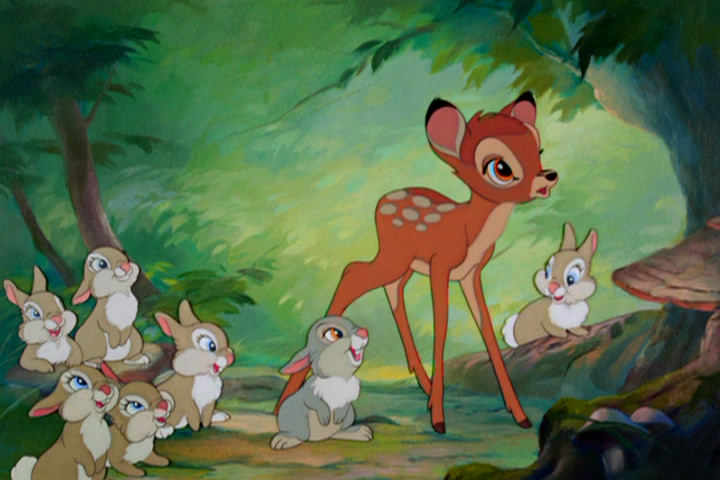
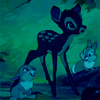
Choose your photo! I picked this one of Bambi, Thumper and Thumper's family.
Step 2
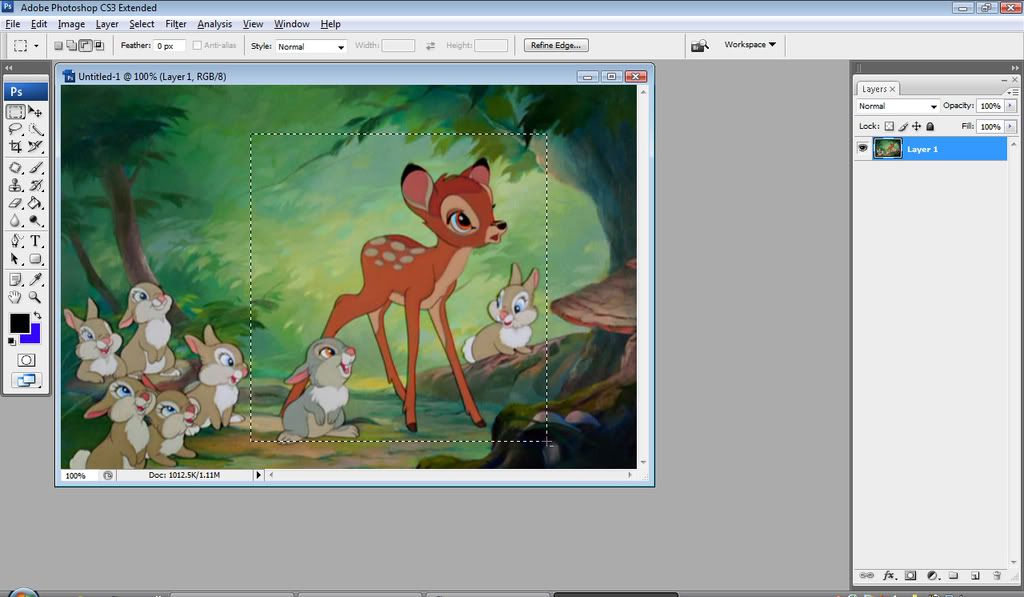
Now we are going to crop. Use your selection tool to make a square. Don't worry about it being perfect, we'll fix that! Here's my crop line:
Step 3
After your square is selected, press CTRL and C at the same time. This will copy your cut!
Step 4
Next, you're going to want to go to File > New. Press okay to the settings, it should be the size of your selection you just copied. After this you'll want to Edit > Paste.
Step 5
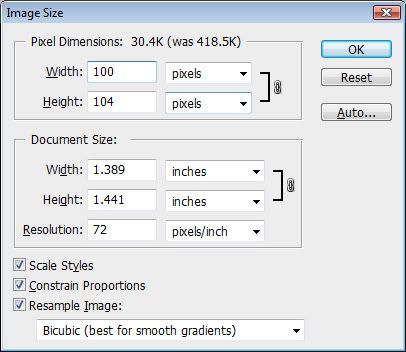
Now we want to go to Image > Image size. Since my cut wasn't a perfect square, I got these dimensions. You're going to want at least 100 for both height and width.
Once that is done, press okay. CTRL C [or Edit > COPY] it again, so you copy your newly resized Bambi.
Step 6
File > New again. This time you should have these settings:
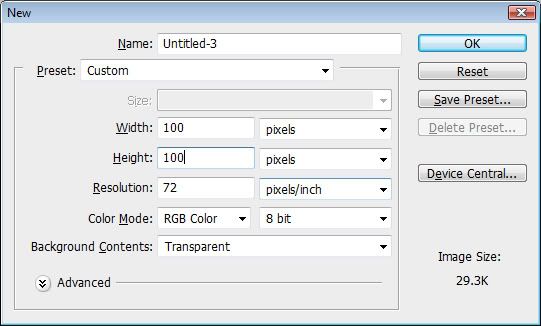
Then press okay.
Step 7
Paste in your Bambi! If it was larger than 100x100, shift it around till you get the crop you want. Mine looks like this:
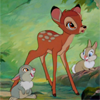
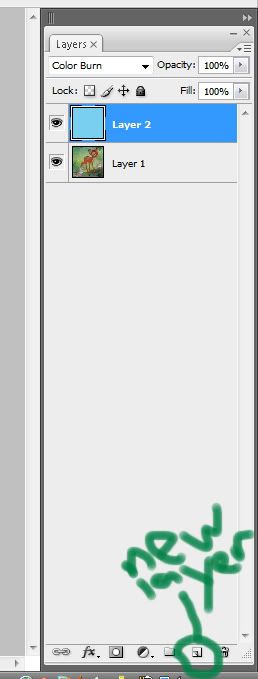
Now, we'll be adding layers. Each of these layers add a color change, making the effect we're going for. Below is how my layer palette looks.
Step 8
Make a new layer by clicking where I've pointed to. [this will vary in a different program] Flood Fill it with #79cfef, then set the layer to COLOR BURN.
Your icon should now look like this:
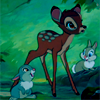
Step 9
Make another layer. This time fill it with #011a29 and set it to EXCLUSION.
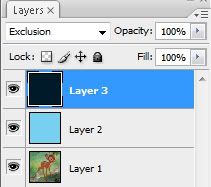
And you should have:
Step 10
We're going to make our last color layer. #79cfef set to color Burn again.
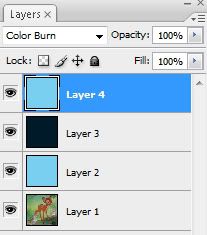
And I have this:

Step 11
Select the Bambi layer.
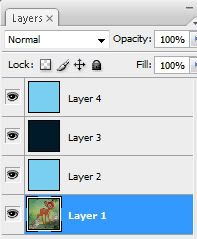
Now press CTRL and A, which should make a dotted line around your icon.
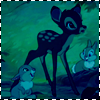
Then press CTRL C or copy.
Step 12
Edit > Paste it as a top layer. Set it to screen.
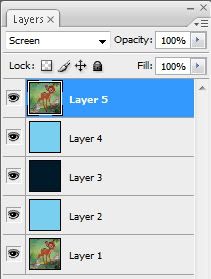
Now I have:

Step 13
Ready to do it again? Edit > Paste Bambi again as the top layer. This time, set it to Soft light

And VOILA! If you're going for a textless deal, you're done!
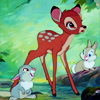
Advanced Steps
Don't be afraid to try!
Next I set this texture as a new top layer

and set it to screen.
After that, I pasted this on top
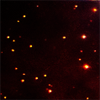
and set this to screen.
Delete all of the excess around Bambi's face, of course!
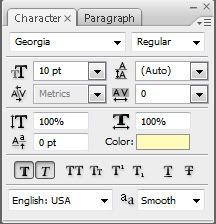
Lastly, I added text. Georgia at 8pt, Italics, and bold.
I right clicked, went to my blending options, and added a WHITE dropshadow, set to normal. I played with the spread until I got a nice shade around the text I liked.
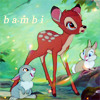
Here is my finished product!
I hope that was helpful! I really hope it was in depth enough. Show me what you do with it! :D
Credits;
*bambi cap: toybirds
*circle light texture: profoundicons
*sparkle texture: ?? @ texturize
you how to colorize!

Step 1
Choose your photo! I picked this one of Bambi, Thumper and Thumper's family.

Step 2
Now we are going to crop. Use your selection tool to make a square. Don't worry about it being perfect, we'll fix that! Here's my crop line:

Step 3
After your square is selected, press CTRL and C at the same time. This will copy your cut!
Step 4
Next, you're going to want to go to File > New. Press okay to the settings, it should be the size of your selection you just copied. After this you'll want to Edit > Paste.
Step 5
Now we want to go to Image > Image size. Since my cut wasn't a perfect square, I got these dimensions. You're going to want at least 100 for both height and width.

Once that is done, press okay. CTRL C [or Edit > COPY] it again, so you copy your newly resized Bambi.
Step 6
File > New again. This time you should have these settings:

Then press okay.
Step 7
Paste in your Bambi! If it was larger than 100x100, shift it around till you get the crop you want. Mine looks like this:

Now, we'll be adding layers. Each of these layers add a color change, making the effect we're going for. Below is how my layer palette looks.
Step 8
Make a new layer by clicking where I've pointed to. [this will vary in a different program] Flood Fill it with #79cfef, then set the layer to COLOR BURN.

Your icon should now look like this:

Step 9
Make another layer. This time fill it with #011a29 and set it to EXCLUSION.

And you should have:

Step 10
We're going to make our last color layer. #79cfef set to color Burn again.

And I have this:

Step 11
Select the Bambi layer.

Now press CTRL and A, which should make a dotted line around your icon.

Then press CTRL C or copy.
Step 12
Edit > Paste it as a top layer. Set it to screen.

Now I have:

Step 13
Ready to do it again? Edit > Paste Bambi again as the top layer. This time, set it to Soft light

And VOILA! If you're going for a textless deal, you're done!

Advanced Steps
Don't be afraid to try!
Next I set this texture as a new top layer

and set it to screen.
After that, I pasted this on top

and set this to screen.
Delete all of the excess around Bambi's face, of course!
Lastly, I added text. Georgia at 8pt, Italics, and bold.

I right clicked, went to my blending options, and added a WHITE dropshadow, set to normal. I played with the spread until I got a nice shade around the text I liked.
Here is my finished product!

I hope that was helpful! I really hope it was in depth enough. Show me what you do with it! :D
Credits;
*bambi cap: toybirds
*circle light texture: profoundicons
*sparkle texture: ?? @ texturize