Texture tutorial
Learn How to:
Make this photo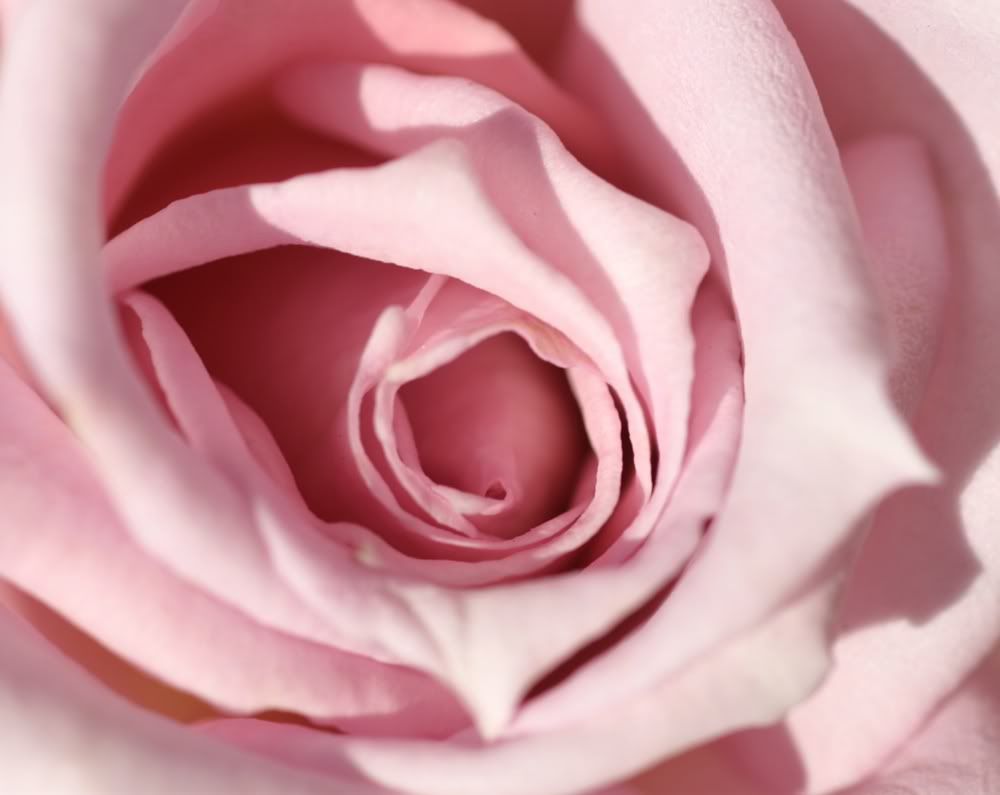
Into this texture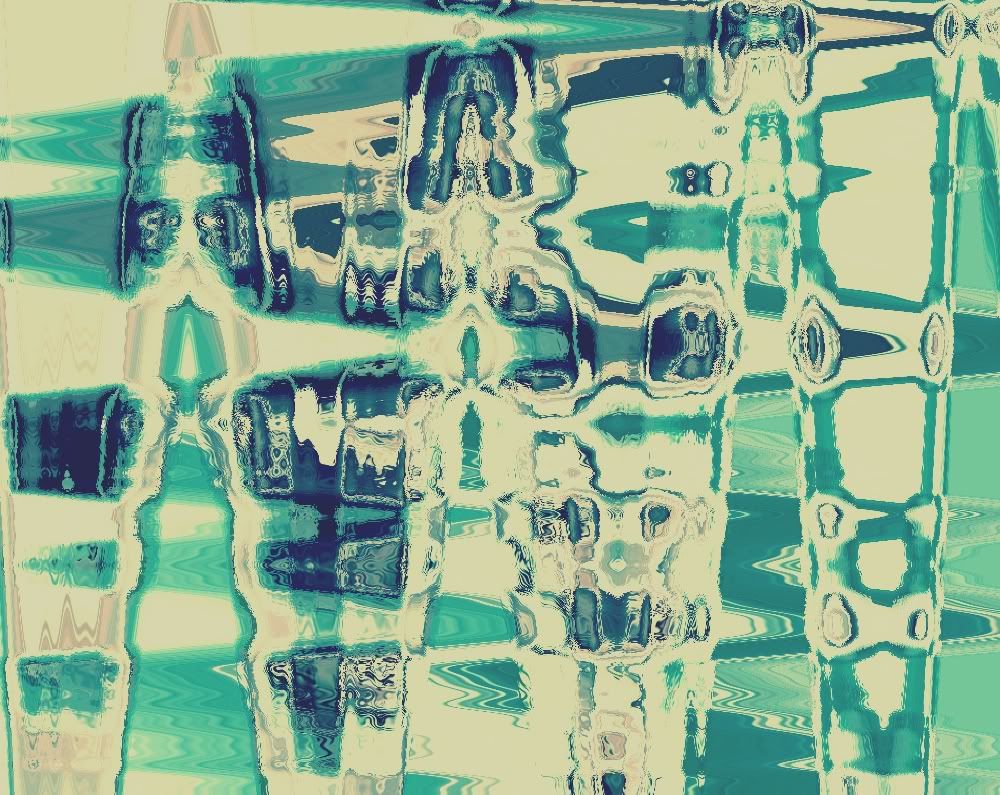
Using Photoshop CS2 I dont really know how translatable it is.
All images are shrunken down. Click on image to enlarge.
Kinda image heavy
All images are shrunken down. Click on image to enlarge.
We're going to go about changing this photo of a rose

into this texture

You can use any photo, but some may work better than others. Please remember to tweak the settings depending on the photo. No need to credit me or anything, but I'd love to hear your thoughts on the textures and tutorial. :)
1. Create a new Color Balance layer. These are the settings I used, but you can tweak them a little to fit your photo's colors.
Shadows: -77 / +34 / +52
Midtones: -100 / +100 / +100
Highlights: -13 / +25 / -45
Preserve Luminosity
This is what we have so far:
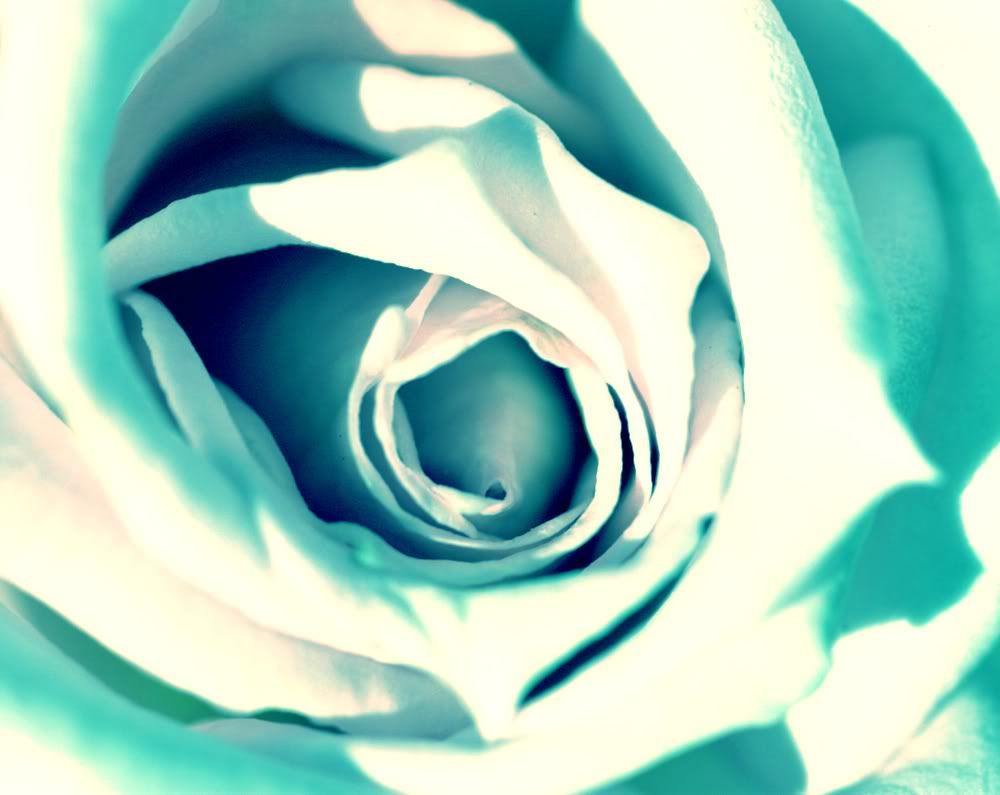
2. Next, I made a new Levels layer and darkened it up a little. The numbers will change depending on the photo and what you want, but I did:
RGB:
Input Levels: -63 / 1.00 / 255
Output Levels: 0 / 255
After this step, we have:
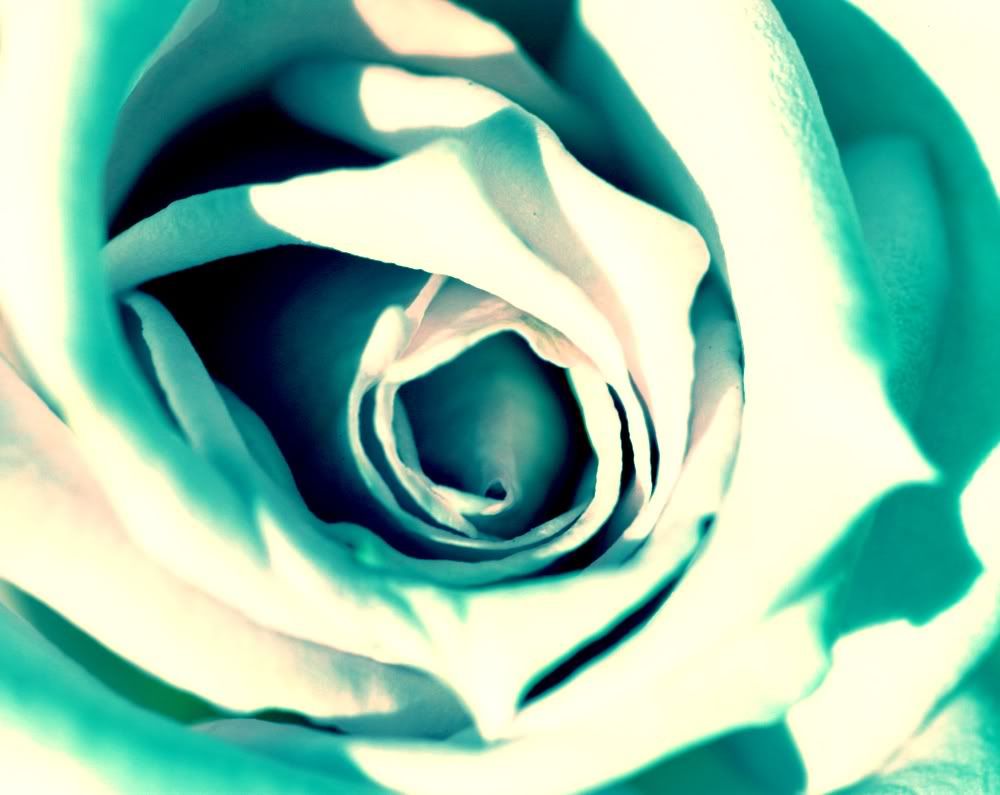
3. Now, I wanted to dull it down a little so I made a new layer, filled it with a dark grayish blue, # 28294c and set it to Exclusion. Note, depending on your colors this step may change or be unnecessary.
After adding this layer I flattened my image.
Here is what we have:
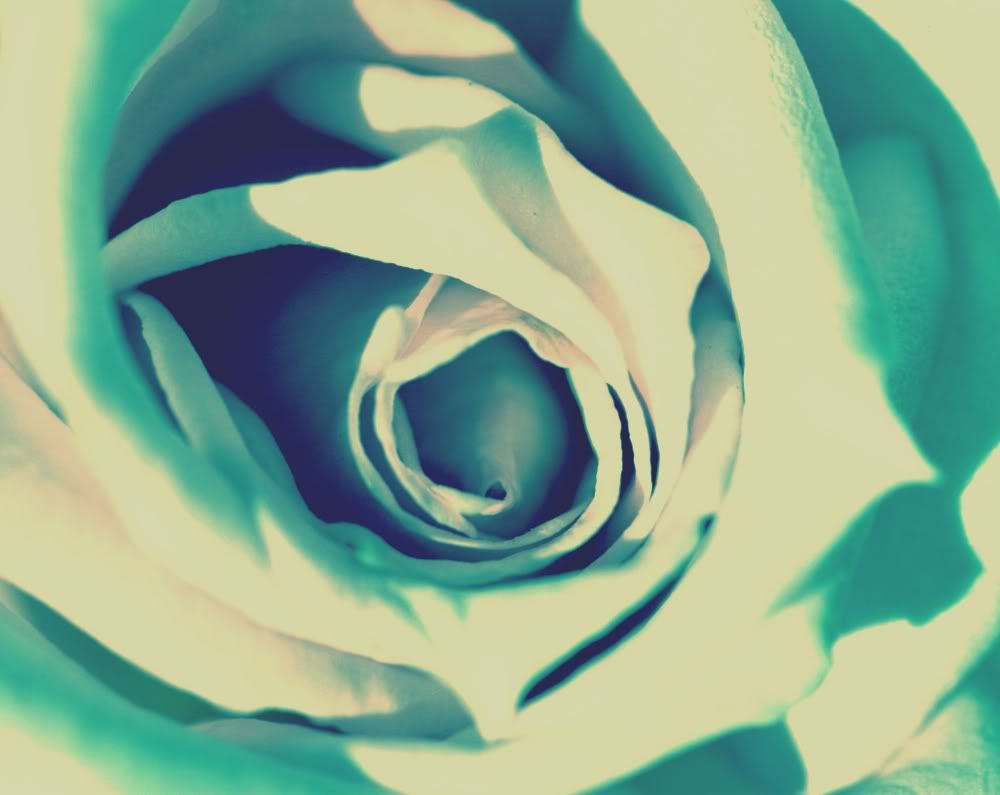
4. So the coloring is done now (Note: You can color this any way you like and it will still work.) but now we need to make it into a texture. We're going to use filters for this. Go to Filter > Distort > Ripple. I then set it at the following, but play aroud to get the effect you like.
Amount: 999%
Size: Medium
So Far:
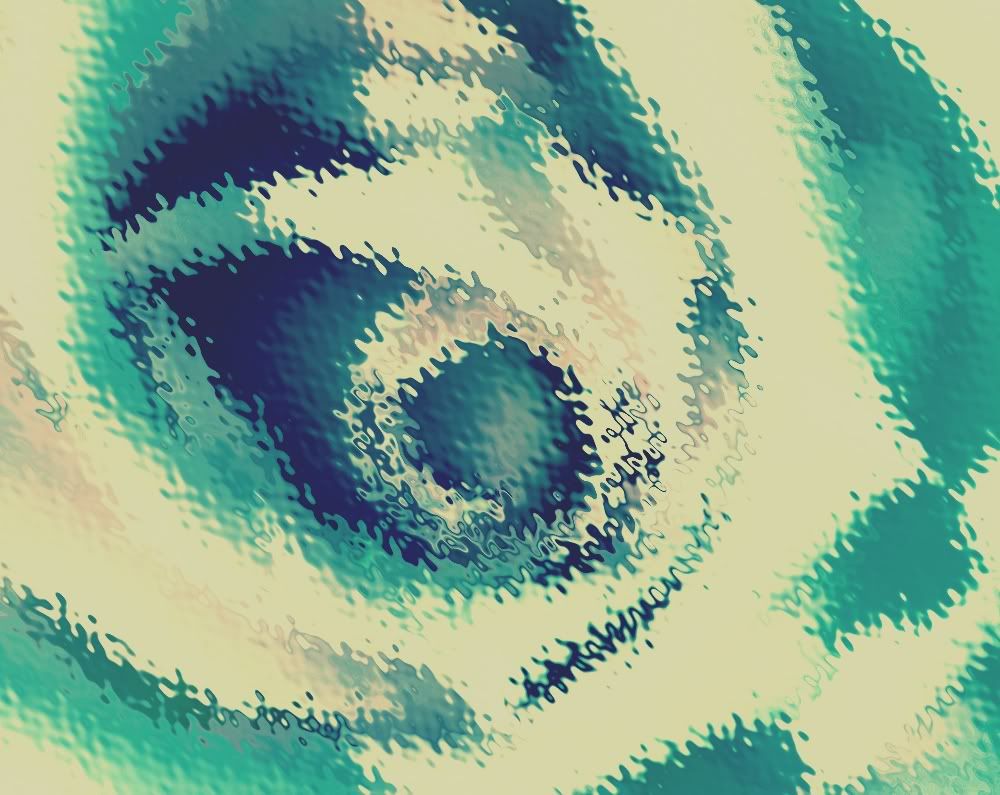
5. We're going back to the filters. Go Filter > Distort > Twirl. I set mine at about 133%
With the twirl:

It's starting to look more like a texture.
6. Back to the filters one more time. Go to Filter > Distort > Wave. I usually just play around with these til i find something i like, and you can also hit the randomize button to get new effects. My final settings for this texture are below.
Number of Generators: 53
Wavelength: Min: 10 / Max: 149
Amplitude: Min: 5 / Max: 105
Scale: Horiz: 100% / Vert: 100%
Repeat Edge Pixels
Type: Sine
Final Product:

And you're done! You can use it that size or you can cut it up into smaller textures if you want.
*
*
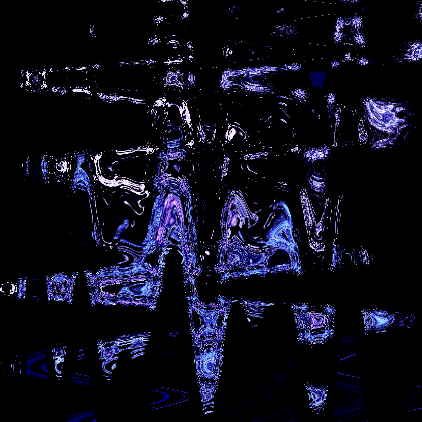
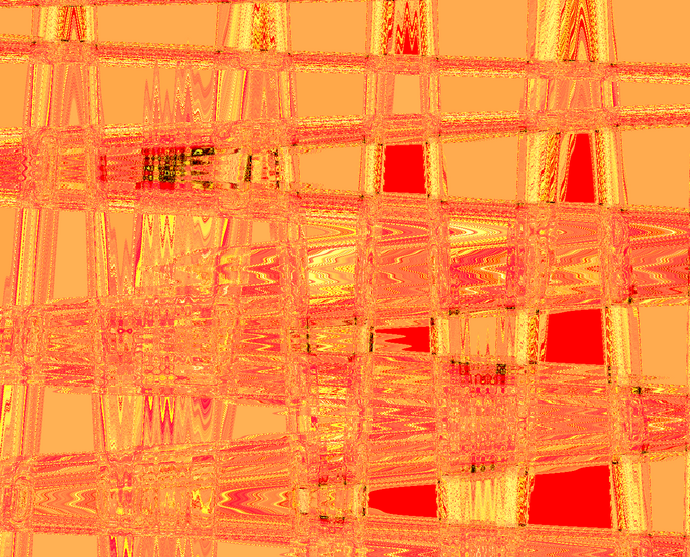
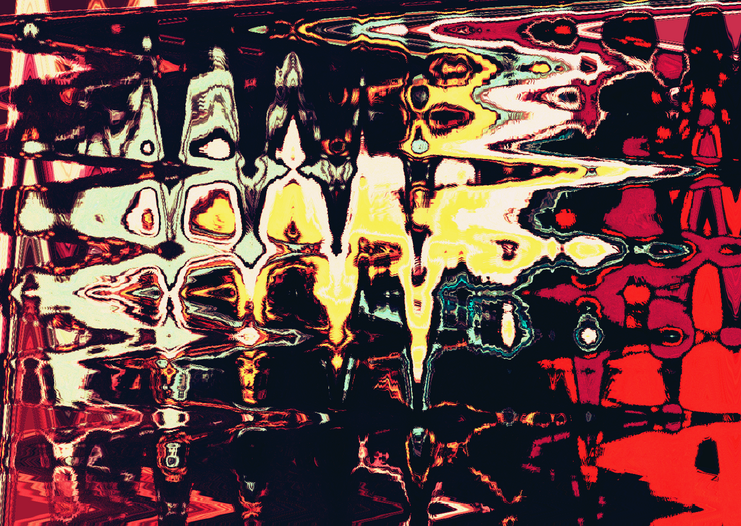
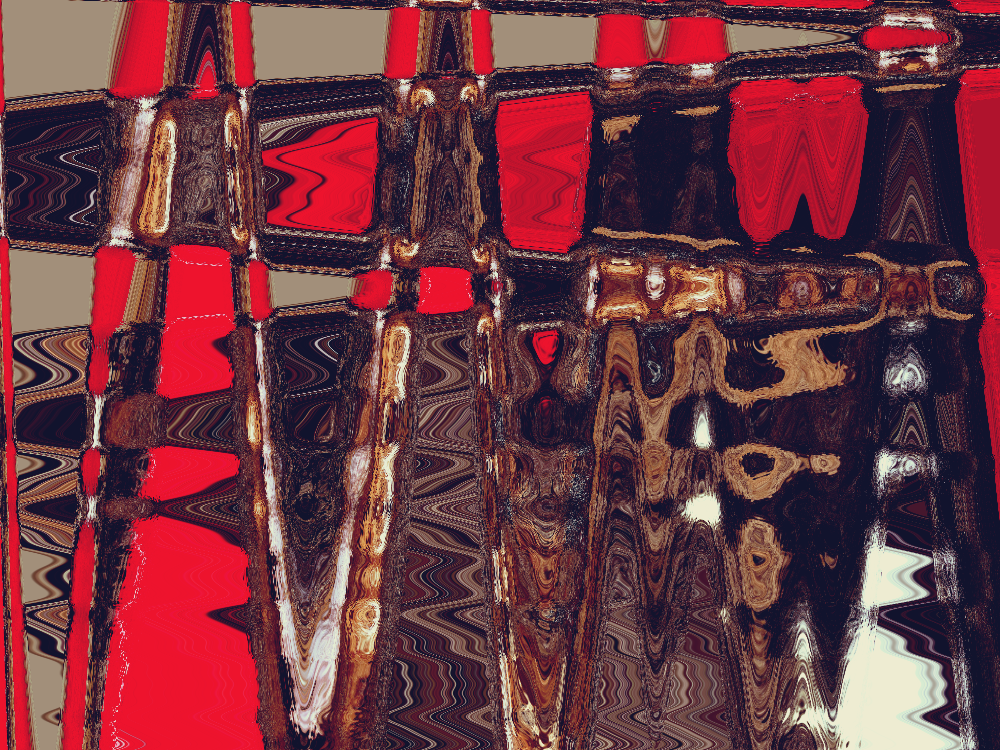
Here are some other examples of textures made with this method by tweaking settings (click for full size):
*
*
*
If you have any questions please ask, and remember, I'd love to know what you think. Enjoy!
Make this photo
Into this texture
Using Photoshop CS2 I dont really know how translatable it is.
All images are shrunken down. Click on image to enlarge.
Kinda image heavy
All images are shrunken down. Click on image to enlarge.
We're going to go about changing this photo of a rose
into this texture
You can use any photo, but some may work better than others. Please remember to tweak the settings depending on the photo. No need to credit me or anything, but I'd love to hear your thoughts on the textures and tutorial. :)
1. Create a new Color Balance layer. These are the settings I used, but you can tweak them a little to fit your photo's colors.
Shadows: -77 / +34 / +52
Midtones: -100 / +100 / +100
Highlights: -13 / +25 / -45
Preserve Luminosity
This is what we have so far:
2. Next, I made a new Levels layer and darkened it up a little. The numbers will change depending on the photo and what you want, but I did:
RGB:
Input Levels: -63 / 1.00 / 255
Output Levels: 0 / 255
After this step, we have:
3. Now, I wanted to dull it down a little so I made a new layer, filled it with a dark grayish blue, # 28294c and set it to Exclusion. Note, depending on your colors this step may change or be unnecessary.
After adding this layer I flattened my image.
Here is what we have:
4. So the coloring is done now (Note: You can color this any way you like and it will still work.) but now we need to make it into a texture. We're going to use filters for this. Go to Filter > Distort > Ripple. I then set it at the following, but play aroud to get the effect you like.
Amount: 999%
Size: Medium
So Far:
5. We're going back to the filters. Go Filter > Distort > Twirl. I set mine at about 133%
With the twirl:
It's starting to look more like a texture.
6. Back to the filters one more time. Go to Filter > Distort > Wave. I usually just play around with these til i find something i like, and you can also hit the randomize button to get new effects. My final settings for this texture are below.
Number of Generators: 53
Wavelength: Min: 10 / Max: 149
Amplitude: Min: 5 / Max: 105
Scale: Horiz: 100% / Vert: 100%
Repeat Edge Pixels
Type: Sine
Final Product:
And you're done! You can use it that size or you can cut it up into smaller textures if you want.
*
*
Here are some other examples of textures made with this method by tweaking settings (click for full size):
*
*
*
If you have any questions please ask, and remember, I'd love to know what you think. Enjoy!