Tutorial #9
Requested by smidgy06.
Created in PSE 4.0
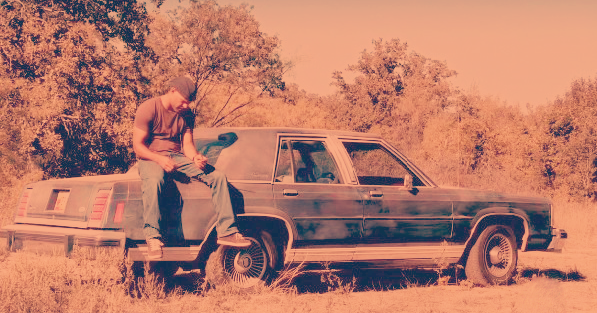
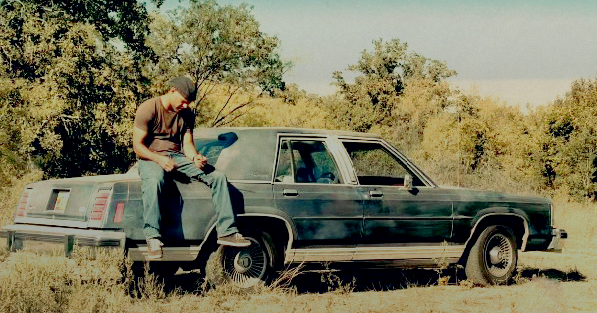
Go from
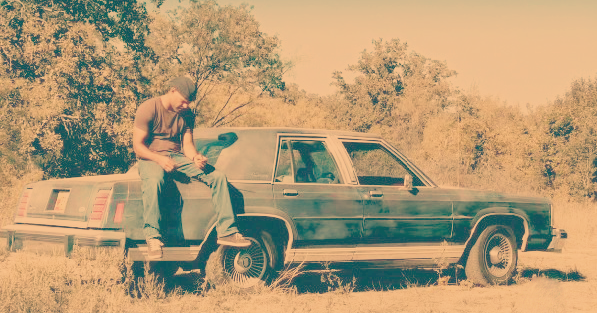
to
Tutorial #9
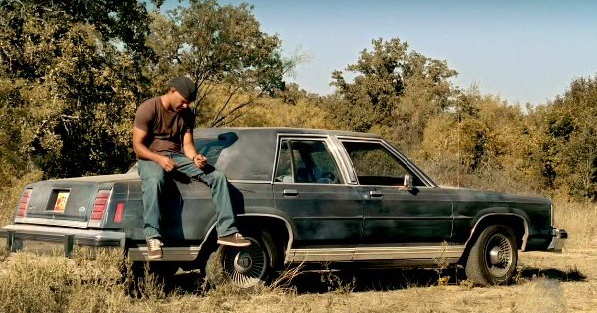
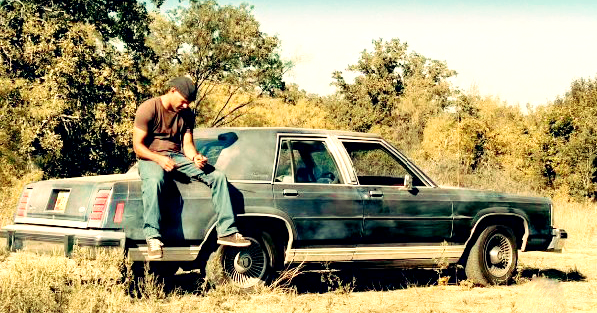
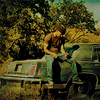
1. Take this cap of Prison Break's Amaury Nolasco.
2. For the base, I cropped a little off the length at the bottom.
3. Duplicate base and set to Screen 100% opacity.
4. Fill layer with #53BBE1 and set to Saturation 10% opacity.

5. Fill layer with #042D4A and set to Exclusion 100% opacity.
6. Fill layer with #F5C88D and set to Multiply 100% opacity.
7. Fill layer with #FF99CC and set to Soft Light 100% opacity.
8. Fill layer with #66CC99 and set to Soft Light 100% opacity.
9. Fill layer with #2A88C4 and set to Color Burn 30% opacity.
10. Duplicate base and bring to top. Set to Screen 70% opacity.
11. Duplicate base and bring to top. Set to Soft Light 60% opacity.

12. Go to Layer -> New Adjustment Layer -> Brightness/Contrast. Adjust settings like so:
Brightness -5
Contrast +28
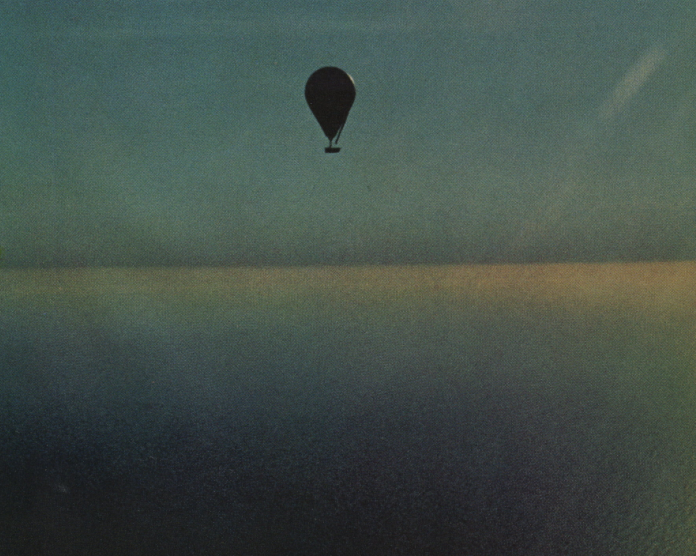
13. Paste this texture by gender. Set to Darken 40% opacity.
I nudged the texture up and made sure to crop the balloon out of the picture.
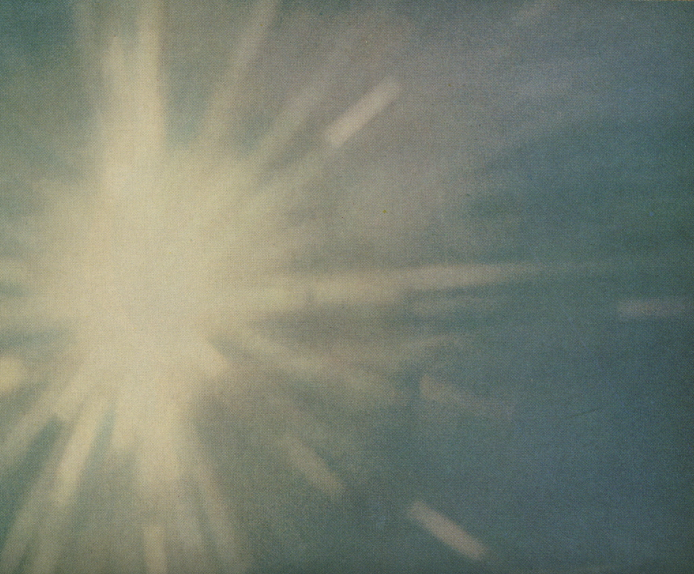
14. Paste this texture by lovelamp013. Set to Screen 45% opacity.
15. Paste this texture by gender. Set to Color Burn 75% opacity.
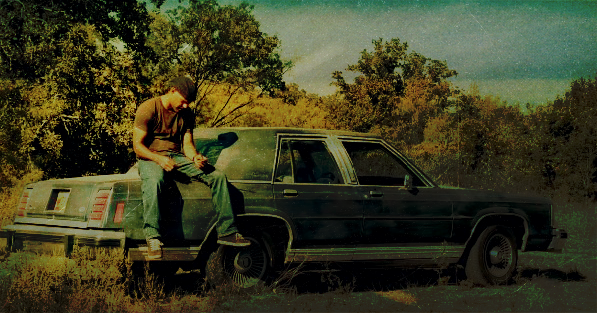
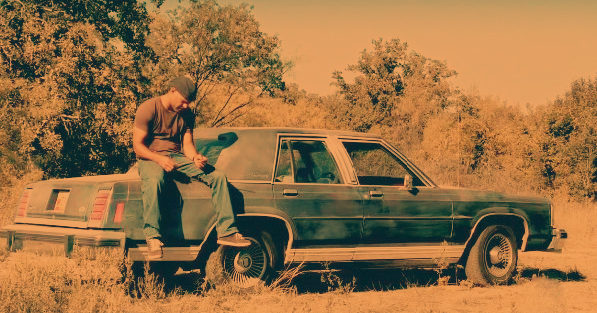
Voila, we're done!
Matching icon:
I simply cropped the icon from the banner.
Duplicate base and sharpen layer (Filter -> Sharpen -> Sharpen). Keep setting at Normal 40% opacity.
Hope you enjoyed the tut. Comments are ♥... thanx!
Cross-posted at header_tutorial & icon_tutorial
Created in PSE 4.0
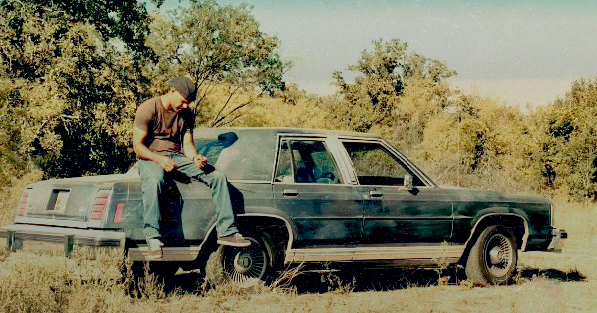
Go from

to

Tutorial #9
1. Take this cap of Prison Break's Amaury Nolasco.
2. For the base, I cropped a little off the length at the bottom.
3. Duplicate base and set to Screen 100% opacity.
4. Fill layer with #53BBE1 and set to Saturation 10% opacity.
5. Fill layer with #042D4A and set to Exclusion 100% opacity.
6. Fill layer with #F5C88D and set to Multiply 100% opacity.
7. Fill layer with #FF99CC and set to Soft Light 100% opacity.
8. Fill layer with #66CC99 and set to Soft Light 100% opacity.
9. Fill layer with #2A88C4 and set to Color Burn 30% opacity.
10. Duplicate base and bring to top. Set to Screen 70% opacity.
11. Duplicate base and bring to top. Set to Soft Light 60% opacity.
12. Go to Layer -> New Adjustment Layer -> Brightness/Contrast. Adjust settings like so:
Brightness -5
Contrast +28
13. Paste this texture by gender. Set to Darken 40% opacity.
I nudged the texture up and made sure to crop the balloon out of the picture.
14. Paste this texture by lovelamp013. Set to Screen 45% opacity.
15. Paste this texture by gender. Set to Color Burn 75% opacity.
Voila, we're done!
Matching icon:
I simply cropped the icon from the banner.
Duplicate base and sharpen layer (Filter -> Sharpen -> Sharpen). Keep setting at Normal 40% opacity.
Hope you enjoyed the tut. Comments are ♥... thanx!
Cross-posted at header_tutorial & icon_tutorial