Chocolate making picspam and instructions part II: outer layer, ganache and finishing
I approve of the quantity of admiring comments I received. :)
Where we left off, we had decorated moulds and also delicious chocolate allspice apples and tea (<- not essential to the process.) Let's say we've waited long enough that the chocolate decoration has cooled. Now for the next step - the outer layer of the chocolates.

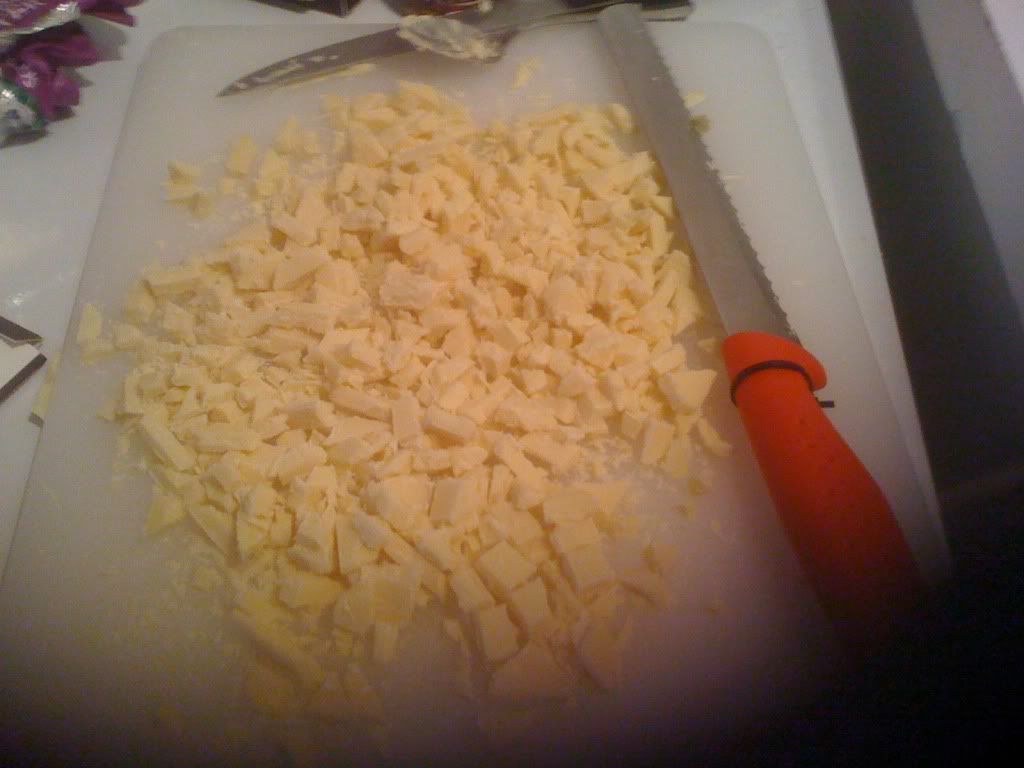
This time we take four hundred gram of the white chocolate and give it the same treatment:

Here it is ready to go into the microwave and undergo the attempt at tempering. End result:
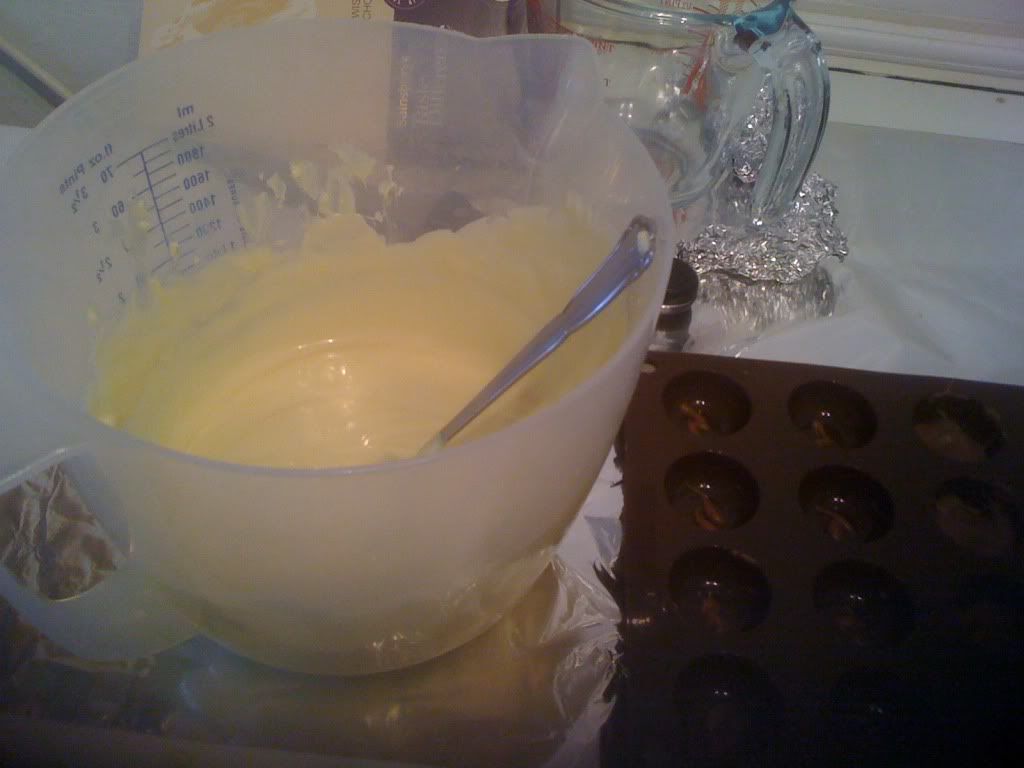
That's a lot of molten chocolate... and also ended up being just about precisely the right amount!
While the chocolate was in the microwave I decided to try my hand at some craftsy stuff.
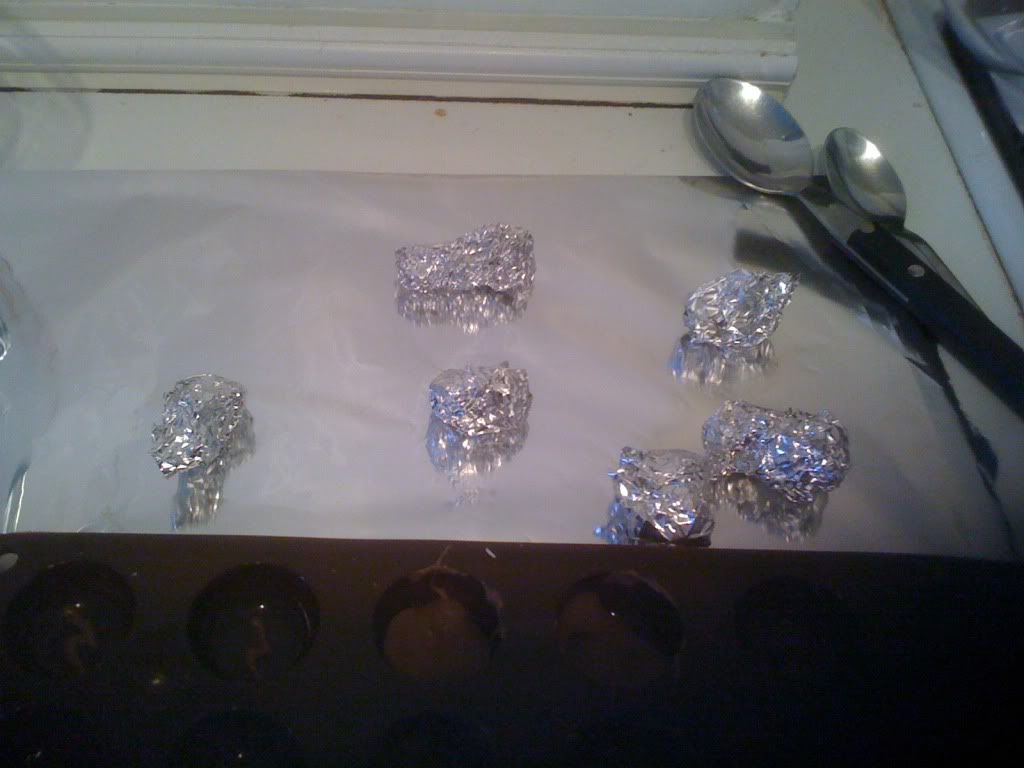
You see, how you get the outer layer of the chocolate shells is: you fill the moulds with molten chocolate, turn them upside and let the chocolate drip out and solidify. The thing is, a) the moulds actually have to remain upside down until the chocolate grows solid, b) the chocolate has to be able to flow out of the mould, i.e. you can't just leave it on the countertop. Ideally, you'd have a grill type thing or something to put it on... which I don't! As a result, I'm forced to improvise via trying to raise the chocolate a bit above the counter with the balls of foil depicted here and (not pictured here) random kitchen utensils such as peelers or so. It is something of a hassle but works reasonably well. :/
Back to the actual process.

All of my chocolate just about fills each of the moulds. Next step, not depicted here because it's messy and I needed both of my hands, is upending this thing over the bowl you melted the chocolate in and letting it drip back out. This is one of the main reasons it's a good idea to have foil or something on your work surface - in this step chocolate is likely to get EVERYWHERE. Once the flow of chocolate has mostly ceased, transfer it - still upside down - to something that will keep it in the air a bit until the chocolate hardens.

I think you can see what I mean by "I had to improvise" in this picture, given the wide variety of things holding the mould slightly above the counter (including but not limited to said aluminium balls, kitchen knives, a potato peeler and a knife sharpener). :( At least it worked?
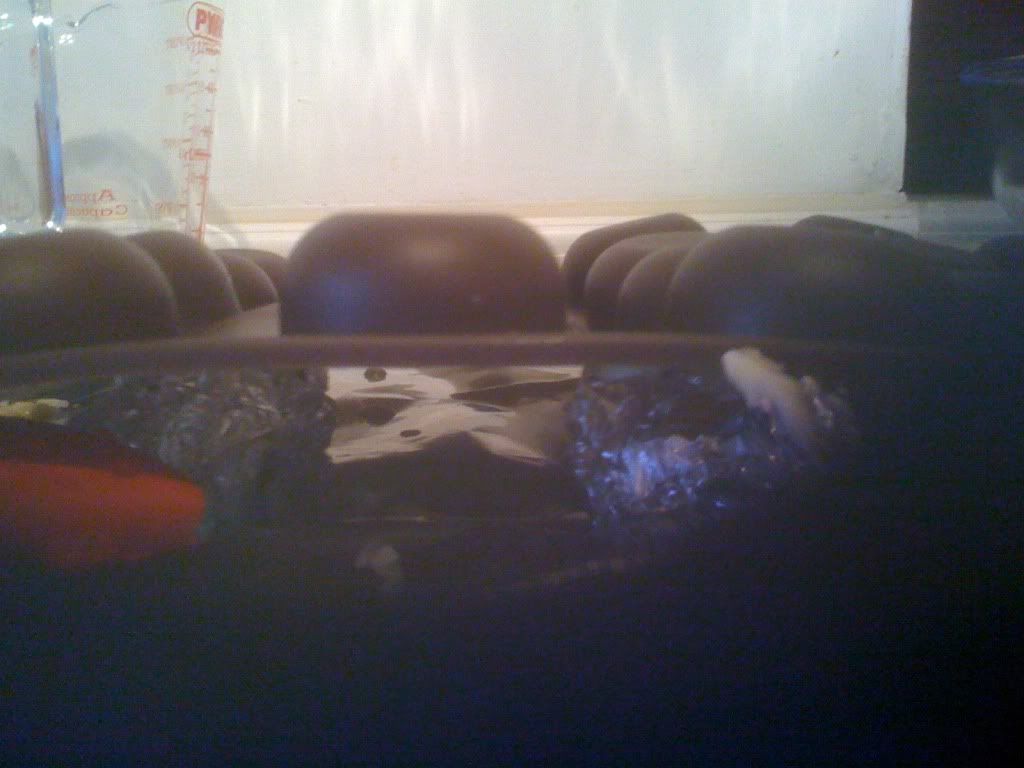
Here it is closer up, so you can hopefully see that there are a few centimetres space.
Now is the time for more tea, more internet, possibly dinner etc. while we wait for this to harden.
Once the chocolate is solid, we can turn the mould back the right way around, remove any foil that's got stuck to it, to (hopefully) get something that looks a bit like this:
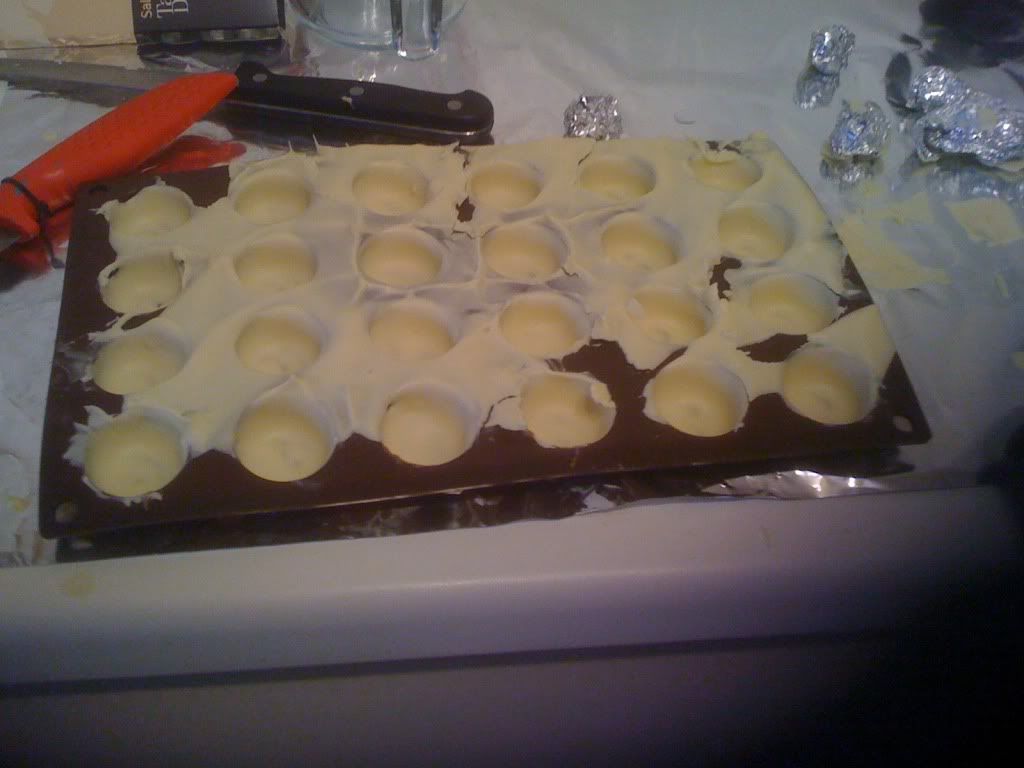
There's a thin layer (about 1 millimetre or so) of white chocolate in the moulds now, and you can see that there are dark spots where the patterns will be. I worry about them getting ruined via the white chocolate melting them - not something you'd have to worry about if you can get the chocolate tempered because then it'd have a much higher melting point but ahahahaha that's a big if - but that's never actually happened to me in practice, so. *has managed to do Euler's identity in chocolate hearts with this method! :)*
Next step - there's a lot of extraneous chocolate on top of the mould. We scrape that off with a knife, carefully.

Don't they just look as if they're begging you to fill them? :)
NOW FOR THE FILLING, aka ganache. What we need for this:

150 ml double cream, about to be heated to boiling or near boiling in the microwave. Usually I'd add the amaretto/any other liquids/liqueurs at this step as well (has the advantage that you remove most of the actual alcohol!), but this time I don't want it in all the ganache so it gets added later.
200g white chocolate, chopped. We stir this and about 1-2 tablespoons of soft butter (not depicted here) into the hot cream - the cream will melt the chocolate. The book tells me to do it this way around and not by e.g. heating the chocolate and then adding cold cream so that we get a nice emulsion. (I've never done it the other way around but can tell from experience that it is possible to get a ganache to separate by, forex, sticking it in the microwave afterwards - it's pretty useless then.)
And here is the result! This is the basic ganache which I will now add stuff to. :)
A note: Because I'm making chocolates with moulds and not truffles (i.e., make a ball of filling and dunk that in molten chocolate for the covering) the filling can be relatively liquid so the proportions can be pretty rough. In particular, I like my chocolates to have a relatively liquidy centre - I think I'd actually add even more cream next time! :) If you want to make truffles, you need a different recipe with much less cream and need to be more precise.
Now for the flavouring. I separated out about a third of the ganache into another bowl and started stirring in redcurrant jelly.
It turns out redcurrant jelly doesn't mix smoothly into ganache - I tried my very best and even attacked the thing with an egg whisk, but it still shows up in red flecks, sort of as if my chocolates had just developed chicken pox. :/ Not that you can see the filling afterwards but my artistic sense was not so keen on this development. These chocolates ended up tasting decent, but the other ones were definitely better. I think I was also a bit cautious with the redcurrant, so you didn't actually end up tasting very much at all. If I want to repeat this experiment I will have to have a long think about how to do this better.
But for now we fill the chocolates.

Here the book suggests using a squirty thing (which I don't own) to fill the ganache into the moulds. I use a teaspoon instead, which works pretty well. You do have to be quite careful, though, as you do *not* want spillage. I had a few accidents in terms of accidentally dripping a bit over the side and did my best to get it off with a kitchen towel; you want the chocolates totally sealed off afterwards, after all.
Also, note that you need to leave about 1mm of space in the moulds. This is important! You need to leave some space to seal off the filling with molten chocolate again. Better underfilling than overfilling here.

Second filling; I'm adding vanilla and amaretto (this part not pictured - I added a generous splash, probably around 1-2 tablespoons.) If you've never used a vanilla bean before, you slice it open and then scrape out the seeds with the tip of a knife - slightly messy business and would probably be more fun if you weren't thinking "I just spent n pounds on this tiny thing MUST NOT WASTE MUST NOT WASTE". >>

Here's the finished ganache. You probably can't tell due to the image quality but there are black specks from the vanilla seeds in there.
I can never quite decide whether I prefer these with or without cinnamon; my mother tells me a mixture is good so they don't all taste the same and boring. I didn't feel like splitting up the ganache again and didn't realise I could've just filled eight moulds and then added cinnamon to what I had left, so instead I dusted a little cinnamon in eight of the moulds before filling them - the chocolates end up with a bit of cinnamon trapped at the top. Worked out okay in practice, although I think I could have been a bit more generous with it.
Filling is the same procedure as before - teaspoon, carefully to avoid spillage.
Aaaand I made way too much ganache. Oops.
Something I forgot to do this time but have done before and is a very, very good tip for what to do with leftover ganache: buy flan bases. (Base for ex German fruit cakes, which you can bake yourself but can also buy, which I have seen available in the UK at least.) Filling leftover ganache into those makes for a very nice cake afterwards. :) I'd meant to buy some small ones but forgot so I am afraid I had to eat all the leftover ganache on its own. *it's a hard life, man.*
At this point we wait a bit for the ganache to cool - the book suggests actually leaving it out overnight to dry out a bit but I wanted to get this DONE DAMMIT. :/ So after another break for internet, tea, nomming ganache, nomming chocolate allspice apples, etc. we finish it off.

More molten chocolate! Instead of chopping more I ended up using the leftover chocolate from doing the outer layer for the moulds - because of the filling-completely-then-letting-excess-drip-out thing you unavoidably end up with a lot of leftover chocolate, and the amount this time was just about exactly right for finishing. Also, because I was in spoon deficit already at this point I just melted it and didn't bother with tempering.

Fill each mould to the top with molten chocolate, then scrape across the top of all of them with a kitchen knife to remove the excess and (attempt to) get a smooth bottom. At this point I'd been planning to gently push some chopped hazelnuts on top of some of the amaretto-vanilla ones to give them a sort of hazelnut foot but a) I couldn't find chopped hazelnuts b) I wouldn't have had the spoons anyway. SO I have no idea if that would work, but it's an idea. (the truffle version of this recipe I often end up coating in hazelnuts and it tastes quite nummy, although you have to be sure no one with a nut allergy will want any of these if you do it.)
At this point the remaining chocolate needs to solidify, so you totter off to bed leaving your kitchen in a frightful mess and totally unable to face the coming Monday s-sob. Er. I mean.
Once everything's cooled and is quite solid, you can work each chocolate free from the mould. This stage is MUCH, MUCH EASIER if you managed to get the outer layer of your chocolate tempered, because then the layer is thicker, sticks less and doesn't break as easily. If it's not, you will probably lose a few chocolates to cracking during this process and be forced to eat them right away, what hardship. (I've had someone suggest freezing the chocolates before trying to remove them but have no idea who told me this, have never tried it myself and am a bit dubious tbh.) This time I lucked out re: tempering so I got them all out unharmed.

THE FRUITS OR RATHER CHOCOLATES OF MY LABOUR. Twenty-four - less in the picture because I already ate some - pieces of delicious nommy goodness - you can tell from the glossiness that I somehow succeeded at tempering the chocolate for the outer layer (the bottom one is different because I didn't even bother trying, but I didn't take a picture with that visible so you can't see the contrast here.) The white stuff on the top of the milk chocolate-topped ones is probably some kind of chocolate bloom which I don't know much about but is one of things chocolate does that you don't want it to because it makes it look less pretty etc. etc., probably here because I didn't temper the milk chocolate correctly. In commercial production people try very hard to avoid this, I am not a professional chocolatier, I COULD NOT CARE LESS.
Were they worth the spoons? Er, probably not, but at least I get to show off. :)
Where we left off, we had decorated moulds and also delicious chocolate allspice apples and tea (<- not essential to the process.) Let's say we've waited long enough that the chocolate decoration has cooled. Now for the next step - the outer layer of the chocolates.
This time we take four hundred gram of the white chocolate and give it the same treatment:
Here it is ready to go into the microwave and undergo the attempt at tempering. End result:
That's a lot of molten chocolate... and also ended up being just about precisely the right amount!
While the chocolate was in the microwave I decided to try my hand at some craftsy stuff.
You see, how you get the outer layer of the chocolate shells is: you fill the moulds with molten chocolate, turn them upside and let the chocolate drip out and solidify. The thing is, a) the moulds actually have to remain upside down until the chocolate grows solid, b) the chocolate has to be able to flow out of the mould, i.e. you can't just leave it on the countertop. Ideally, you'd have a grill type thing or something to put it on... which I don't! As a result, I'm forced to improvise via trying to raise the chocolate a bit above the counter with the balls of foil depicted here and (not pictured here) random kitchen utensils such as peelers or so. It is something of a hassle but works reasonably well. :/
Back to the actual process.
All of my chocolate just about fills each of the moulds. Next step, not depicted here because it's messy and I needed both of my hands, is upending this thing over the bowl you melted the chocolate in and letting it drip back out. This is one of the main reasons it's a good idea to have foil or something on your work surface - in this step chocolate is likely to get EVERYWHERE. Once the flow of chocolate has mostly ceased, transfer it - still upside down - to something that will keep it in the air a bit until the chocolate hardens.
I think you can see what I mean by "I had to improvise" in this picture, given the wide variety of things holding the mould slightly above the counter (including but not limited to said aluminium balls, kitchen knives, a potato peeler and a knife sharpener). :( At least it worked?
Here it is closer up, so you can hopefully see that there are a few centimetres space.
Now is the time for more tea, more internet, possibly dinner etc. while we wait for this to harden.
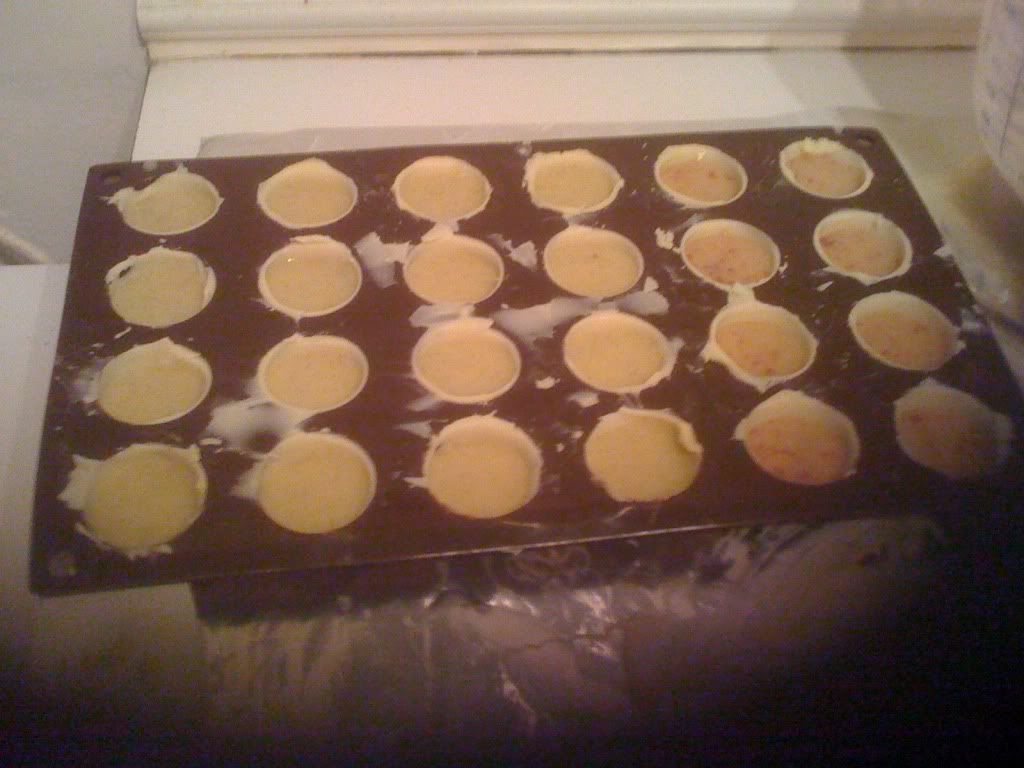
Once the chocolate is solid, we can turn the mould back the right way around, remove any foil that's got stuck to it, to (hopefully) get something that looks a bit like this:
There's a thin layer (about 1 millimetre or so) of white chocolate in the moulds now, and you can see that there are dark spots where the patterns will be. I worry about them getting ruined via the white chocolate melting them - not something you'd have to worry about if you can get the chocolate tempered because then it'd have a much higher melting point but ahahahaha that's a big if - but that's never actually happened to me in practice, so. *has managed to do Euler's identity in chocolate hearts with this method! :)*
Next step - there's a lot of extraneous chocolate on top of the mould. We scrape that off with a knife, carefully.
Don't they just look as if they're begging you to fill them? :)
NOW FOR THE FILLING, aka ganache. What we need for this:
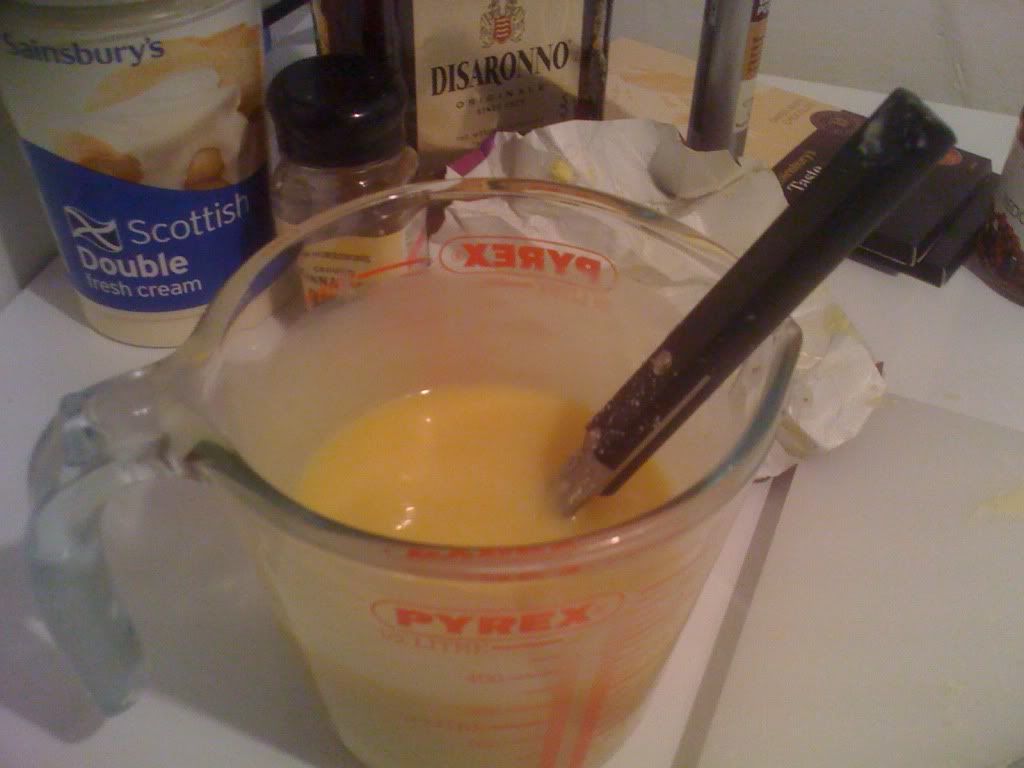
150 ml double cream, about to be heated to boiling or near boiling in the microwave. Usually I'd add the amaretto/any other liquids/liqueurs at this step as well (has the advantage that you remove most of the actual alcohol!), but this time I don't want it in all the ganache so it gets added later.
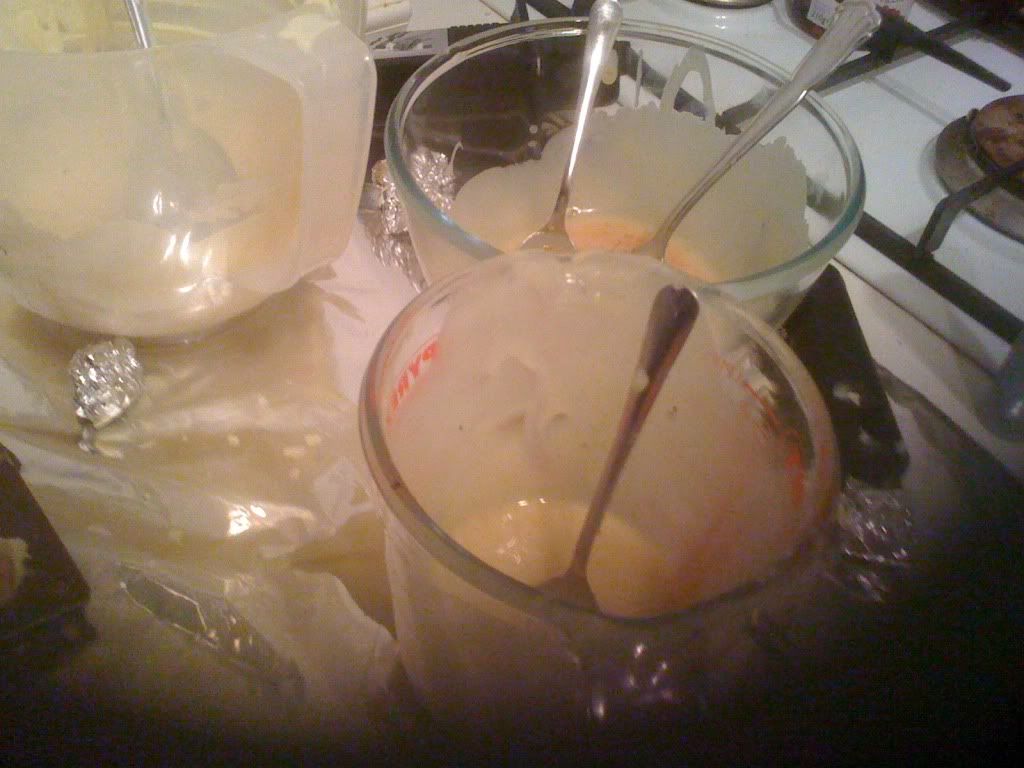
200g white chocolate, chopped. We stir this and about 1-2 tablespoons of soft butter (not depicted here) into the hot cream - the cream will melt the chocolate. The book tells me to do it this way around and not by e.g. heating the chocolate and then adding cold cream so that we get a nice emulsion. (I've never done it the other way around but can tell from experience that it is possible to get a ganache to separate by, forex, sticking it in the microwave afterwards - it's pretty useless then.)
And here is the result! This is the basic ganache which I will now add stuff to. :)
A note: Because I'm making chocolates with moulds and not truffles (i.e., make a ball of filling and dunk that in molten chocolate for the covering) the filling can be relatively liquid so the proportions can be pretty rough. In particular, I like my chocolates to have a relatively liquidy centre - I think I'd actually add even more cream next time! :) If you want to make truffles, you need a different recipe with much less cream and need to be more precise.
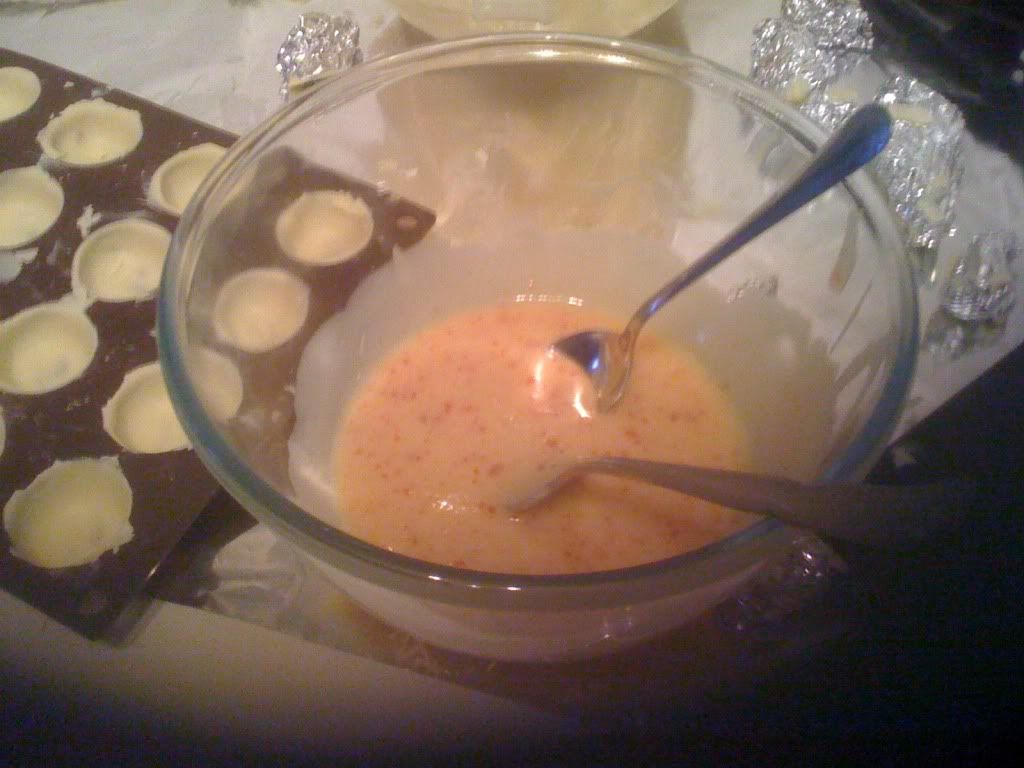
Now for the flavouring. I separated out about a third of the ganache into another bowl and started stirring in redcurrant jelly.
It turns out redcurrant jelly doesn't mix smoothly into ganache - I tried my very best and even attacked the thing with an egg whisk, but it still shows up in red flecks, sort of as if my chocolates had just developed chicken pox. :/ Not that you can see the filling afterwards but my artistic sense was not so keen on this development. These chocolates ended up tasting decent, but the other ones were definitely better. I think I was also a bit cautious with the redcurrant, so you didn't actually end up tasting very much at all. If I want to repeat this experiment I will have to have a long think about how to do this better.
But for now we fill the chocolates.
Here the book suggests using a squirty thing (which I don't own) to fill the ganache into the moulds. I use a teaspoon instead, which works pretty well. You do have to be quite careful, though, as you do *not* want spillage. I had a few accidents in terms of accidentally dripping a bit over the side and did my best to get it off with a kitchen towel; you want the chocolates totally sealed off afterwards, after all.
Also, note that you need to leave about 1mm of space in the moulds. This is important! You need to leave some space to seal off the filling with molten chocolate again. Better underfilling than overfilling here.
Second filling; I'm adding vanilla and amaretto (this part not pictured - I added a generous splash, probably around 1-2 tablespoons.) If you've never used a vanilla bean before, you slice it open and then scrape out the seeds with the tip of a knife - slightly messy business and would probably be more fun if you weren't thinking "I just spent n pounds on this tiny thing MUST NOT WASTE MUST NOT WASTE". >>
Here's the finished ganache. You probably can't tell due to the image quality but there are black specks from the vanilla seeds in there.
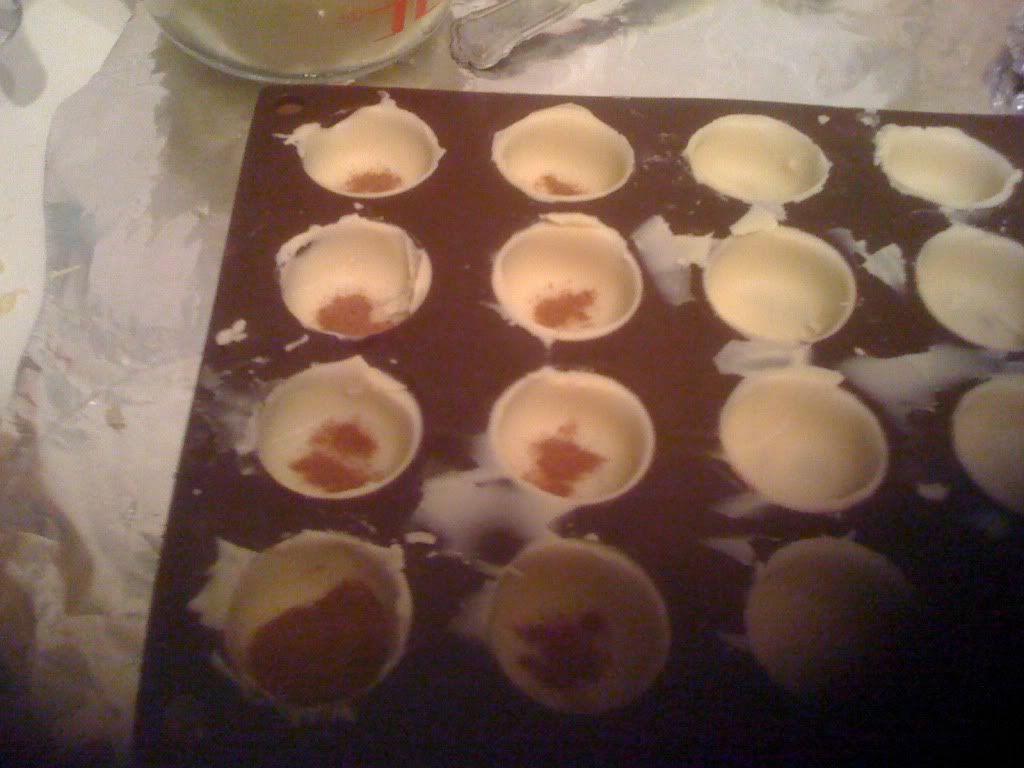
I can never quite decide whether I prefer these with or without cinnamon; my mother tells me a mixture is good so they don't all taste the same and boring. I didn't feel like splitting up the ganache again and didn't realise I could've just filled eight moulds and then added cinnamon to what I had left, so instead I dusted a little cinnamon in eight of the moulds before filling them - the chocolates end up with a bit of cinnamon trapped at the top. Worked out okay in practice, although I think I could have been a bit more generous with it.
Filling is the same procedure as before - teaspoon, carefully to avoid spillage.
Aaaand I made way too much ganache. Oops.
Something I forgot to do this time but have done before and is a very, very good tip for what to do with leftover ganache: buy flan bases. (Base for ex German fruit cakes, which you can bake yourself but can also buy, which I have seen available in the UK at least.) Filling leftover ganache into those makes for a very nice cake afterwards. :) I'd meant to buy some small ones but forgot so I am afraid I had to eat all the leftover ganache on its own. *it's a hard life, man.*
At this point we wait a bit for the ganache to cool - the book suggests actually leaving it out overnight to dry out a bit but I wanted to get this DONE DAMMIT. :/ So after another break for internet, tea, nomming ganache, nomming chocolate allspice apples, etc. we finish it off.
More molten chocolate! Instead of chopping more I ended up using the leftover chocolate from doing the outer layer for the moulds - because of the filling-completely-then-letting-excess-drip-out thing you unavoidably end up with a lot of leftover chocolate, and the amount this time was just about exactly right for finishing. Also, because I was in spoon deficit already at this point I just melted it and didn't bother with tempering.
Fill each mould to the top with molten chocolate, then scrape across the top of all of them with a kitchen knife to remove the excess and (attempt to) get a smooth bottom. At this point I'd been planning to gently push some chopped hazelnuts on top of some of the amaretto-vanilla ones to give them a sort of hazelnut foot but a) I couldn't find chopped hazelnuts b) I wouldn't have had the spoons anyway. SO I have no idea if that would work, but it's an idea. (the truffle version of this recipe I often end up coating in hazelnuts and it tastes quite nummy, although you have to be sure no one with a nut allergy will want any of these if you do it.)
At this point the remaining chocolate needs to solidify, so you totter off to bed leaving your kitchen in a frightful mess and totally unable to face the coming Monday s-sob. Er. I mean.
Once everything's cooled and is quite solid, you can work each chocolate free from the mould. This stage is MUCH, MUCH EASIER if you managed to get the outer layer of your chocolate tempered, because then the layer is thicker, sticks less and doesn't break as easily. If it's not, you will probably lose a few chocolates to cracking during this process and be forced to eat them right away, what hardship. (I've had someone suggest freezing the chocolates before trying to remove them but have no idea who told me this, have never tried it myself and am a bit dubious tbh.) This time I lucked out re: tempering so I got them all out unharmed.
THE FRUITS OR RATHER CHOCOLATES OF MY LABOUR. Twenty-four - less in the picture because I already ate some - pieces of delicious nommy goodness - you can tell from the glossiness that I somehow succeeded at tempering the chocolate for the outer layer (the bottom one is different because I didn't even bother trying, but I didn't take a picture with that visible so you can't see the contrast here.) The white stuff on the top of the milk chocolate-topped ones is probably some kind of chocolate bloom which I don't know much about but is one of things chocolate does that you don't want it to because it makes it look less pretty etc. etc., probably here because I didn't temper the milk chocolate correctly. In commercial production people try very hard to avoid this, I am not a professional chocolatier, I COULD NOT CARE LESS.
Were they worth the spoons? Er, probably not, but at least I get to show off. :)