Textures 016
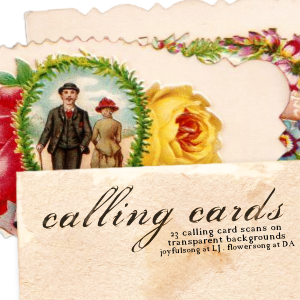
23 images on a transparent background, made from scans I made of the front, back, and the die cuts of eight Victorian calling cards. (Note: there are only 7 images of the backs of the cards because two of the cards have identical borders.) If you have any questions about usage, just ask!
[[download]] [DA page]
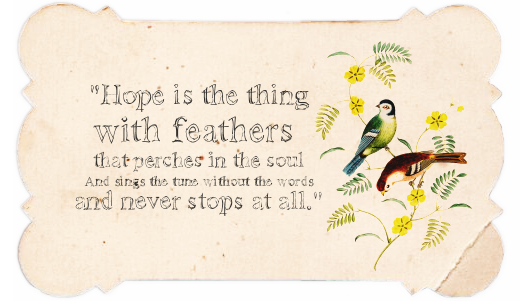
Sample:
1. Open up #2 of this pack (the second image of the back of a card).
2. Make a new raster layer and drag it underneath the calling card layer. Fill it with white.
3. Shorten the calling card image (for a full-length tutorial with pictures, click here):
a. Duplicate the layer with the calling card on it.
b. Use the selection tool (feather: 3) to select all of one half of the card on this duplicate layer. Press delete.
c. Click Selections > Invert and click on the original calling card layer. Press delete.
d. Go back to the duplicate calling card layer. Move it sideways until it looks right.
4. Merge your two calling card layers together so that you have one layer, with a shiny new shortened calling card on it.
5. Duplicate that merged layer and set to Soft Light, 100%.
6. Paste onto your image something decorative with a white background (I used a botanical illustration I had altered of birds) and set it on Multiply, 100%. Move it to where you want.
7. Add your text and set to Normal, 80%.
Comments make me happy!
Credit is preferred, but not mandatory.
Don't redistribute or claim as your own.
Enjoy!
[[download]] [DA page]
Sample:
1. Open up #2 of this pack (the second image of the back of a card).
2. Make a new raster layer and drag it underneath the calling card layer. Fill it with white.
3. Shorten the calling card image (for a full-length tutorial with pictures, click here):
a. Duplicate the layer with the calling card on it.
b. Use the selection tool (feather: 3) to select all of one half of the card on this duplicate layer. Press delete.
c. Click Selections > Invert and click on the original calling card layer. Press delete.
d. Go back to the duplicate calling card layer. Move it sideways until it looks right.
4. Merge your two calling card layers together so that you have one layer, with a shiny new shortened calling card on it.
5. Duplicate that merged layer and set to Soft Light, 100%.
6. Paste onto your image something decorative with a white background (I used a botanical illustration I had altered of birds) and set it on Multiply, 100%. Move it to where you want.
7. Add your text and set to Normal, 80%.
Comments make me happy!
Credit is preferred, but not mandatory.
Don't redistribute or claim as your own.
Enjoy!