Tutorial 003: How to Shorten a Card Stock Image
As requested by boromirslover:

1. First, start off with your stock image. I'm using one from my pack calling cards. The background on this is transparent, so create a new raster layer, fill it with white, and drag it underneath the calling card layer. This just makes it easier to work with in my opinion, so we don't have to stare at a gray-and-white checkerboard the whole time. :P
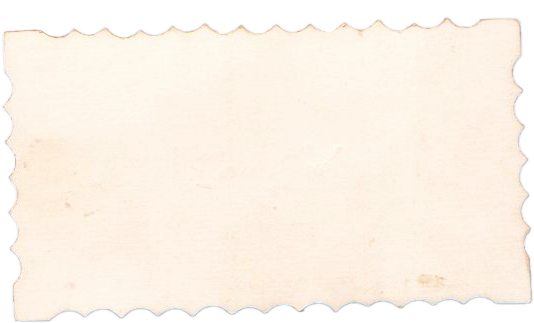
2. Now, our goal is to separate the calling card into two halves that we can arrange to our liking. To begin, duplicate the calling card layer. We'll call the original layer CC1, and the duplicate CC2. You with me? Let's continue.
3. On Layer CC2, use the rectangular selection tool (feather 3) to select the entire left half of the image on this duplicate layer. Doesn't matter too much where the selection cuts off.
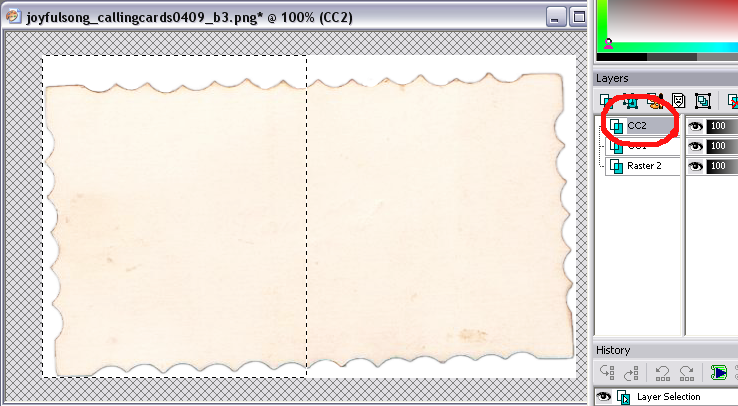
4. Press the Delete key on your keyboard. Yay! I always get a kick out of deleting selections. xP
5. Switch to layer CC1 and invert your selection to select the other half of your image. With PSP9, go to Selections > Invert. Make sure you're on layer CC1.
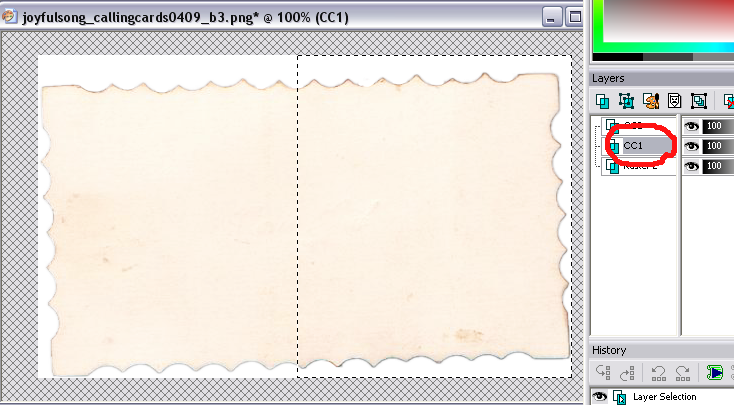
6. Press delete! You now have two halves of the same calling card, on different layers. In this image I've moved the two layers apart so you can see the halves.
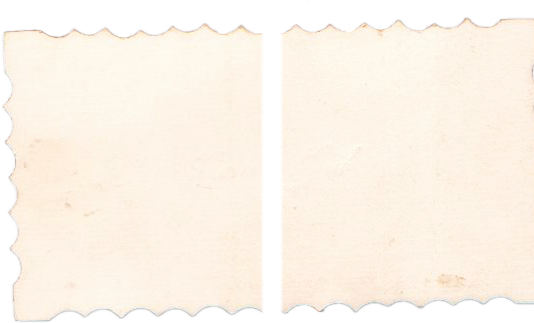
7. Now, shorten the card by moving layer CC2 to the left until it looks right.
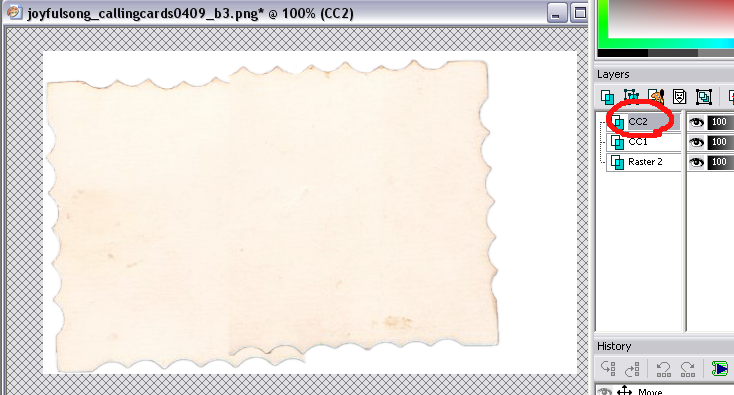
Moving it around...
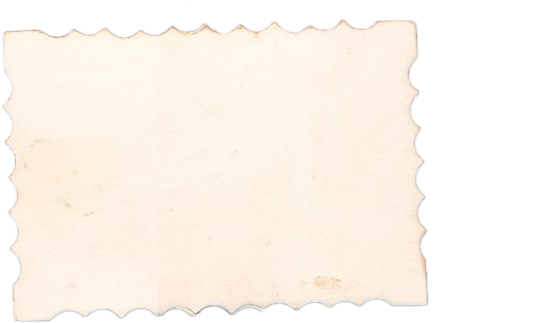
That looks pretty good! It doesn't have to be perfect; your goal is for the edges to match up with each other reasonably well and create a situation where you can easily erase the imperfections, as in the next step.
8. So, okay. The uneven ridges on the top and bottom? We're going to erase those off layer CC1. Use a round 100px brush set at Hardness 100. We erase off of layer CC1 because the overlapping layer CC2 will hide our erasure marks. If you erase too far into a space where layer CC2 doesn't overlap, just undo (Ctrl+Z) and try again.
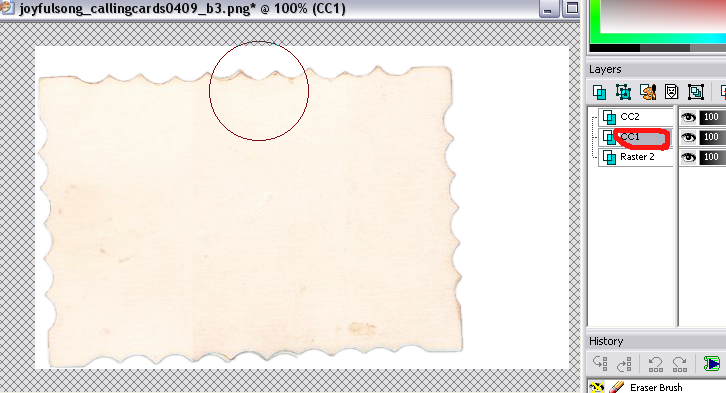
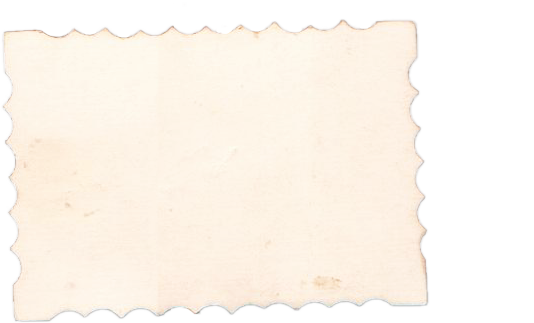
There!
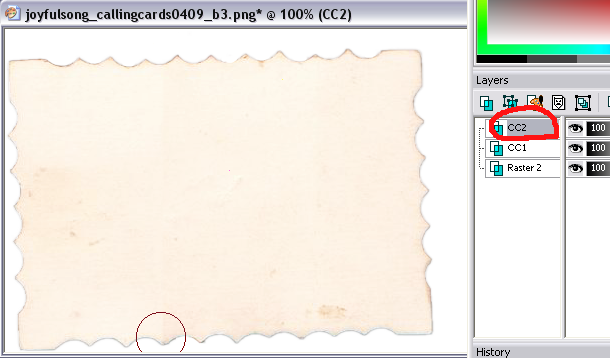
9. Now it looks much better. But we're going to fix the tiny stuff. Like for this weird edge corner shadow thingy (very technical term) at the bottom, we're going to use a round brush at 50px and 50 Hardness to erase it off of layer CC2.
If you erase too far, like this:
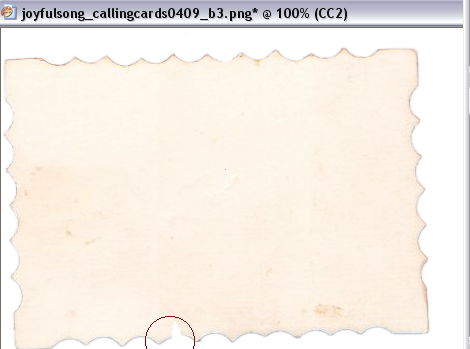
...just undo it and try again. Also, see how the colors in the middle of the card sort of create a hard line where the edges of the two halves meet? It's kind of hard to see, so I edited this image to make it clearer to see:
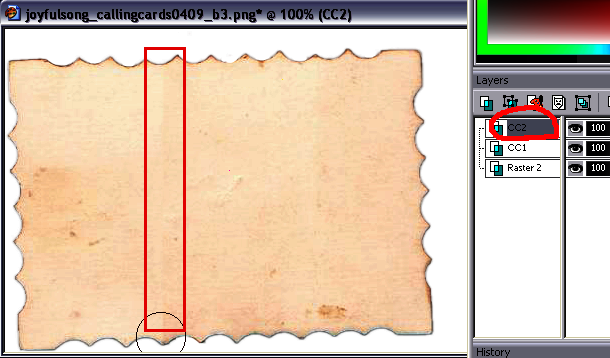
I used a softish brush ( think it was 50px, Hardness 50) to erase down that line. Experiment with your brush size and hardness if you need to--this applies to all the previous erasing steps, too. :)
And you're done!
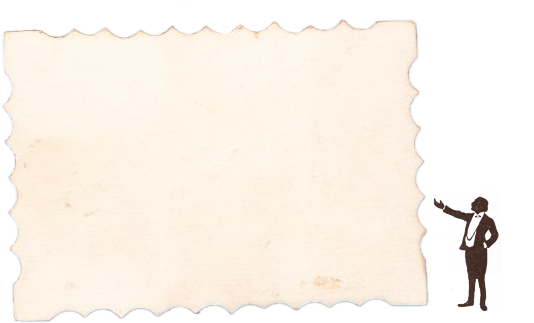
Do whatever you need to after that, like delete the white fill layer to give it a transparent background again, or merge all the layers, or whatever. The technique described in this tutorial doesn't just work on calling cards; it should help on many other paper/card stock images too. If you have any questions, just drop a comment! Hopefully everything made sense. :)

1. First, start off with your stock image. I'm using one from my pack calling cards. The background on this is transparent, so create a new raster layer, fill it with white, and drag it underneath the calling card layer. This just makes it easier to work with in my opinion, so we don't have to stare at a gray-and-white checkerboard the whole time. :P

2. Now, our goal is to separate the calling card into two halves that we can arrange to our liking. To begin, duplicate the calling card layer. We'll call the original layer CC1, and the duplicate CC2. You with me? Let's continue.
3. On Layer CC2, use the rectangular selection tool (feather 3) to select the entire left half of the image on this duplicate layer. Doesn't matter too much where the selection cuts off.

4. Press the Delete key on your keyboard. Yay! I always get a kick out of deleting selections. xP
5. Switch to layer CC1 and invert your selection to select the other half of your image. With PSP9, go to Selections > Invert. Make sure you're on layer CC1.

6. Press delete! You now have two halves of the same calling card, on different layers. In this image I've moved the two layers apart so you can see the halves.

7. Now, shorten the card by moving layer CC2 to the left until it looks right.

Moving it around...

That looks pretty good! It doesn't have to be perfect; your goal is for the edges to match up with each other reasonably well and create a situation where you can easily erase the imperfections, as in the next step.
8. So, okay. The uneven ridges on the top and bottom? We're going to erase those off layer CC1. Use a round 100px brush set at Hardness 100. We erase off of layer CC1 because the overlapping layer CC2 will hide our erasure marks. If you erase too far into a space where layer CC2 doesn't overlap, just undo (Ctrl+Z) and try again.


There!
9. Now it looks much better. But we're going to fix the tiny stuff. Like for this weird edge corner shadow thingy (very technical term) at the bottom, we're going to use a round brush at 50px and 50 Hardness to erase it off of layer CC2.

If you erase too far, like this:

...just undo it and try again. Also, see how the colors in the middle of the card sort of create a hard line where the edges of the two halves meet? It's kind of hard to see, so I edited this image to make it clearer to see:

I used a softish brush ( think it was 50px, Hardness 50) to erase down that line. Experiment with your brush size and hardness if you need to--this applies to all the previous erasing steps, too. :)
And you're done!

Do whatever you need to after that, like delete the white fill layer to give it a transparent background again, or merge all the layers, or whatever. The technique described in this tutorial doesn't just work on calling cards; it should help on many other paper/card stock images too. If you have any questions, just drop a comment! Hopefully everything made sense. :)