How to Achieve a Lomographic Look in Photoshop
Level: Advanced
Sometimes you will have an image that has that perfect pose and look for a good hipster, "lomo" look, but the colors and image are just flat overall.
This requires Photoshop that has Vibrance and Selective Color Layers.
1. Select an image that has a seemingly low color contrast or value, like the image shown. I used this stock image from DeviantArt:
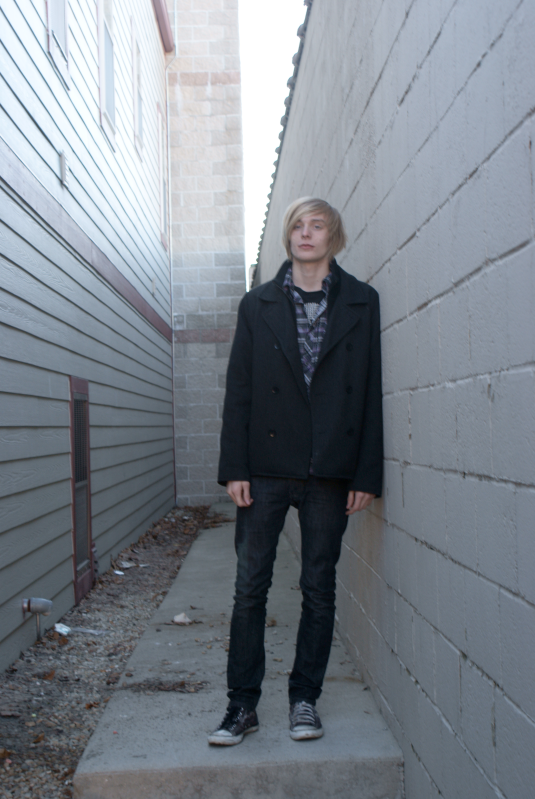
2. Copy the base layer and drag it up. Set the Blend Mode to Screen. Lightening it up will bring out a slight bit more color.
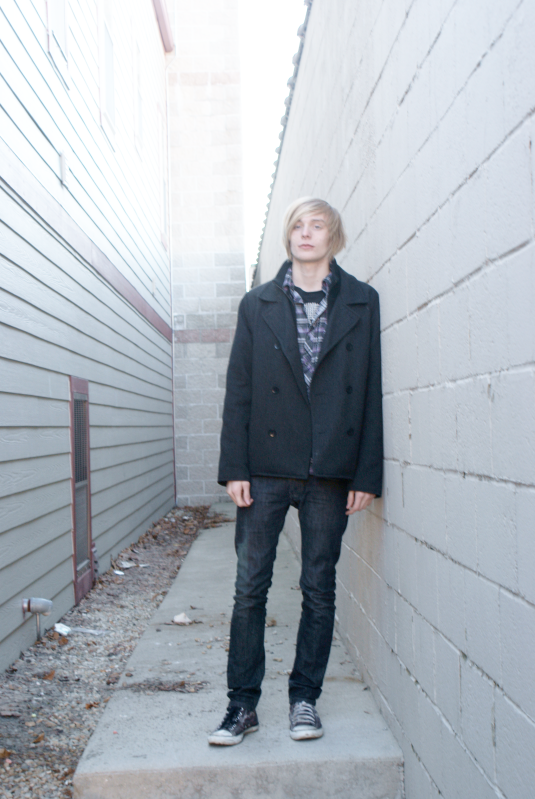
3. To add contrast, copy the base layer and drag it to the top once more. Set this to Blend Mode, Soft Light.
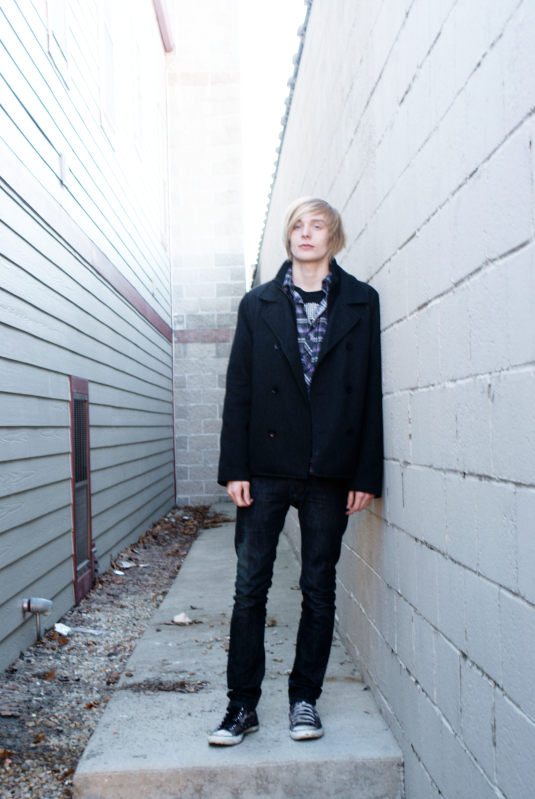
4. This step adds the most towards the eventual "hipster" look, so don't skip it! Once again, copy and drag the base layer up to the top and set the Blend Mode to Luminosity.
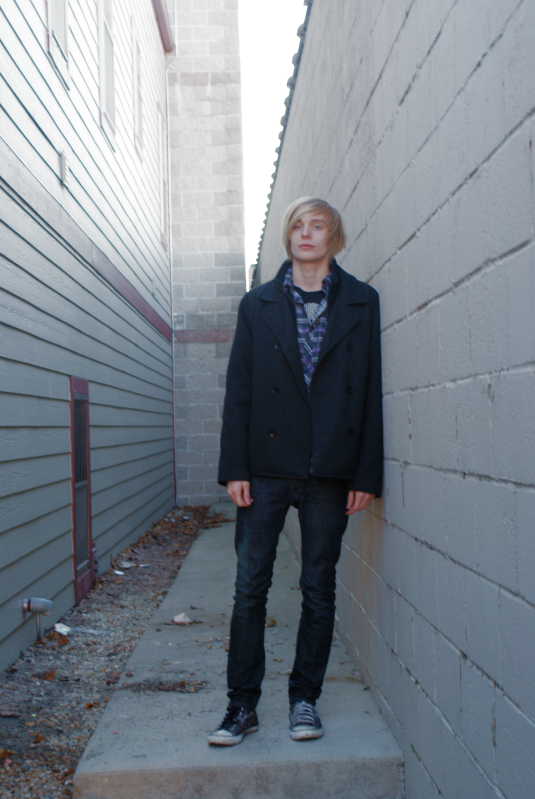
5. Add a Vibrance Layer. Pump the Vibrance up to 100% and the Saturation up to 20%.
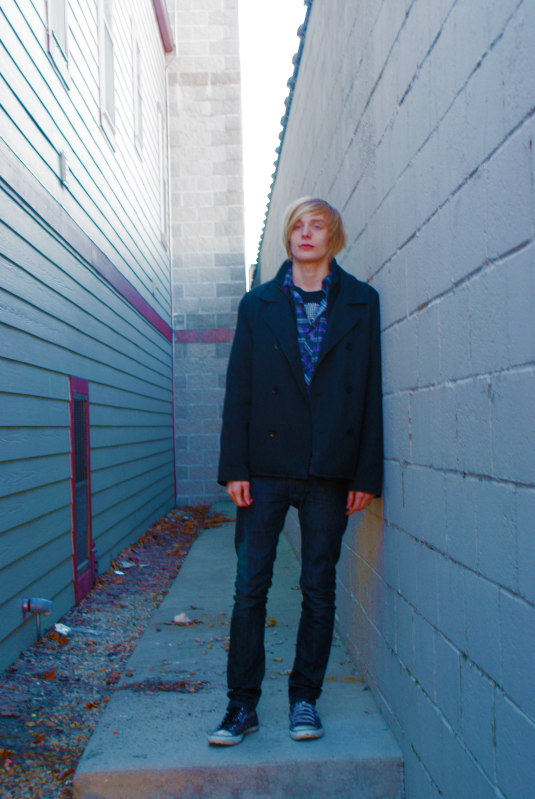
6. Add a Selective Color Layer. Use the following settings:
Yellow:
C: +10
M: +15
Y: -10
K: -8
Blue:
C: -25
M: +25
Y: -10
K: -40
Neutrals:
C: -10
M: -5
Y: -15
K: +20
Blacks:
C: +15
M: +35
Y: +100
K: -15
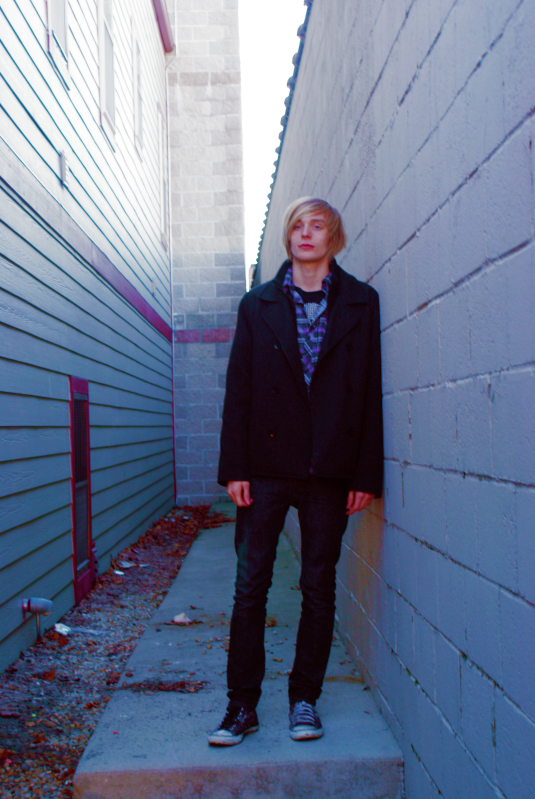
Optional Step: If you have any areas of skin that are intensely pink/magenta like this image, even after selective coloring, create a blank layer and, using a soft brush, paint a sort of teal color over the areas of skin and then set that blank layer to Soft Light.
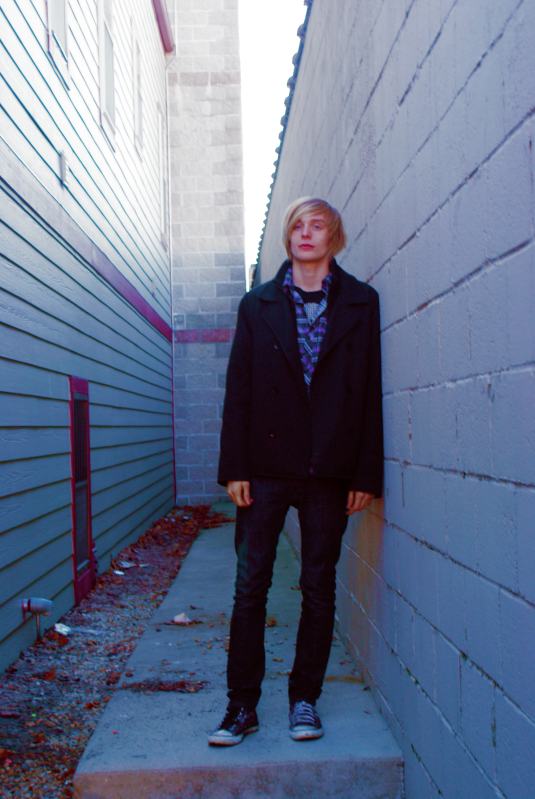
7. Create a Brightness/Contrast Layer. Set Brightness to 50% and Contrast to 20%. Adjust accordingly to each image but keep it in this neighborhood.
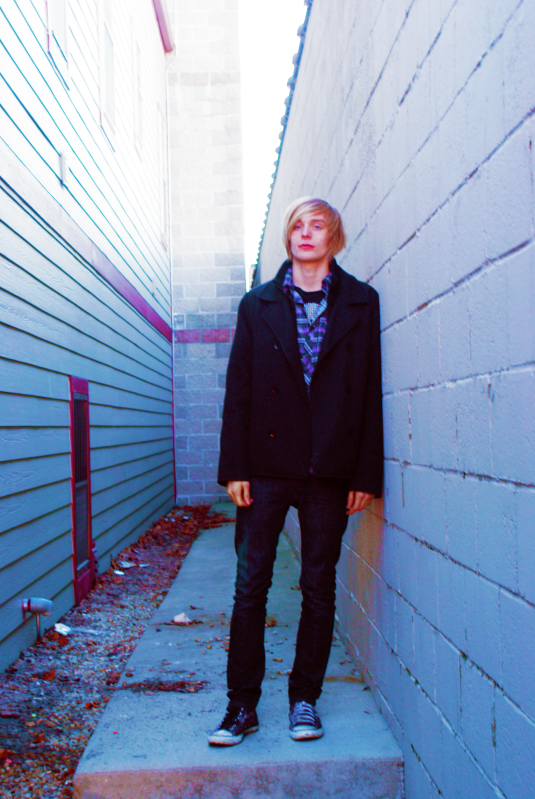
8. Create a Hue/Saturation Layer, and adjust the Hue to around +5.
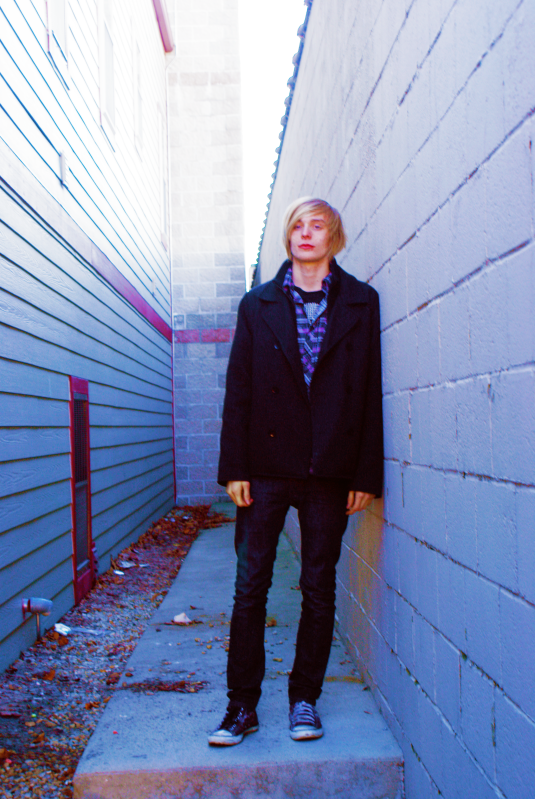
Another optional level that really helps in the long run in a dark gray color fill layer. It flattens a lot of dark shadows which definitely gives you the "hipster" effect.
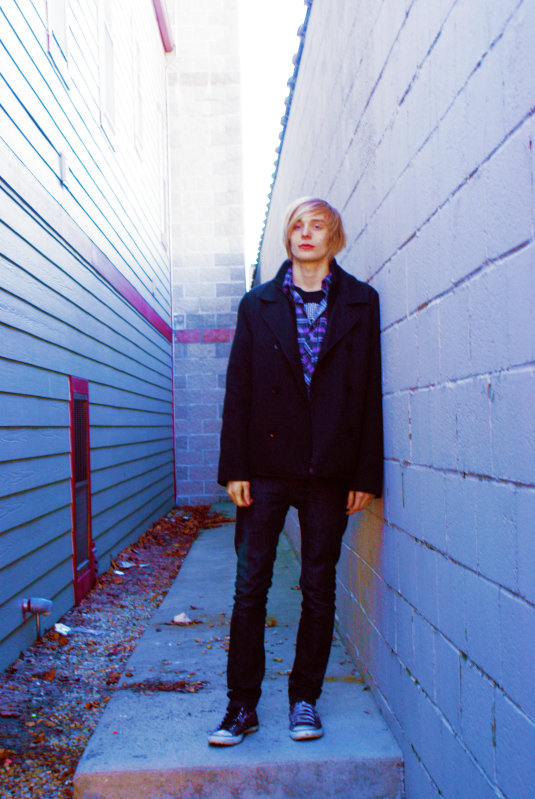
If like mine, your face is a little dark, then make another blank layer and, using a soft brush, paint white over the face and other areas that seem too dark. Set that layer's Blend Mode to Lighten and lower the opacity of the layer to 10%.
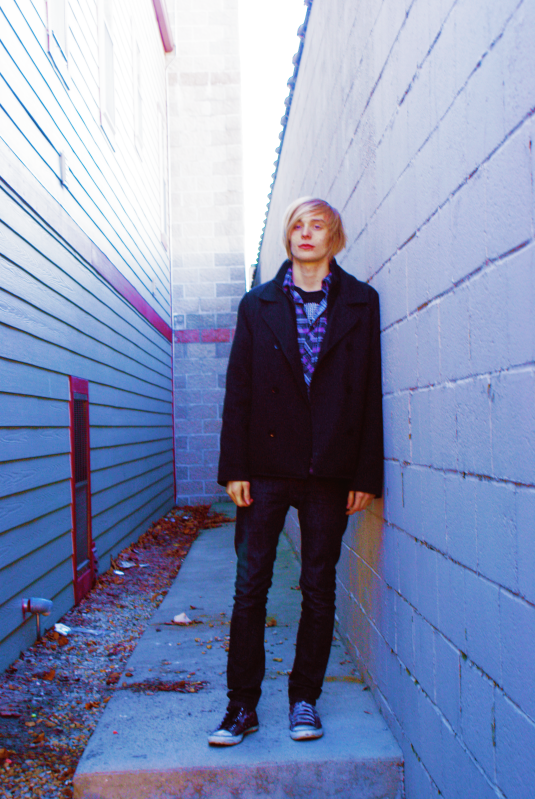
9. To keep it from being too fuzzy, go all the way down again and copy and drag up the copy of the original layer. Go to Filter "Other" and click High Pass. My default pixel radius for the High Pass Filter is a 10.0 pixel radius. After doing this, set the Layer to Blend Mode, Soft Light.
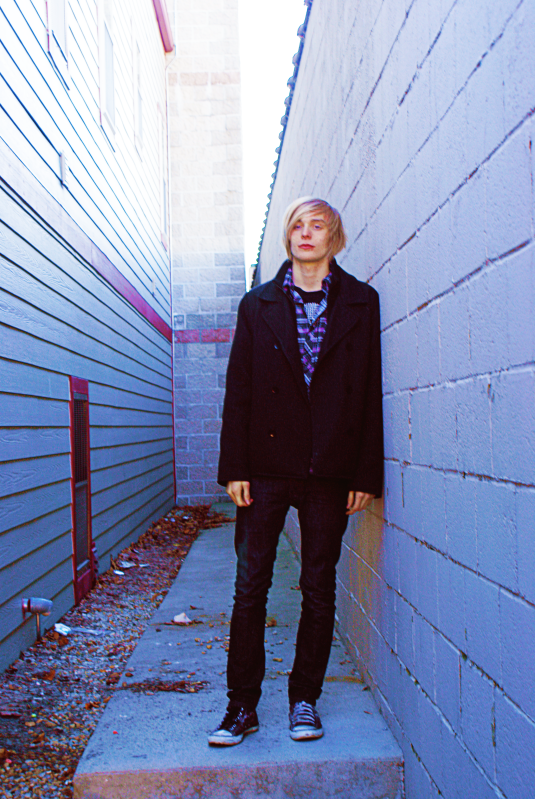
10. Add one more Hue/Saturation Layer, and this time work with the Layer Mask. See the white box that sits beside the Adjustment slider symbol? Click that white box. Go to the slider and set the Hue to 40% and the Saturation to 100%.
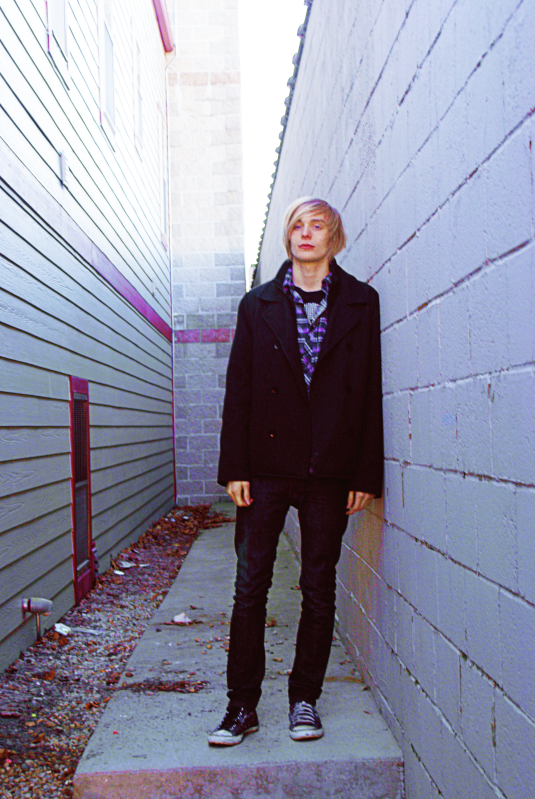
And that should do it!