Tutorial #1
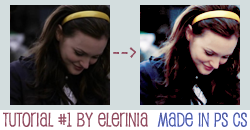
My very first tutorial! I hope it's helpful to someone.
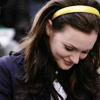
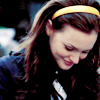
1. Get your image and crop to 100x100
2. Duplicate and set this layer to screen at 100% opacity.
3. Duplicate and set this layer to screen at 100% opacity again.
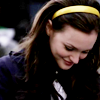
4. Layer > New Adjustment Layer > Brightness/Contrast
Brightness: -22
Contrast: +13
5. Layer > New Adjustment Layer > Levels
RGB: 27 / 1,00 / 255
Red: 0 / 1,00 / 255
Green: 0 / 1,00 / 255
Blue: 0 / 1,00 / 255
6. Layer > New fill layer > Solid colour
Fill with # f7c11d
Set this layer to soft light, at 31% opacity
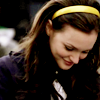
7. Layer > New Adjustment Layer > Curves
RGB: Input 167 / Output 190
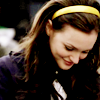
8. Layer > New Adjustment Layer > Selective Colour
Reds: -100 / 0 / +100 / +30
Yellows: -100 / 0 / -10 / 0
Neutrals: +70 / -20 / -70 / 0
+PSD
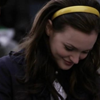
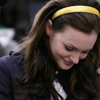
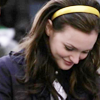
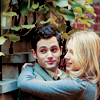
Other results:

Hope it was easy to follow. If you have any questions feel free to comment and ask me :)
Please feel free to edit whatever you want to fit your photo and icon! It'd be awesome if you posted your results :D