Tutorial -10- Fairytale Kiera
From 
to
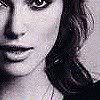
As always, I started off with a regular image. I cropped it down to a square and then resize it to 100 x 100 pixels. I flattened the image and then sharpened it 3 times. Using the SMUDGE tool (hardness 40, opacity 40), I smoothed out the skin, and ONLY the skin - as well as the background area. Then I duplicated the image and set the top layer to SCREEN 72%.

->
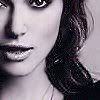
->
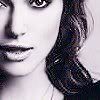
->
Create a new layer with #F5E4BB and set it to DARKEN 100%.
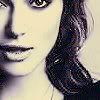
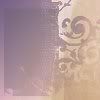
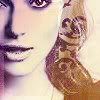
Take this texture, made my gender, and set it to HARD LIGHT 100%
->
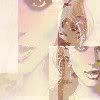
Copy Merge the image now. (edit > copy merge). Then paste it as a new layer on top of all the other layers. Using the DEFORM tool, resize the topmost layer so it’s a smaller square. Place it in the bottom right-hand corner. Sharpen it once. Flip it horizontally.
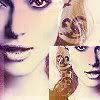
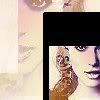
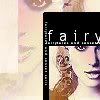
Take this texture, also made by gender, and set it to LIGHTEN 100%. Take this layer and move it below the layer with the smaller square. On this same texture layer, draw a black rectangle using the SHAPE tool. Add some text.
->
->
->
->
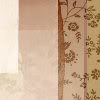
Take this texture, made by ashke_icons, and set it to HARD LIGHT 100%. Using the SELECTION tool (shape: rectangle), select the areas covering the faces and cut them out.
->
->

to

As always, I started off with a regular image. I cropped it down to a square and then resize it to 100 x 100 pixels. I flattened the image and then sharpened it 3 times. Using the SMUDGE tool (hardness 40, opacity 40), I smoothed out the skin, and ONLY the skin - as well as the background area. Then I duplicated the image and set the top layer to SCREEN 72%.

->

->

->

Create a new layer with #F5E4BB and set it to DARKEN 100%.

Take this texture, made my gender, and set it to HARD LIGHT 100%

->

Copy Merge the image now. (edit > copy merge). Then paste it as a new layer on top of all the other layers. Using the DEFORM tool, resize the topmost layer so it’s a smaller square. Place it in the bottom right-hand corner. Sharpen it once. Flip it horizontally.

Take this texture, also made by gender, and set it to LIGHTEN 100%. Take this layer and move it below the layer with the smaller square. On this same texture layer, draw a black rectangle using the SHAPE tool. Add some text.

->

->

->

->

Take this texture, made by ashke_icons, and set it to HARD LIGHT 100%. Using the SELECTION tool (shape: rectangle), select the areas covering the faces and cut them out.

->

->
