Tutorials!
Hey guys, got 3 tutorials for you today. Hope they're clear enough and easy to follow. All are for PS:CS2, but seem easily translatable. ^_^
We'll be learning how to make these icons:

Firstly, I started off with this cap, and cropped it like this:

Next I added a red flood-fill layer, #5a0707 on Colour Burn, 29% opacity.

to make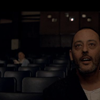
I then duplicated the base twice, dragged both on top of the fill layer, and set them to Screen at 100% opacity.

>>
I duplicated the base again, and set it to Soft Light at 57% opacity. Then go to Filters>>Sharpen>>Unsharp Mask. My setting is at around 18 I think... If it's too much go to Edit>>Fade Unsharp Mask.

I then added a blue flood-fill layer, #040408, set to Exclusion.

>>
I then added a light blue fill layer, #dfdfef, and set it to Colour Burn at 73% opacity.

>>
That's it! :D
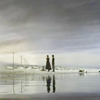
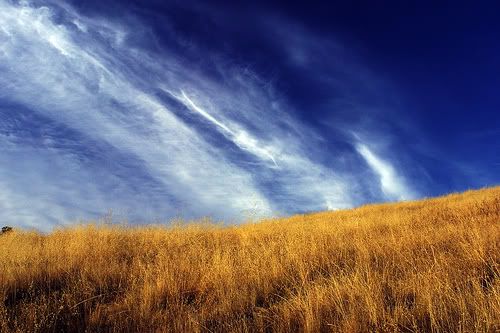
Firstly, I took this picture (from flickr), and cropped it like so:
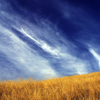
I added a blue fill layer, #191537, and set it to Exclusion at 100% opacity.

>>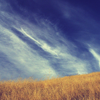
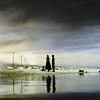
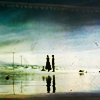
I then duplicated the base, dragged it to the top, and set it to Screen at 100% opacity:
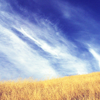
I duplicated the base again and set it to Colour Burn, at 100% opacity. Then go to Filters>>Sharpen>>Unsharp Mask. My setting is at around 18 I think... If it's too much go to Edit>>Fade Unsharp Mask.

Done! ^_^
Firstly, I took this cap, and cropped it like so:
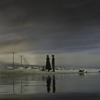
I then duplicated the base twice and set them both to Screen at 100% opacity.
I duplicated the base again and set it to Overlay at 100% opacity. Then go to Filters>>Sharpen>>Unsharp Mask. My setting is at around 18 I think... If it's too much go to Edit>>Fade Unsharp Mask.
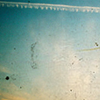
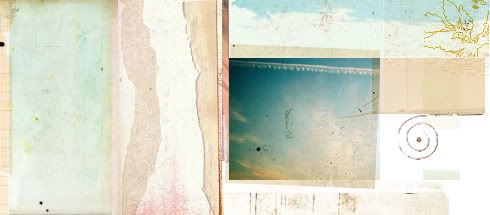
Next I took this texture by tre,cropped it like so and set it to Overlay at 100% opacity:
>>
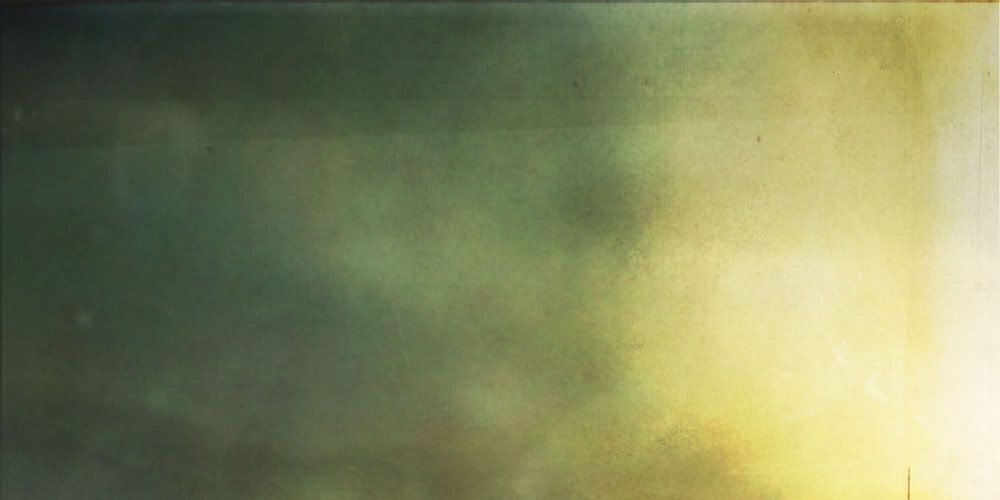
Again, add another texture by tre, here, cropped like so and set at Colour Burn, 100% opacity:

>>
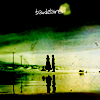
I then added two brushes. Just use two small blob type ones that you can find - one in yellow and one in green. I then added text. It reads "baudelaires", in BigMisterC (available at Dafont.com), at 9px, AA set to Strong.
Phew! That took flipping ages to do... Not doing that againin a while. Enjoy! ^_^
We'll be learning how to make these icons:
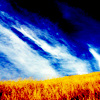
Firstly, I started off with this cap, and cropped it like this:
Next I added a red flood-fill layer, #5a0707 on Colour Burn, 29% opacity.
to make
I then duplicated the base twice, dragged both on top of the fill layer, and set them to Screen at 100% opacity.
>>
I duplicated the base again, and set it to Soft Light at 57% opacity. Then go to Filters>>Sharpen>>Unsharp Mask. My setting is at around 18 I think... If it's too much go to Edit>>Fade Unsharp Mask.
I then added a blue flood-fill layer, #040408, set to Exclusion.
>>
I then added a light blue fill layer, #dfdfef, and set it to Colour Burn at 73% opacity.
>>
That's it! :D
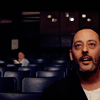
Firstly, I took this picture (from flickr), and cropped it like so:
I added a blue fill layer, #191537, and set it to Exclusion at 100% opacity.
>>
I then duplicated the base, dragged it to the top, and set it to Screen at 100% opacity:
I duplicated the base again and set it to Colour Burn, at 100% opacity. Then go to Filters>>Sharpen>>Unsharp Mask. My setting is at around 18 I think... If it's too much go to Edit>>Fade Unsharp Mask.
Done! ^_^
Firstly, I took this cap, and cropped it like so:
I then duplicated the base twice and set them both to Screen at 100% opacity.
I duplicated the base again and set it to Overlay at 100% opacity. Then go to Filters>>Sharpen>>Unsharp Mask. My setting is at around 18 I think... If it's too much go to Edit>>Fade Unsharp Mask.
Next I took this texture by tre,cropped it like so and set it to Overlay at 100% opacity:
>>
Again, add another texture by tre, here, cropped like so and set at Colour Burn, 100% opacity:
>>
I then added two brushes. Just use two small blob type ones that you can find - one in yellow and one in green. I then added text. It reads "baudelaires", in BigMisterC (available at Dafont.com), at 9px, AA set to Strong.
Phew! That took flipping ages to do... Not doing that againin a while. Enjoy! ^_^