Papercraft tutorial part 1
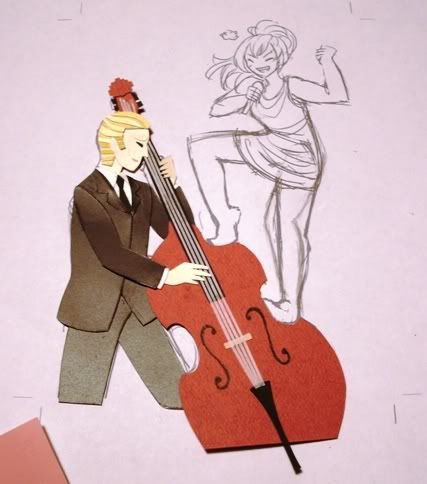
Hi all! I have another papercraft brewing, and I decided I'd photograph a tutorial again!
This time it's a fanart piece for Hetalia:
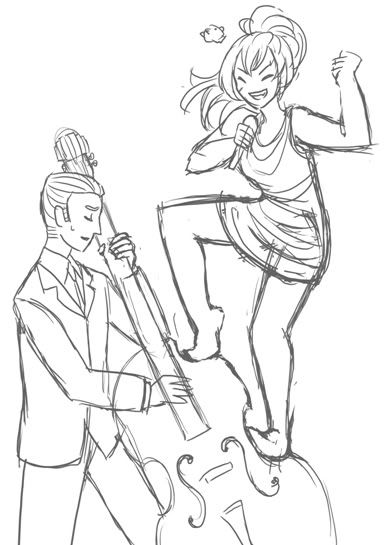
Germany and femPrussia acting out the rocking opener to this year's Eurovision.
This is actually part one of a small series, I've only gotten so far in the picture!
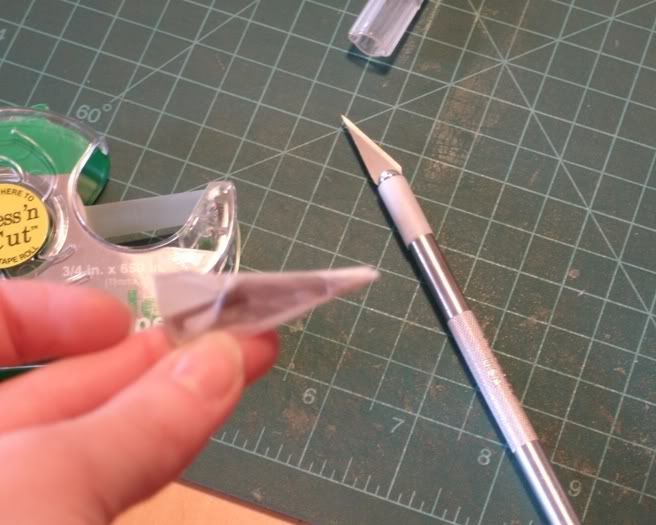
First off, I couldn't remember the last time I changed my xacto blade, and I knew I'd be using some thick paper for this, so I switched them out. It's important to put tape over your discarded blades before throwing them away! I also put tape around the raised metal texture on the handle of my knife because I still have callouses from my last paper project.
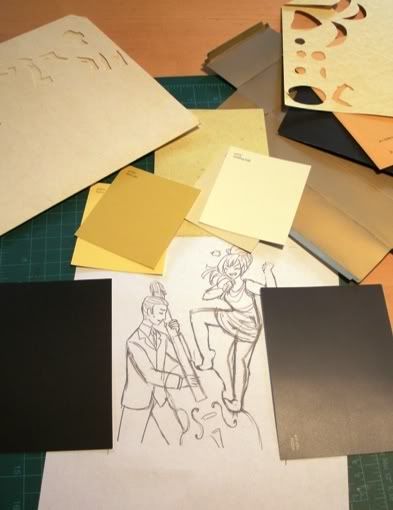
I chose the papers I'd use for everything next. I eventually decided to change the paper I chose for femPrussia's dress, though.
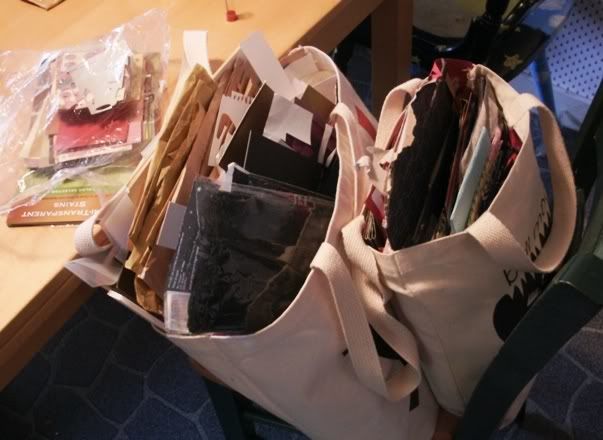
Speaking of paper, this is where I keep mine. I dream of a filing cabinet with light brown folders~
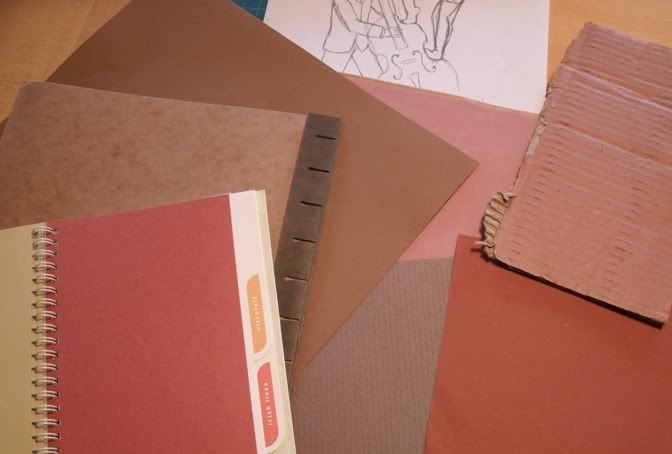
Aaaaa what to use for the upright bass aaa
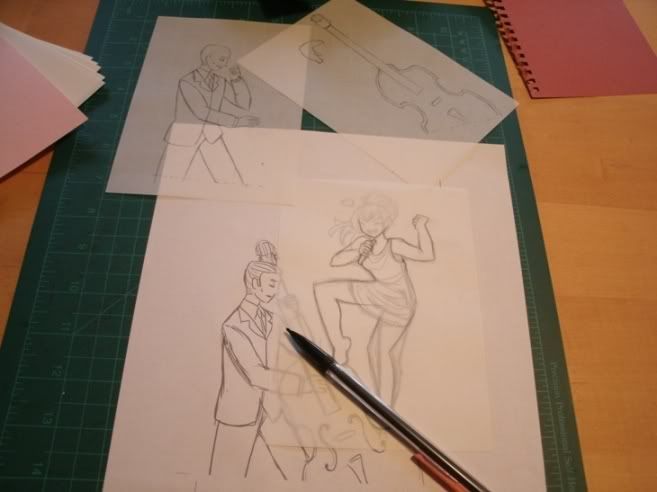
I eventually chose, so I started to trace my sketch onto these small sheets of vellum I picked up somewhere. I've never needed to use anything bigger, my projects run small.
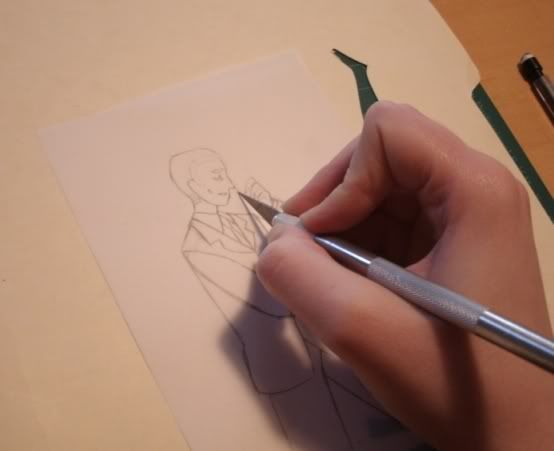
Transfer finished, I lay it over the paper I'll use and cut right into the vellum. I used to tape the traced part on the back of the paper, but I realized that paper looks different depending on which direction it's cut from. Cutting from the top is tidier in the long run.
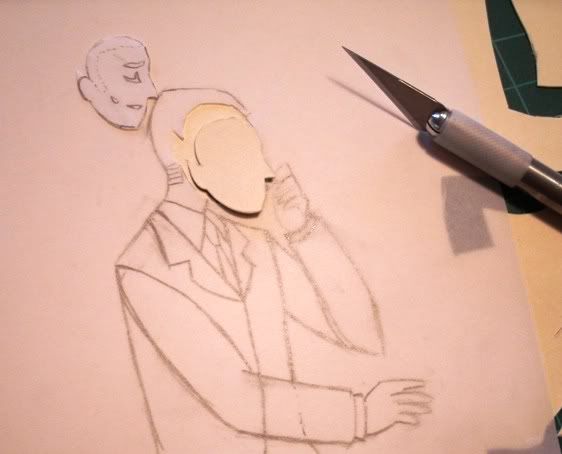
It's alright that Germany's ear is decidedly elfin, I don't sweat making a cut item perfect straight off the paper. I can round out small details after it's freed.
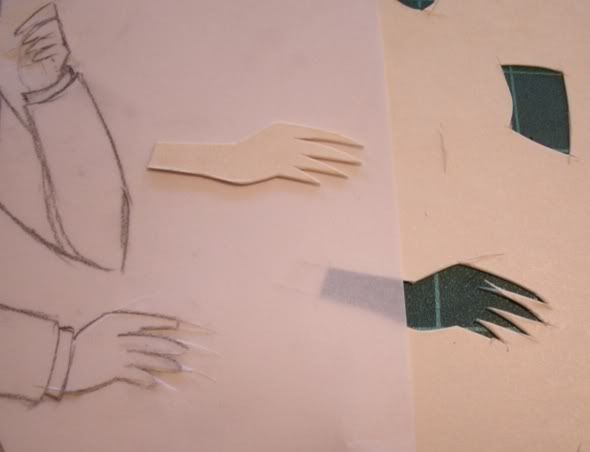
Again, since hands are very hard to cut out in one cut, I waited until the basic shape was out to finetune his fingers.
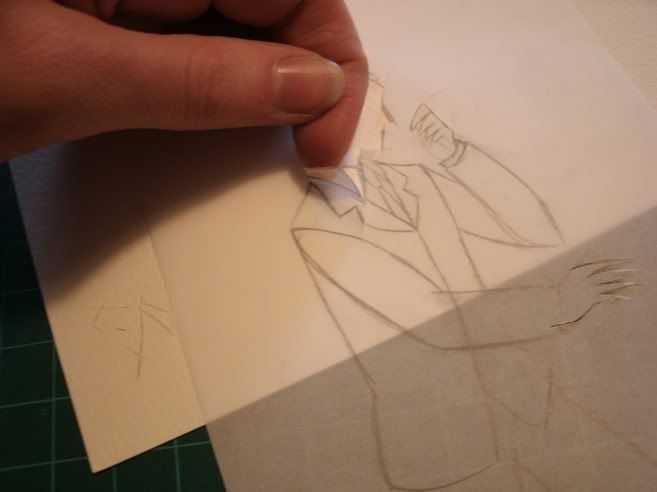
Jumping ahead a little, I started to cut his collar out. His collar is going to slip under his suit, so I actually cut it longer than it appears in the sketch. In my papercrafts, I don't fit everything together like a jigsaw puzzle, things go under and behind each other in a small attempt at naturalism. Besides, I'm not the most precise cutter, so I doubt I'd be able to make it all jigsaw-y anyway. As you can see, I didn't cut the shape all the way out of the vellum. This also saves the sketch on the vellum so I still know how to cut the other details in the area.
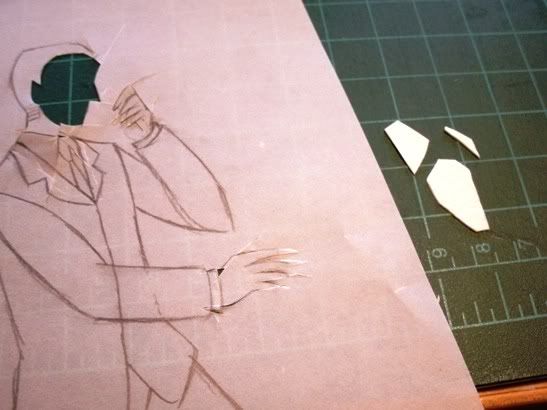
None of the edges of his shirt will actually be visible, so I was free to just cut a blob that would go underneath everything.
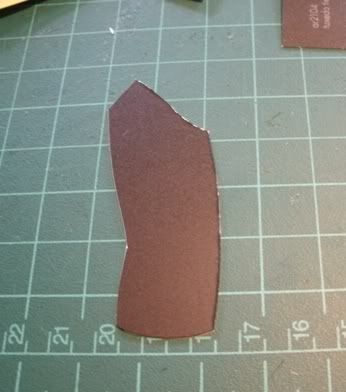
I started to cut Germany's suit out of a paint sample card. (I like Lowe's' selection better than Home Depot's, by the way) Despite how much I love using these cards as a medium, there are problems--they aren't the same color all the way through, for one! the darker the color, the more glaringly obvious that raggedy white edge is.
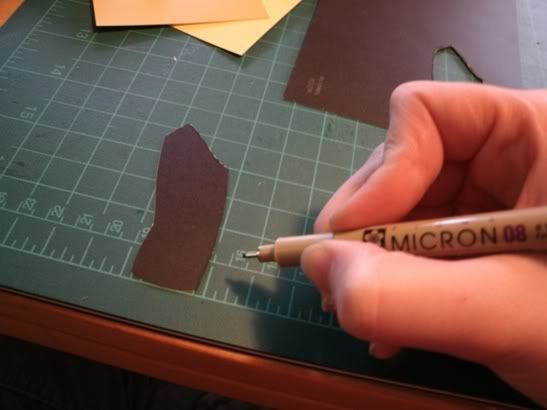
MICRON TO THE RESCUE! I colored the edges and it all matched quite nicely.
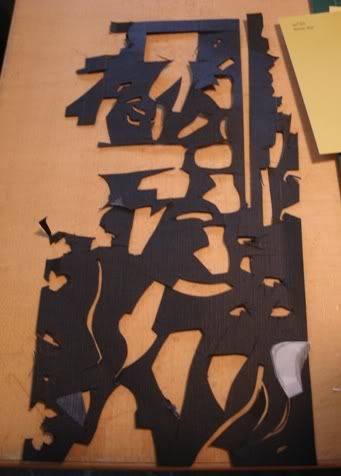
As a side note, beyond my fondness for the medium and the colors it can give me, this is why I'm kind of scrounging and using paint sample cards--I don't have much black paper. This used to be my biggest, favorite sheet of black. Relatively thin, linen textured, good color... It's only good for spot color now.
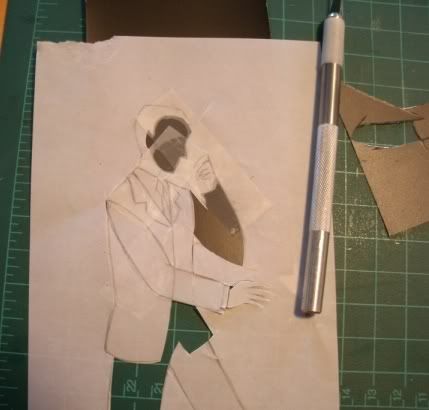
Despite how careful I was to preserve the sketch, I ended up having to tape it all back together so I could see to cut details. I really should have split some of the details between multiple sheets of vellum OH WELL. I also taped the vellum straight to my paper, since it kept sliding about and I couldn't afford to keep using up space making new cuts.
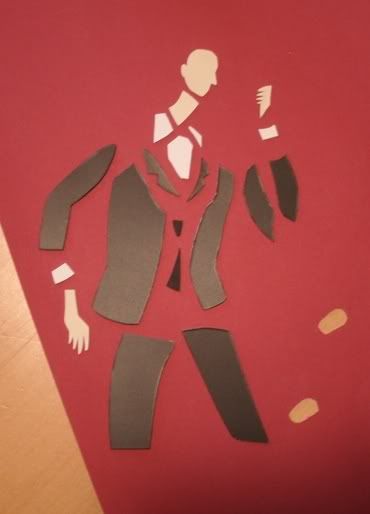
All the parts cut! Looks like a Futurist piece or something. "It's a statement on modern society! Ooh, ain't modern society awful?"
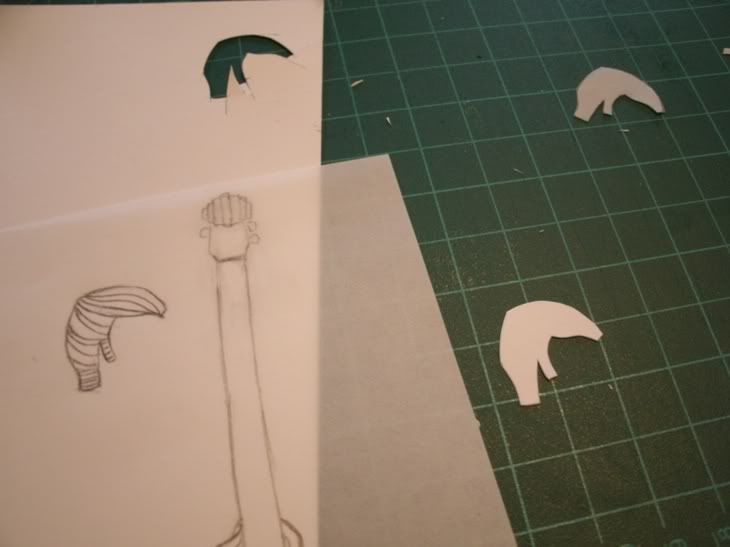
When cutting his hair, I realized it would be incredibly difficult to assemble. So I cut a piece of plain cardstock to assemble everything on.
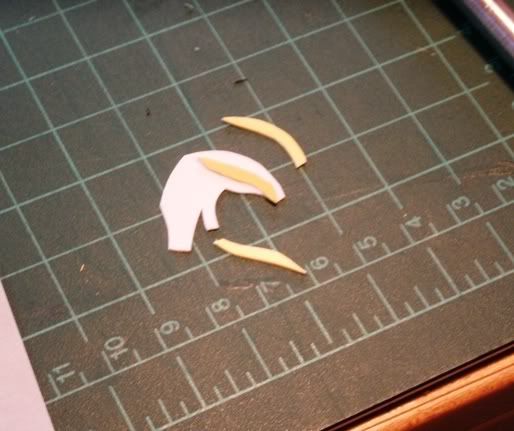
I cut bits like linguine and layered them on top of each other, light over dark.
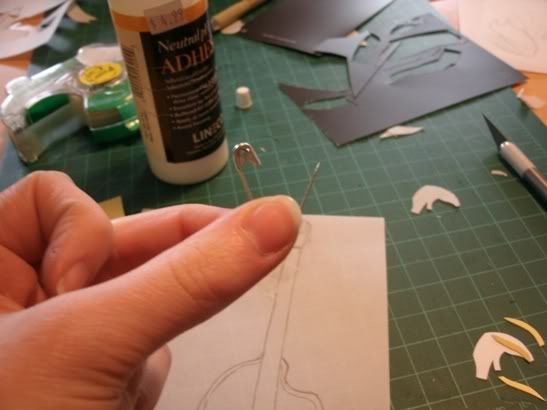
Introducing the best papercrafting tool EVER
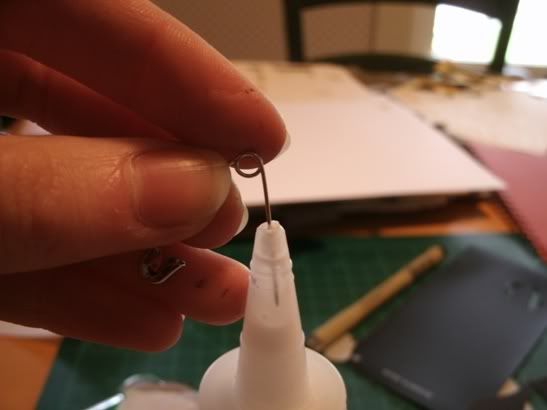
It spears through the clogs that plague my glue bottle!
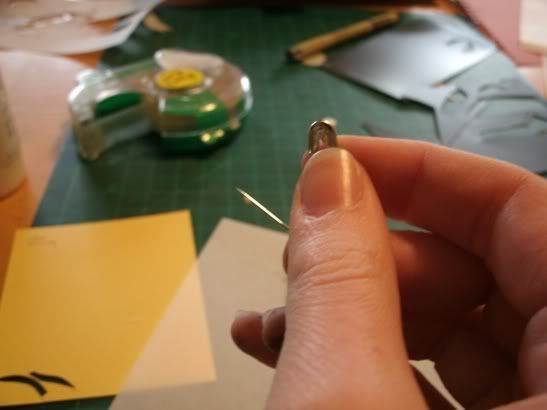
You can spread tiny bits of glue on tiny bits of paper!
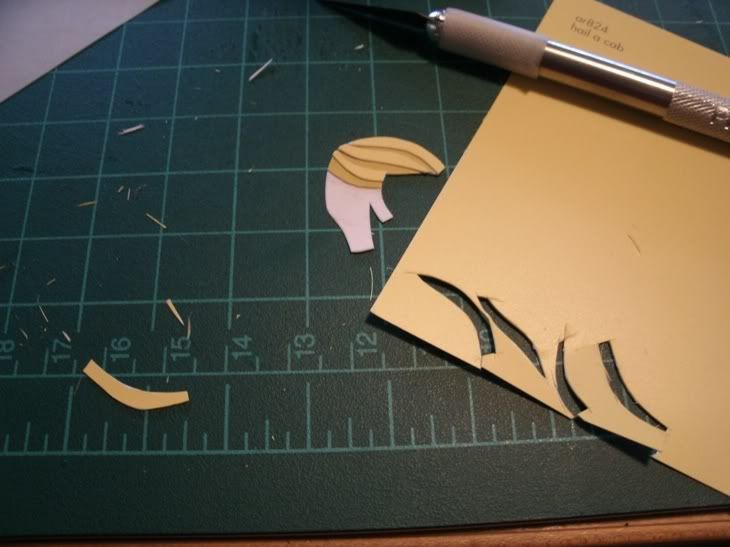
After a while I started just freehanding the linguine hair instead of tracing.
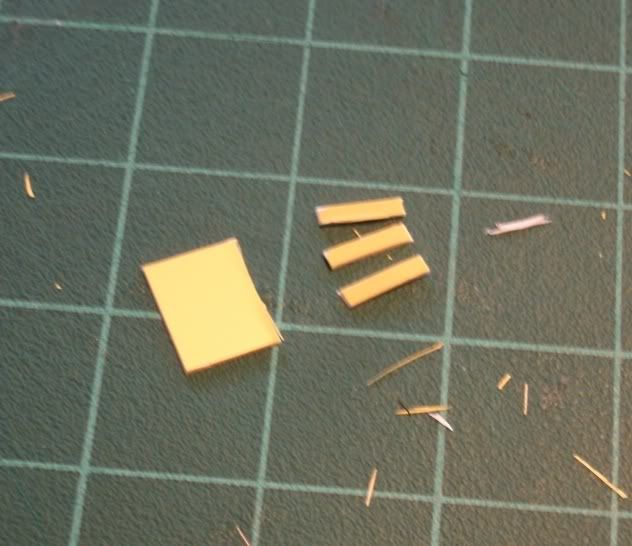
But first, sideburn time! I cut strips of the darker yellow and a chunk of lighter...
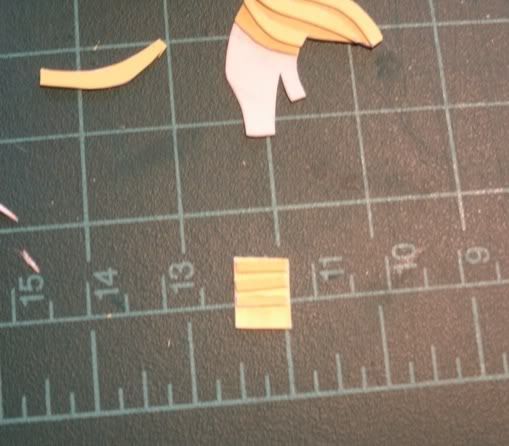
And glued them on top. Right about then I realized that I could have done the whole head of hair like that DOOPDERPOHWELL
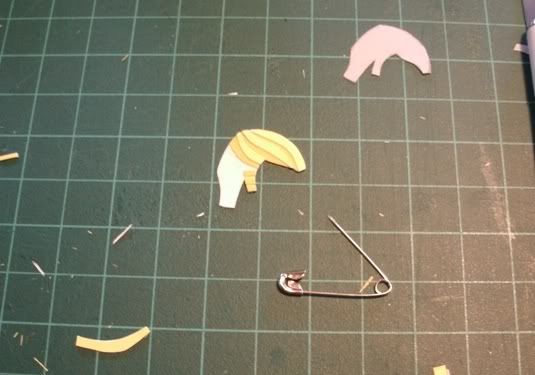
I cut the sideburn to size and glued it in place.
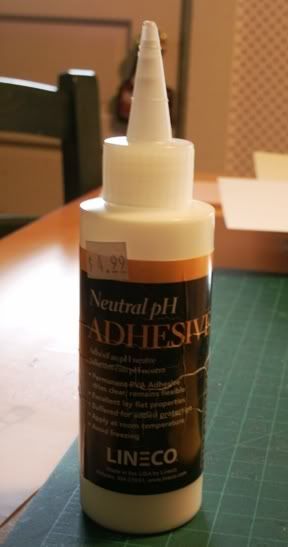
Speaking of glue, this is what I use! It's strong and dependable, and has a small window of being repositionable after paper has been stuck to it, which is nice for small bits that may not have landed right when they were put down. ...Which came back to bite me when I got impatient and tried to cut bits of his hair while the glue was still drying, and it went skidding out of alignment. The slick surface of the paint sample cards makes it a little unstable until the glue dries all the way.
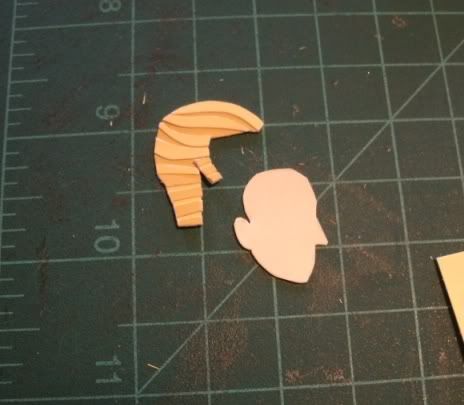
Anywho, the hair was finally finished and ready to be slipped onto the head! I cut it so that part could be fit behind his ear.
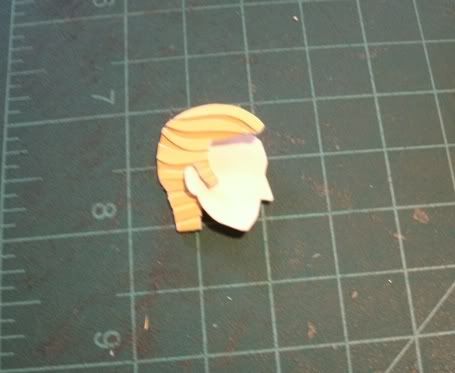
BY YOUR POWERS COMBINED, I'LL FORM THE HEAD, etc etc
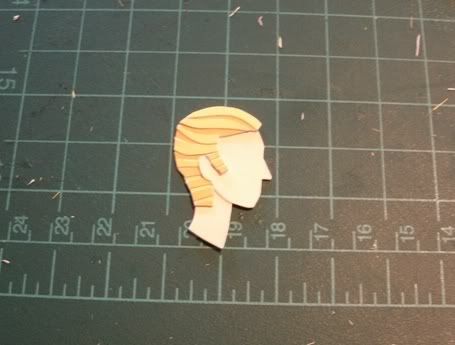
Glued on the neck and streamlined the back of the head a little.
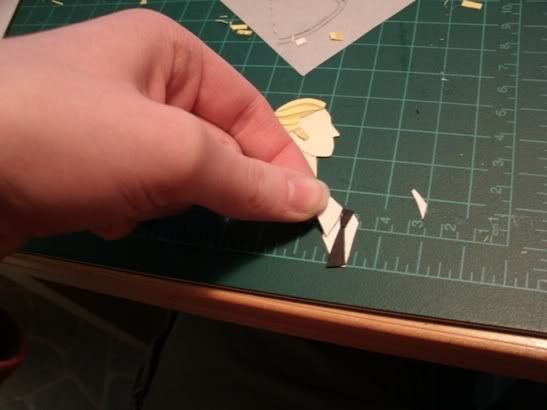
Gluing the collar together with a tie I cut offscreen.
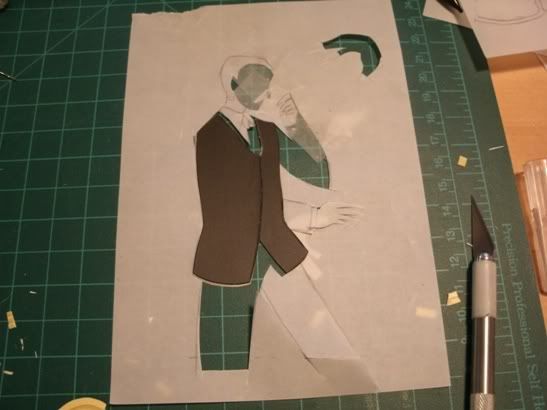
Used the original vellum to get the position of the torso's halves right. Technically I could have saved paintcard and cut it in a few more than two pieces, but I was worried the arm going over would get repositioned enough to expose those areas (I am always always open to improvisation) so I didn't risk it.
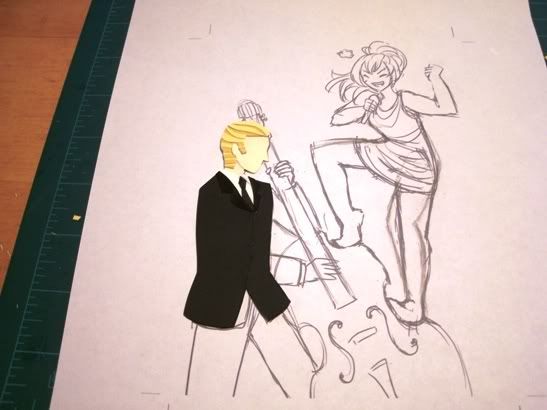
Using the original sketch as a guide to putting pieces together. Yeah I fitted the rest of the suit together offcamera, sorry. I ended up having to cut the collar down to fit better, and it doesn't match the sketch exactly, but... that doesn't matter! The sketch doesn't have to be the be-all end-all final form.
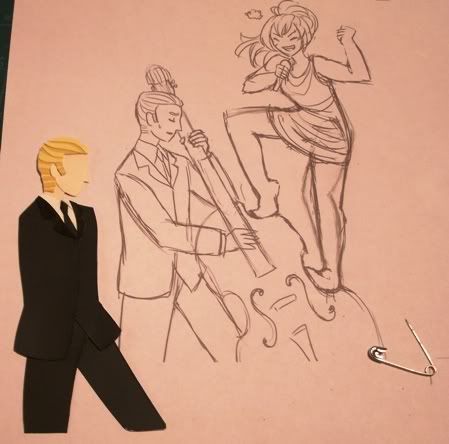
And there's his body together! About here I took a break. Judging from my twitter updates, all the above work constituted roughly four hours.
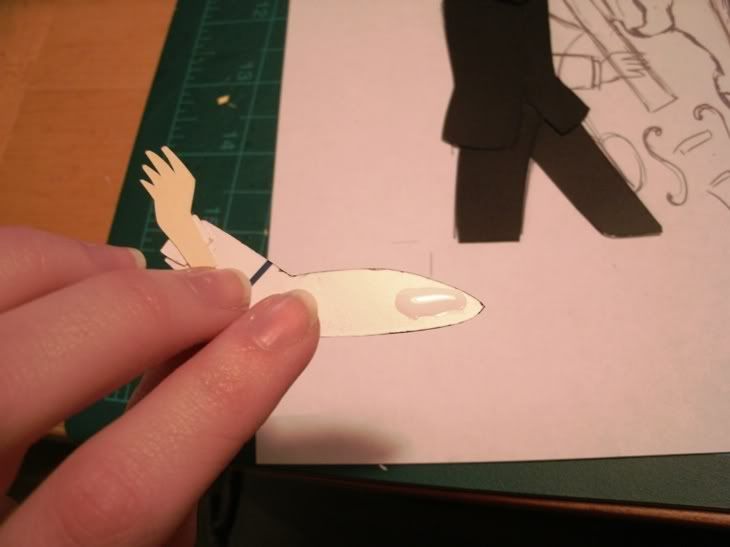
After coming back, I worked for a few hours on putting his arms together. I made sure to only glue at the shoulder because I knew I would need to slip the double-bass between his arm and body and needed wiggle-room.
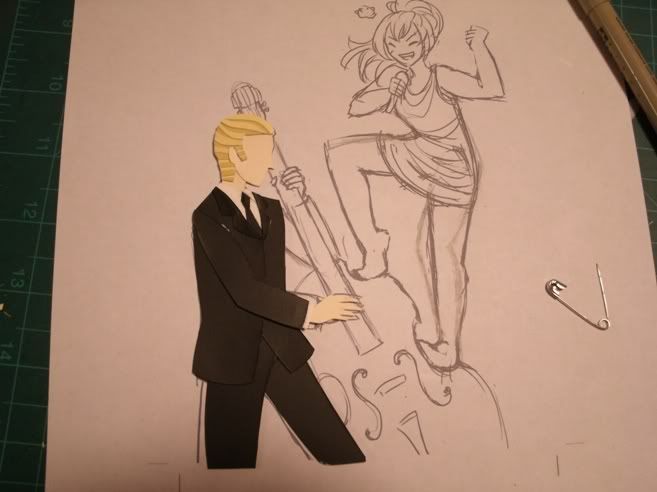
As I said earlier, it's okay that it doesn't match the sketch exactly.
Putting the other arm together. Cuff goes into sleeve...
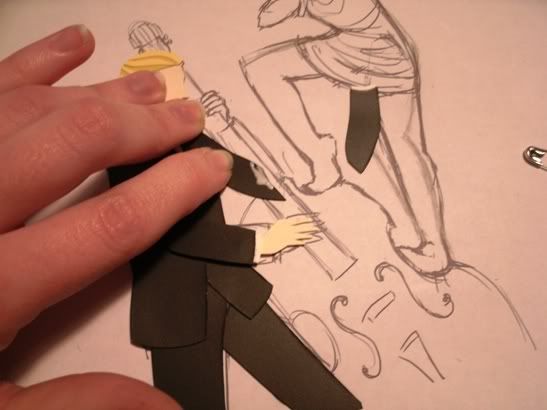
I was a little more worried about getting the positioning right for this arm.
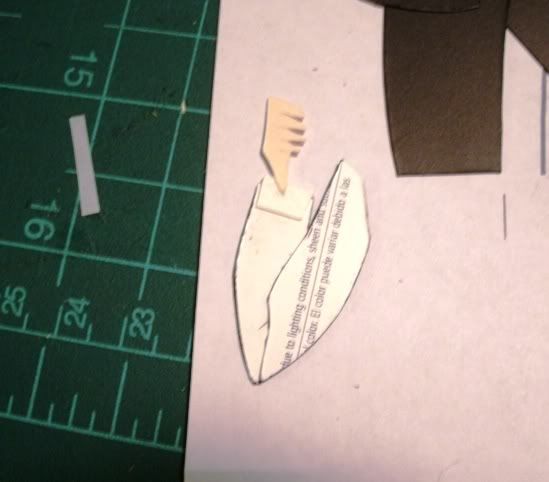
His hand isn't actually complete, so it was a little flimsily attached. I cut a strip of vellum...
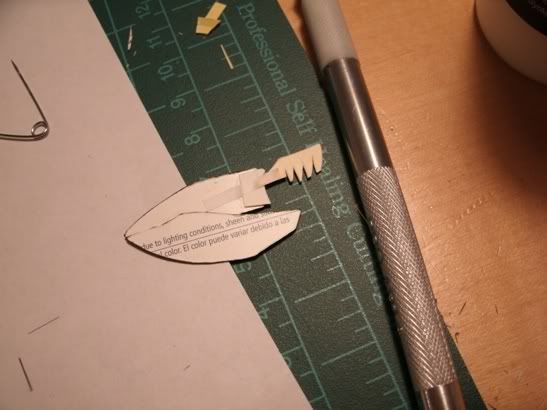
...and shored the tiny nonwrist up a but.
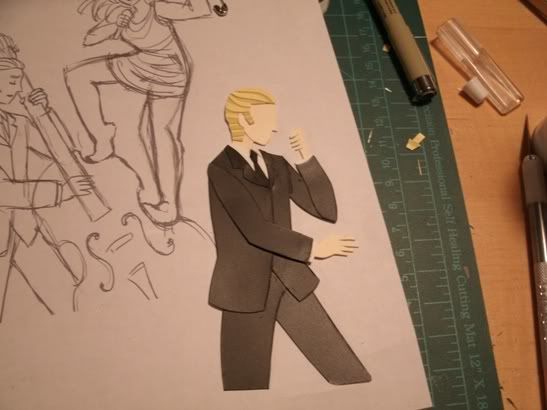
Done! And then dinner happened and I was kicked off the kitchen table.
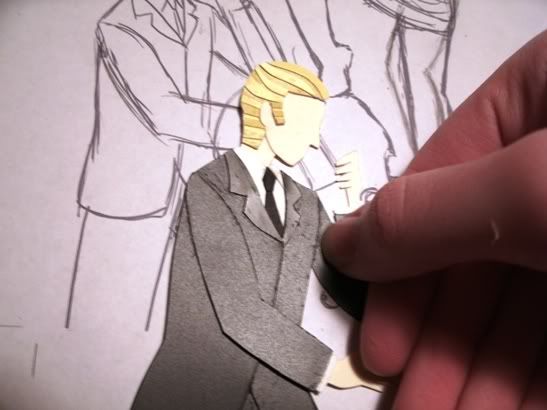
When I came back around midnight or so, I noticed some dried glue on Germany's suit. Thank god for paint sample cards, I was able to scrape it off pretty well. Having Good Craft is important!
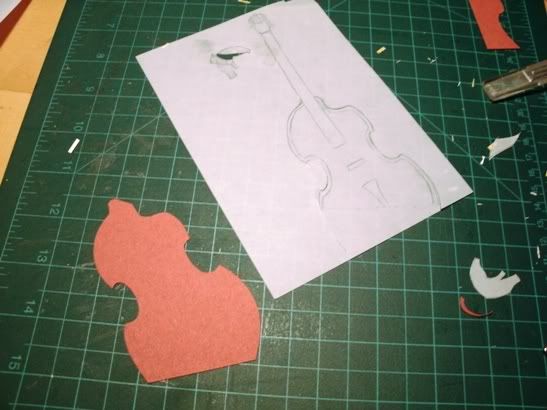
Time for the bass! I didn't bother to cut it exactly to the edges of the sketch, I think I'll either cut it to the 5x7 rectangle when it's done, or just crop it when scanned.
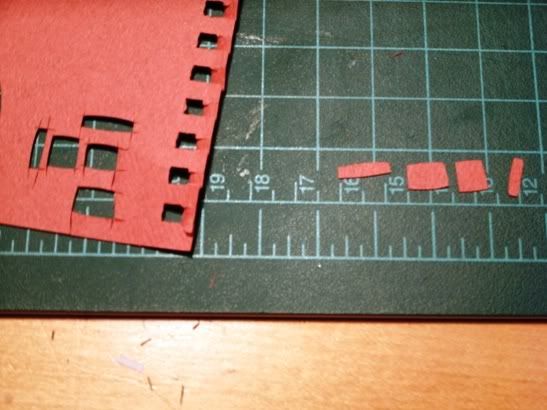
Making the curlicue thingie at the top of the bass. I took violin for most of my elementary school career, I'm pretty confident with the family's anatomy. So anyway yeah I cut bits that got shorter but wider at every iteration...
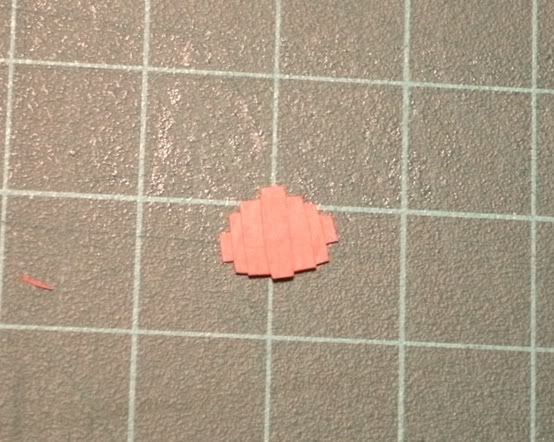
...and glued them one on top of the other.
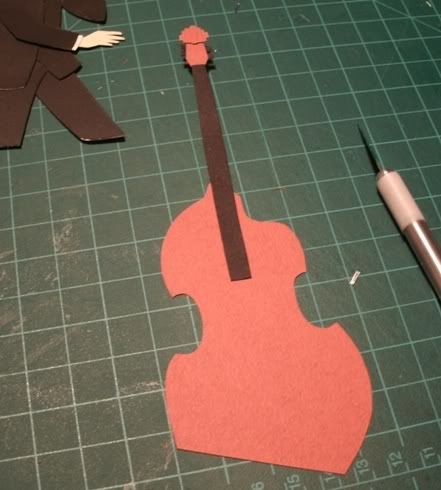
Then I glued that to the top of the neck and added tuning pegs.
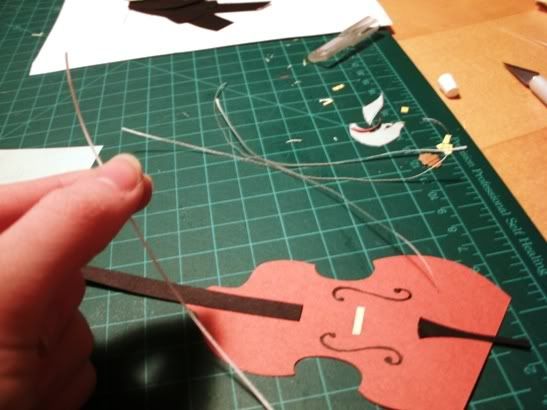
I was nervous that adding strings would crowd the composition and be difficult to make, but my need to render the bass correctly overrode those feelings. Oh-- and I drew on the curly holes in the middle of the bass' body, no way am I cutting those out...
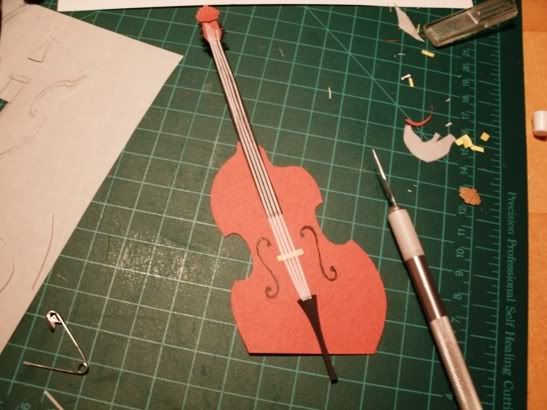
Da-da-daaah!
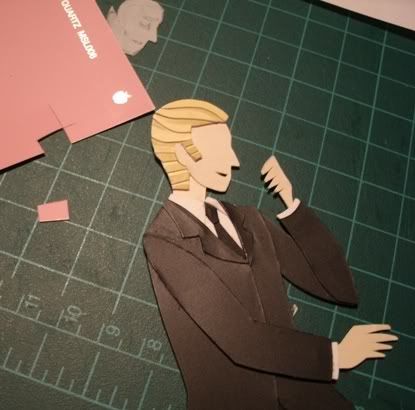
Before sticking the bass in his arms I made a face for Germany first. I decided to experiment with cutting right into the face and putting the color for his mouth behind it, thus making an actual mouth whole, not just color stuck on top. Time will tell whether it was really worth it... I suppose it will be more noticeable on femPrussia's big mouth.

And that's Germany done! After my siblings clear their lunches off the table I'll get to Prussia and the background. (Sorry I didn't document making the eye, the more fiddly and frustrating the thing, the less I'm inclined to stop and take photos.)
Thank you for reading, I hope you enjoyed seeing the process!