Icon Tutorial #1 by star_jrock

Credits: xloliconsx
Made in: AdobePhotoshop 7.0
Creator: star_jrock
E X A M P L E S:
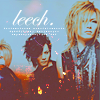
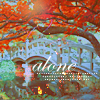
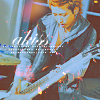
RULES:
∧ Comments would be awesome! :)
∧ Credit is not needed, unless you take one of the examples. xD
∧ Don't hotlink, please.
∧ Questions are welcomed.
∧ I would love to see your results!
∧ Enjoy!
Okay, open your image, resize it to your desired size. I "UNSHARP MASK" my image first with this setting, you can if you want to, but my image was a bit blurry:
UNSHARP MASK
amount: 50
radius: 1.0
threshold: 0
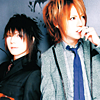
01. Layer > New Adjustment Layer > Selective Color
REDS:
cyan: -100
magenta: 45
yellow: 100
black: -30
YELLOWS:
cyan: -94
magenta: 100
yellow: -100
black: -70
WHITES:
cyan: 0
magenta: 0
yellow: 0
black: -65
NEUTRALS:
cyan: 50
magenta: 6
yellow: 9
black: -20
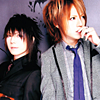
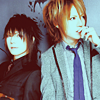
02. Layer > New Fill Layer > Solid Color
MODE: Exclusion OPACITY: 40%
COLOR: #A21111

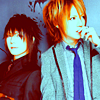
o3. Layer > New Adjustment Layer > Hue/Saturation
MASTER:
saturation: +45
REDS:
saturation: +15
YELLOWS:
saturation: +10

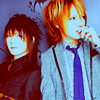
o4. Layer > New Adjustment Layer > Channel Mixer
REDS:
red: 100
green: -10
blue: 5
GREEN:
red: 0
green: 100
blue: -12

o5. Layer > New Fill Layer > Solid Color
MODE: Soft Light OPACITY: 50%
COLOR: #A0BCD4

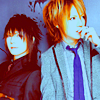
o6. Layer > New Fill Layer > Solid Color
MODE: Exclusion OPACITY: 30%
COLOR: #13863F

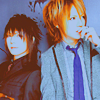
o7. Layer > New Adjustment Layer > Hue/Saturation
MASTER:
saturation: +10


o8. Add Texture
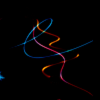
Set to: LIGHTEN
Made by: sanami276 @ ownthesunshine.

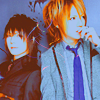
o9. Add Texture
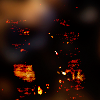
Set to: LIGHTEN
Made by: banquier @ serene_infinity

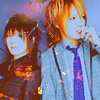
*I've rotated the texture around, so it won't be in their faces.
o10. Add Texture
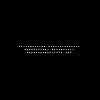
Set to: SCREEN
Made by: amethystia @ amethystia100

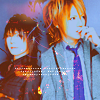
o11. Add Text
If you'd like to add a text, feel free to. For step o10, it's not really necessarily for a tiny text, because some icons look better off without it. Same with text. But it's up to you really. :P

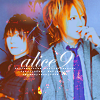
And you're done! (^-^)b
If you would like the .PSD, feel free to ask for it! ;D This is a pretty long tutorial, ne!