Tutorial #5
From this 
to this
.
Using PS7, Translatable
Sharpen or blur your base, your choice.
Layer>> New Adjustment Layer >> Curves
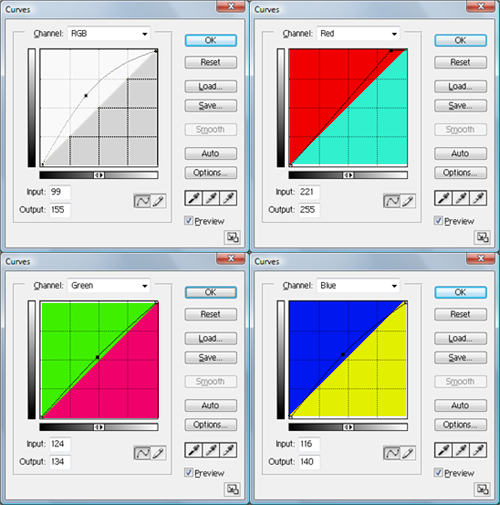
Basically the first Curves Layer is just used to lighten the image and get rid of the intense colours, like the yellows.
Settings
RGB: Input:99 Output:155
Red: Input:221 Output:255
Green: Input:124 Output:134
Blue: Input:116 Output:140

Before you start adjusting the setting on the second Curves Layer you should set it to Softlight.
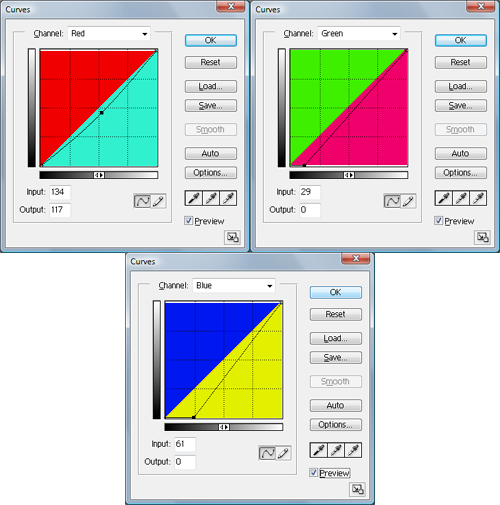
On this layer we’re going to tone down the reds and make the yellows and magenta stand out.
Settings
Red: Input:134 Output:117
Green: Input:29 Output:0
Blue: Input:61 Output:0

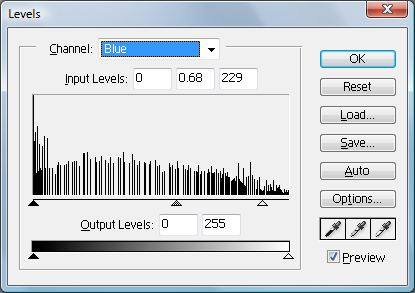
The last layer is Levels but it’s optional, it just gives it a little pop!
Settings
Blue: Input Levels: 0 0.68 229

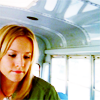
Examples using the same technique.
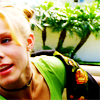
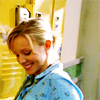
Remember that these setting are for this image and you should experiment to achieve the effect that you want.
All my other tutorials can be found Here.

to this

.
Using PS7, Translatable
Sharpen or blur your base, your choice.
Layer>> New Adjustment Layer >> Curves
Basically the first Curves Layer is just used to lighten the image and get rid of the intense colours, like the yellows.

Settings
RGB: Input:99 Output:155
Red: Input:221 Output:255
Green: Input:124 Output:134
Blue: Input:116 Output:140

Before you start adjusting the setting on the second Curves Layer you should set it to Softlight.
On this layer we’re going to tone down the reds and make the yellows and magenta stand out.

Settings
Red: Input:134 Output:117
Green: Input:29 Output:0
Blue: Input:61 Output:0

The last layer is Levels but it’s optional, it just gives it a little pop!

Settings
Blue: Input Levels: 0 0.68 229

Examples using the same technique.


Remember that these setting are for this image and you should experiment to achieve the effect that you want.
All my other tutorials can be found Here.