Animation Tutorial
By special request
Not Dial Up Friendly: Lots of Screenshots plus a video included.

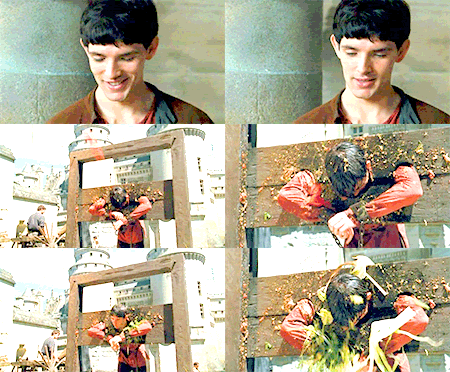
-->
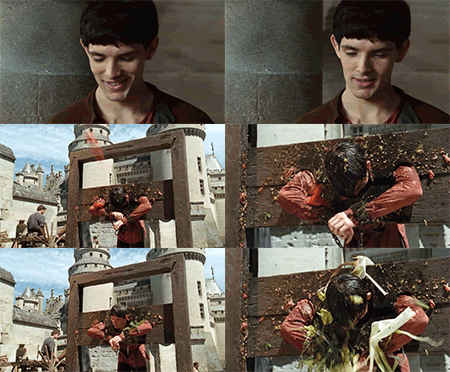
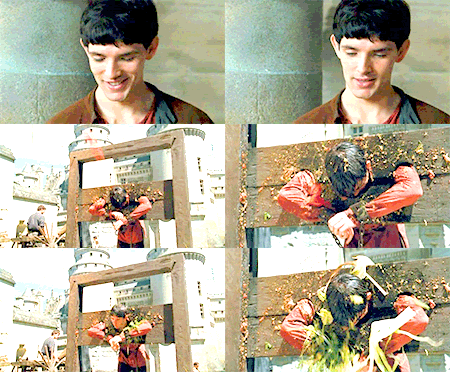
------->
PLEASE DO NOT HOTLINK
Tools Used: KM Player for screencapping and Photoshop/Imageready CS2.
This animation tutorial will be based upon the assumption that the maker has some level of knowledge regarding Photoshop/Imageready. PS/IR is just one of the many programs that can be used to make mini-movies or gifs. Its my tool of choice. You can use also VLC Media Player, ImageGrab(which is a free program) or PowerDVD for your screencaps.
I suck at explaining things so please let me know if anything is unclear.
Lets get started.
Please ignore the program BSR, its what I use to capture the screenshots for this tutorial.
1). I open KM Player, go up to the upper left hand corner and click OPEN FILE. Choose the show/movie you want to use for your screencaps.

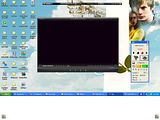
2). As you can see the player image has changed. Now in order to capture images from the video, RIGHT CLICK anywhere on the video screen. Choose CAPTURE------>ADVANCE CAPTURE. Another box will then appear. This box contains all the necessary stuff needed to get the screencaps.
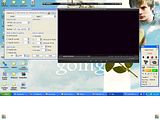
-- At the top of the box you see it says CAPTURE TO: This is where you want your screencaps to be saved. So just click on it and choose a folder(preferably an empty folder).
-- You can choose what kind of images you want your screencaps to be saved as BITMAP, JPEG or PNG.
-- Then it gives you the option of having your having only a certain number of images capped. I usually choose continuous, as it allows for the gif to flow smoothly, IMO.
-- The how to capture is always the most tricky part. I find that capturing x# of caps per second works best for me and makes the animation flow smoothly.
3). Since I know what part of the show I want to capture, I just fast forward through to the scene to save myself some time.
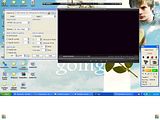
4). Once I get to the scene I want, I start playing the vid and hit START to begin capping.
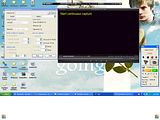
5). Once I get the scene I want to use, I stop the capture and then stop the video.
6). I go into the folder to where my screencaps are stored to sift through them in Image Viewer in Windows XP. I look at each cap individually to ensure that they aren't too blurry/crappy. I delete the ones that I don't need to just get the scene I'm trying to animate.

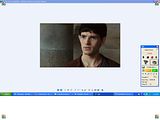
7). That done I now move on to the hard part.
8). Open Imageready, the sister program to Photoshop.
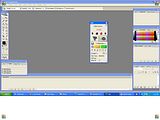
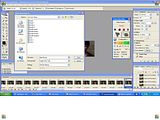
9). In Imageready on the upper left hand corner click on FILE----->IMPORT---->FOLDERS AS FRAMES. This is the reason you need to keep the screencaps in an empty folder. Find and click on the folder with the caps.
10). Now find the folder wherever you have it on your hard drive and click on it. Imageready will then import all the screencaps from that folder into the program.
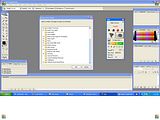
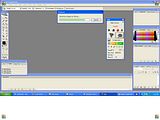
11). The screencaps are now in Imageready, as you can see in the animation bar. Now what?
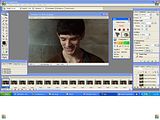
12). First thing I usually do is resize the caps. Go to IMAGE----->IMAGE SIZE. A box pops up, that gives you the dimensions of the images at its current size. It needs to be made smaller. So you now have two options: 1). To just resize or 2). To crop. I choose #1 as I'm not encumbered by a file size restriction ie, LJ animated icon.
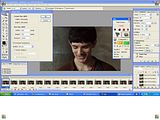
13). Before resizing make sure that the CONSTRAIN PROPORTIONS box is checked. Because if it isn't the image will come out looking all wonky and stretched. As you can see I've changed the dimensions of the image. Once I changed the width of the image the height changes automatically to keep the proportions of the image intact. Click ok and Imageready will now resize all the caps. MAKE SURE YOU SAVE THE IMAGE AT THIS TIME. Click on FILE----->SAVE AS and name it whatever you like.
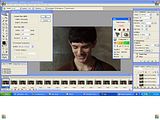
---------->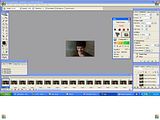
14). That done you can now set the time delay for the animation. This is something that is totally up to you. Just one thing: NEVER set an animation to NO DELAY(0 sec), as it will run way too fast when uploaded to the web for viewing.
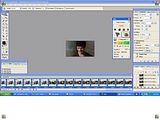
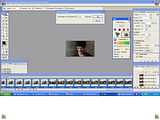
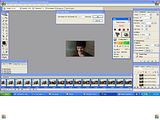
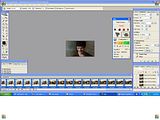
15). To set the time for each animation, CLICK on the first frame in the animation bar. Then scroll all the way across until you reach the last frame. Hold down the SHIFT key and click on the last frame in the animation box. The entire animation is now highlighted. At the bottom of each animation you see it says 0 sec with a small arrow pointing down, click anywhere it shows that. Another small box pops up that gives you different times in secs, .1, .2, .5, 1, 2, 5, 10, etc. You can choose one of those preset times or you can make you own, by choosing OTHER, as I do. Usually its set to default at 0.01 sec but I find that way too fast for my taste so I set my time delay at 0.1-0.15 depending on how many frames are in the animation. This one has 61 frames, so I set it at something like 0.11 sec and click on ok. As you can see from the animation bar, the time delay for each frame is set to 0.11 sec.
------->
------->
16). Still with me?
17). Now I will play the animation to see if that time delay is ok. It plays perfectly. The embedded vid is just to give you an idea. Its only playing that slow due to the screen being recorded.
18). So now you have a basic animation. To see how it will look on the web, I minimize my internal Imageready screen. At the top you will see ORIGINAL, OPTIMIZED, 2-UP and 4-UP. We just want to see what it looks like with OPTIMIZATION. You will notice that it will look a little grainy, don't worry this is very normal as quality is lost during optimization. So just click on Optimized and then play the animation. Looks good, yes or no? Now comes the saving it for web upload. I always save my gifs at 256 colours as it gives me the best quality. You can see my settings in the screenshot of Imagready.
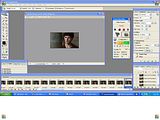
19). You can stop there by saving it. Go to FILE----->SAVE OPTIMIZED AS and save it in whatever folder. You are now free to upload to Photobucket, etc.
Here it is, your animation:

YOU CAN END HERE OR YOU CAN CARRY ON AND WORK ON IT SOME MORE, IF THAT IS YOUR CHOICE.
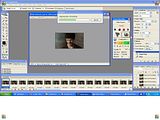
20). Now we will switch over into Photoshop and do the heavy duty work. To do this look at the botton of the tool palette in Imageready where circled in red.
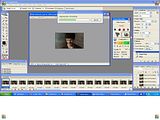
------>
------>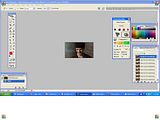
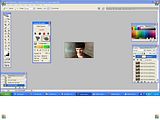
The third image now shows that you're in Photoshop. You can tell by the lack of the animation bar at the bottom of the screen.
21). Now that we're in PS, the first thing I normally do is play around with the ADJUSTMENT LAYERS. Go to LAYER----->NEW ADJUSTMENT LAYER---->CURVES. Because as you can see the animation is fairly dark.
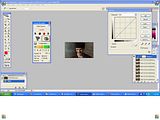
22). Its with the different ADJUSTMENT LAYERS that I play around with to get the bright colours in my animations. Adjustment layers automatically fixes the lighting, etc in each image so that you don't have to do them individually.
23). Curves are very iffy to deal with, because the results of using it depend on the image that you're trying to brighten. You can't use the same CURVES input/output values on different images as you will never get the same result. As you can see from the screen shots I've changed the CURVE quotients. I don't just put in numbers, I drag the line across until I get something I like. As you can also see from the screen shots I've added 2 layers of curves and the image looks much brighter than before. Once again you can stop there if that is your wish and jump back over to Imageready the same way you initially came over into Photoshop and save your image OPTIMIZED for web upload. Or you can carry on.
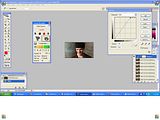
&
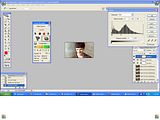
24). That done I add another Adjustment Layer. Go to LAYER---->NEW ADJUSTMENT LAYER----->LEVELS. See screen shots. Once again you just play around with the numbers til you get something that you like.
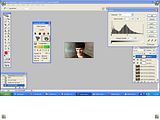
----->
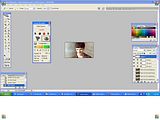
25). Now create a new layer by clicking LAYER----->NEW---->NEW LAYER. See screen shot. The new layer appears in the layer palette above the image and adjustment layers. Its highlighted so you can't miss it.
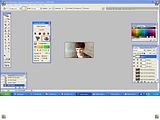
26). In this new layer I'm going to drop some colour, a pretty light blue. Its already in my PS/IR Tool palette, because I use it alot. But if its not in yours that is where you're colour swatches comes in handy. I go to my TOOLS PALETTE and click on the paint bucket. Once again see screen shot. Once the paint bucket is selected I hover it on the image, click on it and tada the nice pretty blue covers the image.
----->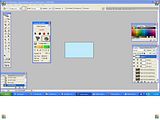
27). Now on the LAYER PALETTE, you know that box that has all the images of the animation and Adjustment layers in it. I'm going to change the BLEND MODE and possibly the OPACITY of the blue colour layer. See screenshot.
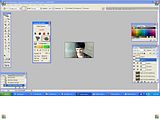
Looks slightly bluish which is ok, as that is what I want. I also add another colour layer over the blue one and once again change the blend mode and the opacity of the layer.
28). Now I go back to my ADJUSTMENT LAYERS. Go to LAYER---->ADJUSTMENT LAYER---->SELECTIVE COLOUR. See screenshot.
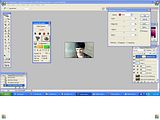
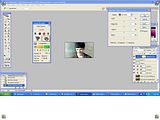
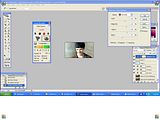
For this I'm just going to do one basic layer of selective colouring, using the NEUTRAL mode. So where you see COLOURS on the selective colour palette, click the down arrow and choose neutral. Once again, like with CURVES layer I don't just put in number. I use the sliders to get something that appeals to me. Once again see screen shot for values used. These are just examples. Play around with them.

----->
----->
Looks good but I'm still not done, LOL.
29). Now I add the last adjustment layer by increasing the SATURATION on the image(s).
Go to LAYER---->NEW ADJUSTMENT LAYER----->HUE/SATURATION.
Once again the the slider is your friend. See screen shot.
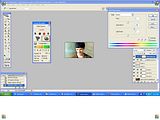
Now see how different your animation looks from when you started.
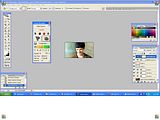
Now to see how it will look on the web skip on back over to Imageready by clicking the mini-icon at the bottom of the TOOLS PALETTE in Photoshop. Just like the one you clicked on in Imageready to get to PS.
MAKE SURE YOU SAVE AS YOU GO ALONG.
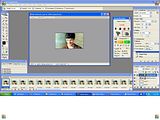
30). To see how it will really look on the web view it OPTIMIZED the way I showed you previously. Remember it will look grainy due to quality getting compromised during compression(Optimization). And also remember, after adding so many new adjustments as well as possible colours layers the animation might look very weird. That is why its important to play around with the adjustment layers in Photoshop. So go back and forth between both programs until you get something that appeals to you.
Once you're done playing in Imageready go to: FILE---->SAVE OPTIMIZED AS and name it differently than your first gif without all the additional layers.
This is my final result:

------->
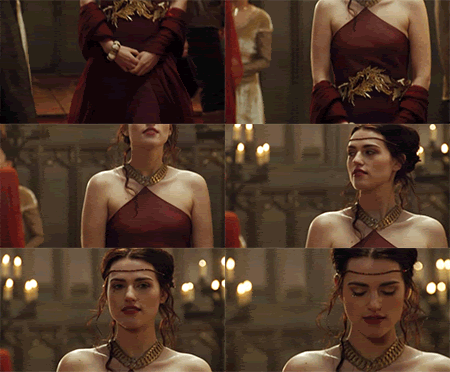
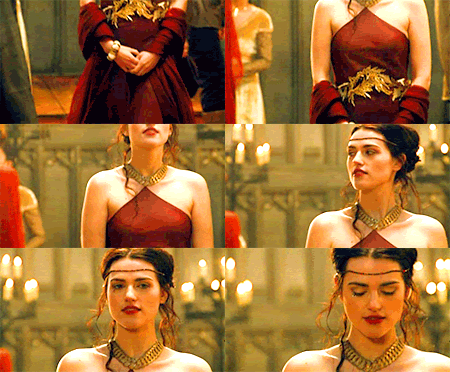
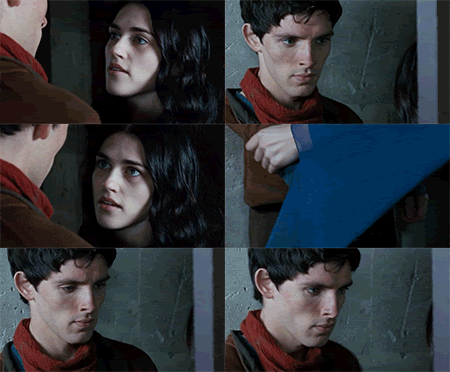
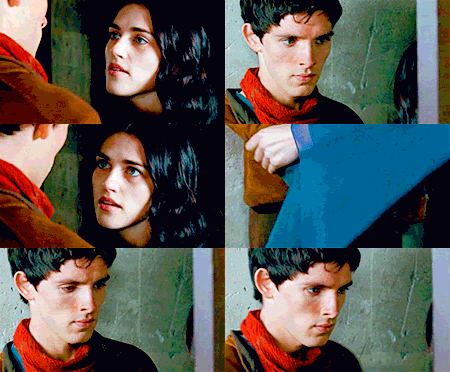
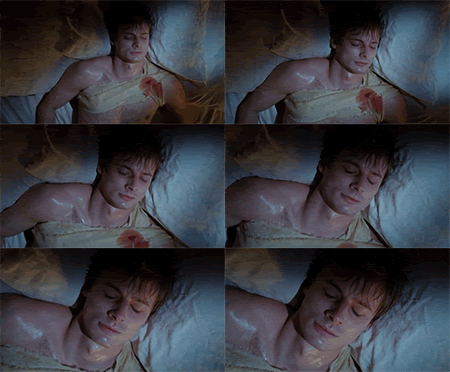
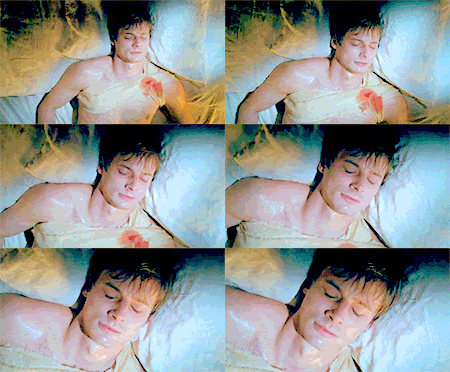
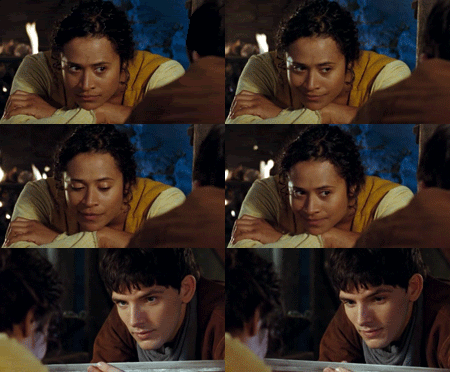
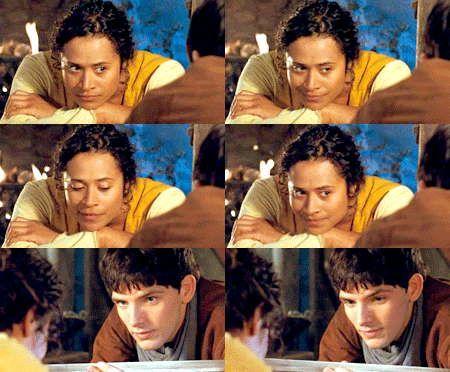
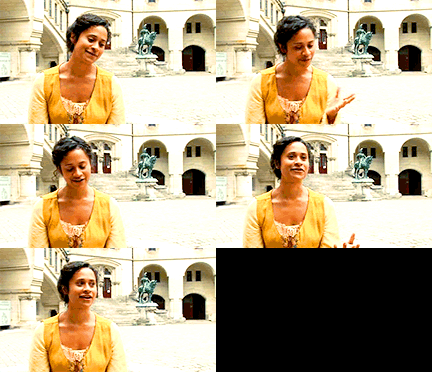
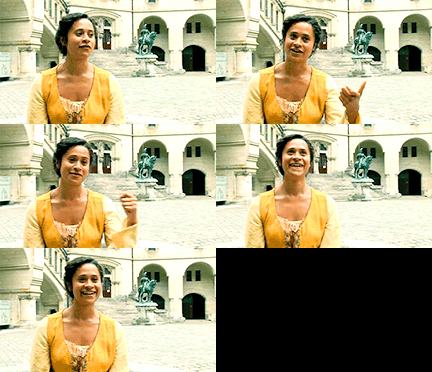
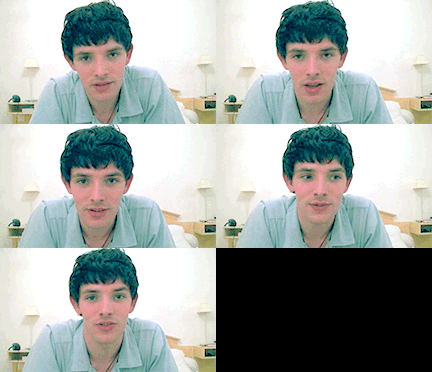
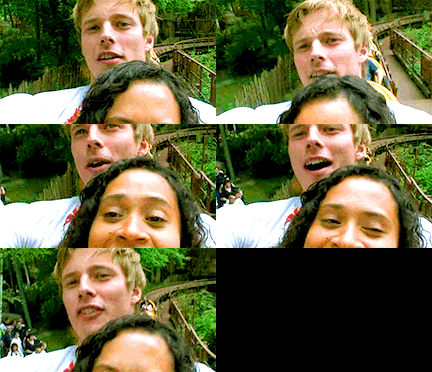
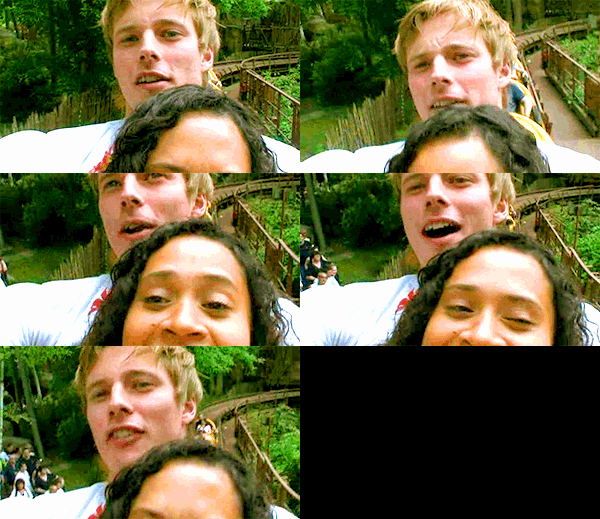
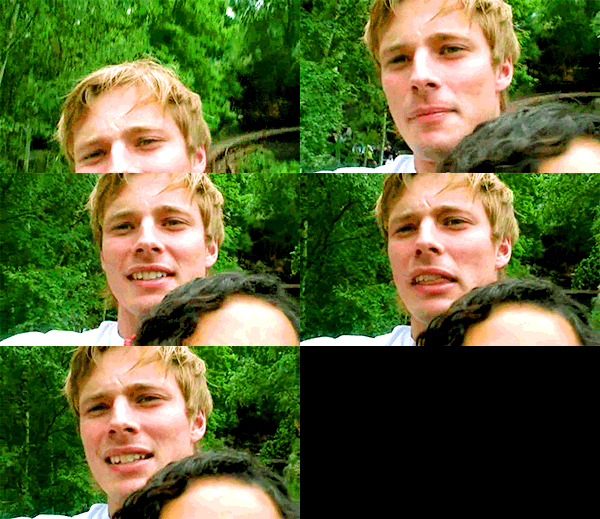
Some other examples from the the show as well as the cast video diaries. Different styles were used, but all of them have some degree of adjustment layers.
----->
----->
----->
----->
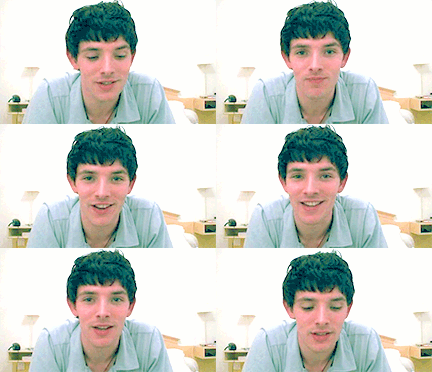
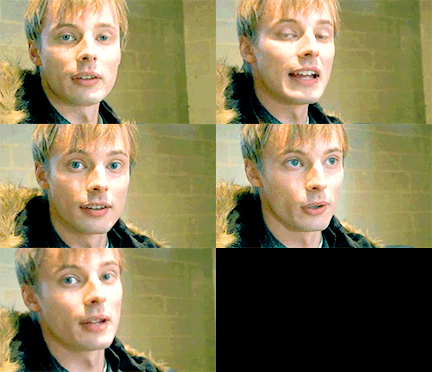
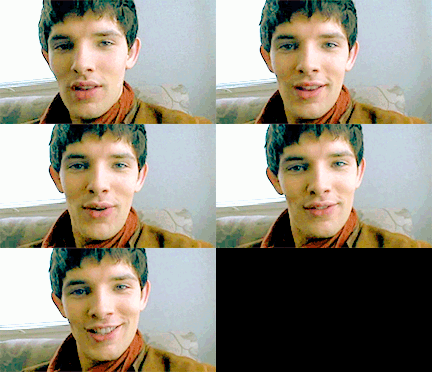
From the Cast Video Diaries


Previous Animations Sets:
Set 1, Set 2, Set 3, Set 4, Set 5, Set 6, Set 7, Set 8, Set 9, Set 10, Set 11, Set 12, Set 13, Set 14.
Not Dial Up Friendly: Lots of Screenshots plus a video included.

-->


------->

PLEASE DO NOT HOTLINK
Tools Used: KM Player for screencapping and Photoshop/Imageready CS2.
This animation tutorial will be based upon the assumption that the maker has some level of knowledge regarding Photoshop/Imageready. PS/IR is just one of the many programs that can be used to make mini-movies or gifs. Its my tool of choice. You can use also VLC Media Player, ImageGrab(which is a free program) or PowerDVD for your screencaps.
I suck at explaining things so please let me know if anything is unclear.
Lets get started.
Please ignore the program BSR, its what I use to capture the screenshots for this tutorial.
1). I open KM Player, go up to the upper left hand corner and click OPEN FILE. Choose the show/movie you want to use for your screencaps.


2). As you can see the player image has changed. Now in order to capture images from the video, RIGHT CLICK anywhere on the video screen. Choose CAPTURE------>ADVANCE CAPTURE. Another box will then appear. This box contains all the necessary stuff needed to get the screencaps.

-- At the top of the box you see it says CAPTURE TO: This is where you want your screencaps to be saved. So just click on it and choose a folder(preferably an empty folder).
-- You can choose what kind of images you want your screencaps to be saved as BITMAP, JPEG or PNG.
-- Then it gives you the option of having your having only a certain number of images capped. I usually choose continuous, as it allows for the gif to flow smoothly, IMO.
-- The how to capture is always the most tricky part. I find that capturing x# of caps per second works best for me and makes the animation flow smoothly.
3). Since I know what part of the show I want to capture, I just fast forward through to the scene to save myself some time.

4). Once I get to the scene I want, I start playing the vid and hit START to begin capping.

5). Once I get the scene I want to use, I stop the capture and then stop the video.
6). I go into the folder to where my screencaps are stored to sift through them in Image Viewer in Windows XP. I look at each cap individually to ensure that they aren't too blurry/crappy. I delete the ones that I don't need to just get the scene I'm trying to animate.


7). That done I now move on to the hard part.
8). Open Imageready, the sister program to Photoshop.

9). In Imageready on the upper left hand corner click on FILE----->IMPORT---->FOLDERS AS FRAMES. This is the reason you need to keep the screencaps in an empty folder. Find and click on the folder with the caps.
10). Now find the folder wherever you have it on your hard drive and click on it. Imageready will then import all the screencaps from that folder into the program.


11). The screencaps are now in Imageready, as you can see in the animation bar. Now what?

12). First thing I usually do is resize the caps. Go to IMAGE----->IMAGE SIZE. A box pops up, that gives you the dimensions of the images at its current size. It needs to be made smaller. So you now have two options: 1). To just resize or 2). To crop. I choose #1 as I'm not encumbered by a file size restriction ie, LJ animated icon.

13). Before resizing make sure that the CONSTRAIN PROPORTIONS box is checked. Because if it isn't the image will come out looking all wonky and stretched. As you can see I've changed the dimensions of the image. Once I changed the width of the image the height changes automatically to keep the proportions of the image intact. Click ok and Imageready will now resize all the caps. MAKE SURE YOU SAVE THE IMAGE AT THIS TIME. Click on FILE----->SAVE AS and name it whatever you like.

---------->

14). That done you can now set the time delay for the animation. This is something that is totally up to you. Just one thing: NEVER set an animation to NO DELAY(0 sec), as it will run way too fast when uploaded to the web for viewing.
15). To set the time for each animation, CLICK on the first frame in the animation bar. Then scroll all the way across until you reach the last frame. Hold down the SHIFT key and click on the last frame in the animation box. The entire animation is now highlighted. At the bottom of each animation you see it says 0 sec with a small arrow pointing down, click anywhere it shows that. Another small box pops up that gives you different times in secs, .1, .2, .5, 1, 2, 5, 10, etc. You can choose one of those preset times or you can make you own, by choosing OTHER, as I do. Usually its set to default at 0.01 sec but I find that way too fast for my taste so I set my time delay at 0.1-0.15 depending on how many frames are in the animation. This one has 61 frames, so I set it at something like 0.11 sec and click on ok. As you can see from the animation bar, the time delay for each frame is set to 0.11 sec.

------->


------->

16). Still with me?
17). Now I will play the animation to see if that time delay is ok. It plays perfectly. The embedded vid is just to give you an idea. Its only playing that slow due to the screen being recorded.
18). So now you have a basic animation. To see how it will look on the web, I minimize my internal Imageready screen. At the top you will see ORIGINAL, OPTIMIZED, 2-UP and 4-UP. We just want to see what it looks like with OPTIMIZATION. You will notice that it will look a little grainy, don't worry this is very normal as quality is lost during optimization. So just click on Optimized and then play the animation. Looks good, yes or no? Now comes the saving it for web upload. I always save my gifs at 256 colours as it gives me the best quality. You can see my settings in the screenshot of Imagready.

19). You can stop there by saving it. Go to FILE----->SAVE OPTIMIZED AS and save it in whatever folder. You are now free to upload to Photobucket, etc.

Here it is, your animation:

YOU CAN END HERE OR YOU CAN CARRY ON AND WORK ON IT SOME MORE, IF THAT IS YOUR CHOICE.
20). Now we will switch over into Photoshop and do the heavy duty work. To do this look at the botton of the tool palette in Imageready where circled in red.

------>

------>

The third image now shows that you're in Photoshop. You can tell by the lack of the animation bar at the bottom of the screen.
21). Now that we're in PS, the first thing I normally do is play around with the ADJUSTMENT LAYERS. Go to LAYER----->NEW ADJUSTMENT LAYER---->CURVES. Because as you can see the animation is fairly dark.

22). Its with the different ADJUSTMENT LAYERS that I play around with to get the bright colours in my animations. Adjustment layers automatically fixes the lighting, etc in each image so that you don't have to do them individually.
23). Curves are very iffy to deal with, because the results of using it depend on the image that you're trying to brighten. You can't use the same CURVES input/output values on different images as you will never get the same result. As you can see from the screen shots I've changed the CURVE quotients. I don't just put in numbers, I drag the line across until I get something I like. As you can also see from the screen shots I've added 2 layers of curves and the image looks much brighter than before. Once again you can stop there if that is your wish and jump back over to Imageready the same way you initially came over into Photoshop and save your image OPTIMIZED for web upload. Or you can carry on.

&

24). That done I add another Adjustment Layer. Go to LAYER---->NEW ADJUSTMENT LAYER----->LEVELS. See screen shots. Once again you just play around with the numbers til you get something that you like.

----->

25). Now create a new layer by clicking LAYER----->NEW---->NEW LAYER. See screen shot. The new layer appears in the layer palette above the image and adjustment layers. Its highlighted so you can't miss it.

26). In this new layer I'm going to drop some colour, a pretty light blue. Its already in my PS/IR Tool palette, because I use it alot. But if its not in yours that is where you're colour swatches comes in handy. I go to my TOOLS PALETTE and click on the paint bucket. Once again see screen shot. Once the paint bucket is selected I hover it on the image, click on it and tada the nice pretty blue covers the image.

----->

27). Now on the LAYER PALETTE, you know that box that has all the images of the animation and Adjustment layers in it. I'm going to change the BLEND MODE and possibly the OPACITY of the blue colour layer. See screenshot.

Looks slightly bluish which is ok, as that is what I want. I also add another colour layer over the blue one and once again change the blend mode and the opacity of the layer.
28). Now I go back to my ADJUSTMENT LAYERS. Go to LAYER---->ADJUSTMENT LAYER---->SELECTIVE COLOUR. See screenshot.

For this I'm just going to do one basic layer of selective colouring, using the NEUTRAL mode. So where you see COLOURS on the selective colour palette, click the down arrow and choose neutral. Once again, like with CURVES layer I don't just put in number. I use the sliders to get something that appeals to me. Once again see screen shot for values used. These are just examples. Play around with them.

----->

----->

Looks good but I'm still not done, LOL.
29). Now I add the last adjustment layer by increasing the SATURATION on the image(s).
Go to LAYER---->NEW ADJUSTMENT LAYER----->HUE/SATURATION.
Once again the the slider is your friend. See screen shot.

Now see how different your animation looks from when you started.

Now to see how it will look on the web skip on back over to Imageready by clicking the mini-icon at the bottom of the TOOLS PALETTE in Photoshop. Just like the one you clicked on in Imageready to get to PS.
MAKE SURE YOU SAVE AS YOU GO ALONG.

30). To see how it will really look on the web view it OPTIMIZED the way I showed you previously. Remember it will look grainy due to quality getting compromised during compression(Optimization). And also remember, after adding so many new adjustments as well as possible colours layers the animation might look very weird. That is why its important to play around with the adjustment layers in Photoshop. So go back and forth between both programs until you get something that appeals to you.
Once you're done playing in Imageready go to: FILE---->SAVE OPTIMIZED AS and name it differently than your first gif without all the additional layers.
This is my final result:

------->

Some other examples from the the show as well as the cast video diaries. Different styles were used, but all of them have some degree of adjustment layers.

----->


----->


----->


----->

From the Cast Video Diaries


Previous Animations Sets:
Set 1, Set 2, Set 3, Set 4, Set 5, Set 6, Set 7, Set 8, Set 9, Set 10, Set 11, Set 12, Set 13, Set 14.