Tutorial!
Going from 
to
using Photoshop CS.
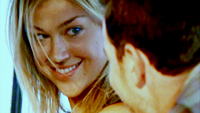
Whats up people? Long time, no see. Today, we are going to colour a Friday Night Lights screencapture. Here we go...
001. Open your picture. Resize it. I used to crop it and then colour, but recently I realised that its better colour it first and then crop it.
002. Lets lighten up the capture a bit. New Layer. Fill with
. Set the layer to Soft Light 20%.

>>
003. Still too dark. Lets add a Curves layer. New Layer >> Adjustment Layerts >> Curves.
RGB: 1st point - 212; 246
2nd point - 78; 162
Blue: 170;206.

>>
004. Too light isn't it? Lets add a exclusion layer. New Layer >> Fill with
. Set the layer to Exclusion 100%

>>
005. No constrast, uh? The levels tool is gonna fix it. New Layer >> Adjustment Layerts >> Levels.
RGB:52;1,19;255

>>
006. Stil not contrast enough. Lets add another colour layer. New Layer >> Fill with
. Set the layer to Color Burn 100%

>>
007. Colouring is done. Crop it. Sharpen/add text/textures or whatever you feel like, and its done!
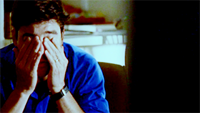
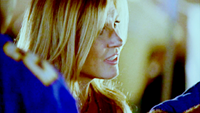
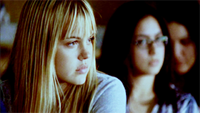
Other examples with similar colouring


:: Comments are always welcome!
:: I would love to se your results.
:: Feel free to friend me.

to

using Photoshop CS.
Whats up people? Long time, no see. Today, we are going to colour a Friday Night Lights screencapture. Here we go...
001. Open your picture. Resize it. I used to crop it and then colour, but recently I realised that its better colour it first and then crop it.
002. Lets lighten up the capture a bit. New Layer. Fill with

. Set the layer to Soft Light 20%.

>>

003. Still too dark. Lets add a Curves layer. New Layer >> Adjustment Layerts >> Curves.
RGB: 1st point - 212; 246
2nd point - 78; 162
Blue: 170;206.

>>

004. Too light isn't it? Lets add a exclusion layer. New Layer >> Fill with

. Set the layer to Exclusion 100%

>>

005. No constrast, uh? The levels tool is gonna fix it. New Layer >> Adjustment Layerts >> Levels.
RGB:52;1,19;255

>>

006. Stil not contrast enough. Lets add another colour layer. New Layer >> Fill with

. Set the layer to Color Burn 100%

>>

007. Colouring is done. Crop it. Sharpen/add text/textures or whatever you feel like, and its done!
Other examples with similar colouring


:: Comments are always welcome!
:: I would love to se your results.
:: Feel free to friend me.