kotono: step 21
Okay, first order of business: I went back to the last post and corrected the puff paint issues. One picture had to be taken out and two needed some extra explanation. So! MOVING ON!!

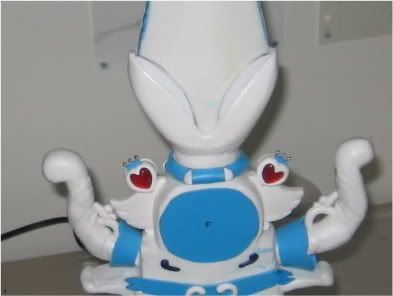
Okay, here's the first order of business. More craft foam. Yeah, yeah, I said we were done with that but...things change. You need to learn when not to listen to me! >D First, draw a pencil line on the blade to determine how much foam you need and in what shape. Take your time with drafting these patterns...and make sure you have lots of paper to waste before you get it right. (Don't forget to recycle!) Once you have the four pieces of foam super glued in their proper place, apply caulk between the seams of foam/model magic and smooth with one of your clay tools from a few steps back.

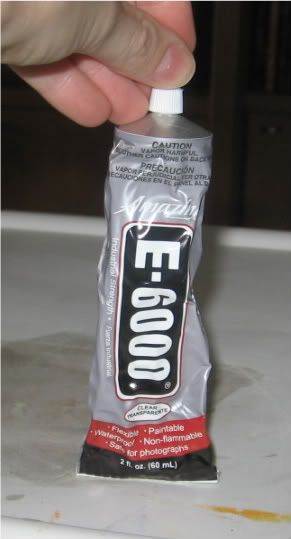
And here's a recent discovery of mine. E-6000 epoxy glue. This stuff is GREAT. It's much stronger than hot glue and it has some flexibility, which works REALLY well for these kinds of things. If you've read this far and haven't started construction (good for you!!) consider using this instead. It has a longer set time than super glue or hot glue, but it's well worth it if you're attaching something that you can afford a longer set time.

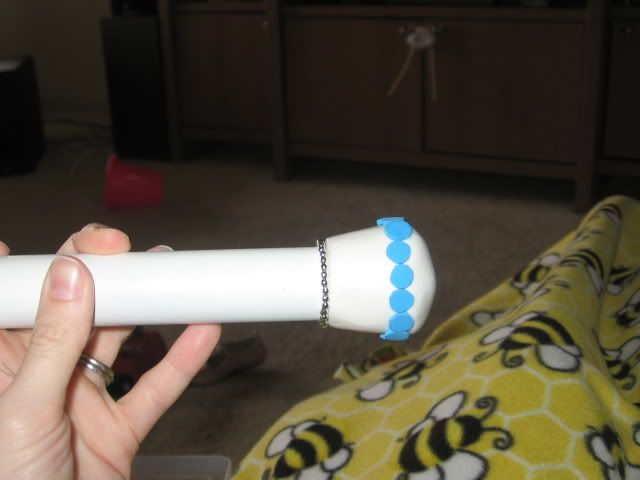
My first use of this stuff for this particular piece is right here. String some small beads on clear thread and loop it all together in place. For reference, these are the same beads I used for the "crowns" on the hearts near the blade. I glued these in place with the E-6000 glue. I haven't gotten there yet, but I want to use this same method above the foam circles on the knob, but with smaller beads.

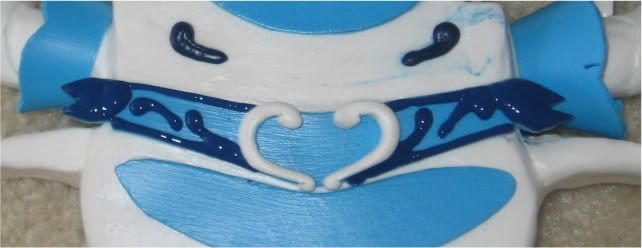
And now for some more puff paint. Go slow. That was difficult. Keep a paper towel on hand to wipe away any mistakes. I'm POSITIVE I'll also be using puff paint to go around the edge of the foam piece below (between the tiara and the small heart on the hand guard). I just want to let this stuff dry before I get there.)
Proceed to Step 22!

Okay, here's the first order of business. More craft foam. Yeah, yeah, I said we were done with that but...things change. You need to learn when not to listen to me! >D First, draw a pencil line on the blade to determine how much foam you need and in what shape. Take your time with drafting these patterns...and make sure you have lots of paper to waste before you get it right. (Don't forget to recycle!) Once you have the four pieces of foam super glued in their proper place, apply caulk between the seams of foam/model magic and smooth with one of your clay tools from a few steps back.

And here's a recent discovery of mine. E-6000 epoxy glue. This stuff is GREAT. It's much stronger than hot glue and it has some flexibility, which works REALLY well for these kinds of things. If you've read this far and haven't started construction (good for you!!) consider using this instead. It has a longer set time than super glue or hot glue, but it's well worth it if you're attaching something that you can afford a longer set time.

My first use of this stuff for this particular piece is right here. String some small beads on clear thread and loop it all together in place. For reference, these are the same beads I used for the "crowns" on the hearts near the blade. I glued these in place with the E-6000 glue. I haven't gotten there yet, but I want to use this same method above the foam circles on the knob, but with smaller beads.

And now for some more puff paint. Go slow. That was difficult. Keep a paper towel on hand to wipe away any mistakes. I'm POSITIVE I'll also be using puff paint to go around the edge of the foam piece below (between the tiara and the small heart on the hand guard). I just want to let this stuff dry before I get there.)
Proceed to Step 22!