Tutorial #3 (Grey's Anatomy)
Tutorial requested by lostemilie.
Made in PSPX. Some of the steps were taken from this tutorial.

-->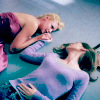
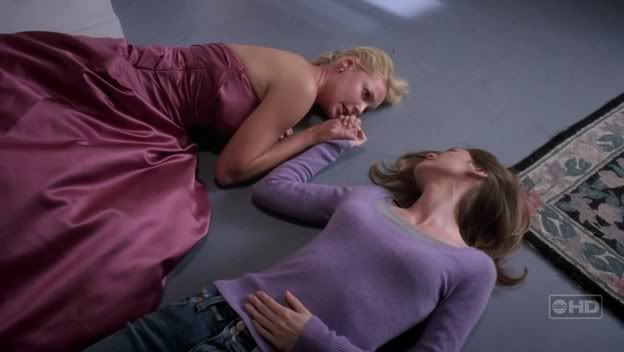
1. Original cap from dj_capslock.
2. Cropped. Open in a new document (Shift+D). Resize to 100x100.
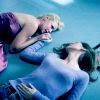
3. Duplicate the base twice and set to screen. Originally I only had one screen layer but it was too dark so I went back and made a second.
-->
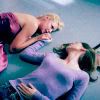
4. New layer. Fill with #6acaed. Blend mode: Burn. Opacity: 100.
+
=
5. New layer. Fill with #6acaed. Blend mode: Soft Light. Opacity: 18.
+
=
6. New layer. Fill with #ed6a6a. Blend mode: Soft Light. Opacity: 100.
+
=
7. New layer. Fill with #f89d00. Blend mode: Soft Light. Opacity: 25.
+
=
8. Layers >> New Adjustment Layer >> Hue/Saturation/Lightness. Saturation: 10. (In retrospect I could have and probably should have done more saturation than I did.)
-->
9. Texture by peoplemachines. Copy the texture and paste it on top of all the layers (Ctrl + L) of the icon. Blend mode: Multiply. Opacity: 30.
+
=
10. Another texture by peoplemachines. Resized to 133x100. Paste to the top of the layers (Ctrl + L). Blend mode: Soft Light. Opacity: 55.
+
=
The layers should look something like this.
This may not work for every cap so play around with opacity settings and adjustment layers and all that jazz. Don't copy this tutorial exactly. Use your own image and adjust accordingly.
Comments? I'd love to see what you've done with this if you use it. :)
Made in PSPX. Some of the steps were taken from this tutorial.
-->
1. Original cap from dj_capslock.
2. Cropped. Open in a new document (Shift+D). Resize to 100x100.
3. Duplicate the base twice and set to screen. Originally I only had one screen layer but it was too dark so I went back and made a second.
-->
4. New layer. Fill with #6acaed. Blend mode: Burn. Opacity: 100.
+
=
5. New layer. Fill with #6acaed. Blend mode: Soft Light. Opacity: 18.
+
=
6. New layer. Fill with #ed6a6a. Blend mode: Soft Light. Opacity: 100.
+
=
7. New layer. Fill with #f89d00. Blend mode: Soft Light. Opacity: 25.
+
=
8. Layers >> New Adjustment Layer >> Hue/Saturation/Lightness. Saturation: 10. (In retrospect I could have and probably should have done more saturation than I did.)
-->
9. Texture by peoplemachines. Copy the texture and paste it on top of all the layers (Ctrl + L) of the icon. Blend mode: Multiply. Opacity: 30.
+
=
10. Another texture by peoplemachines. Resized to 133x100. Paste to the top of the layers (Ctrl + L). Blend mode: Soft Light. Opacity: 55.
+
=
The layers should look something like this.
This may not work for every cap so play around with opacity settings and adjustment layers and all that jazz. Don't copy this tutorial exactly. Use your own image and adjust accordingly.
Comments? I'd love to see what you've done with this if you use it. :)