Lines Tutorial
Lines Tutorial Photoshop CS
Beginner/ Intermediate

to

Please Credit Me at simply_a_melody OR silencethecity
1. Open your image and do whatever colouring/techniques to it that you want
2. Now select the brush tool on the toolbar
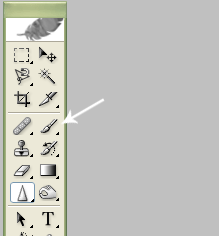
Then select the smallest size/shape brush
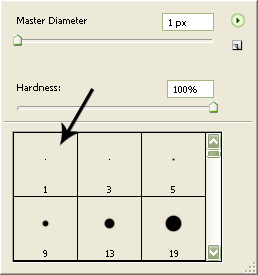
At this point, choose the colour you want for the lines as your foreground colour.
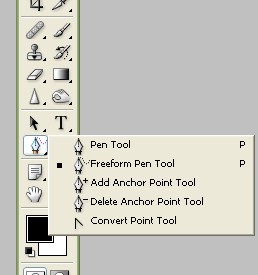
4. Now select the freeform pen tool from the toolbar
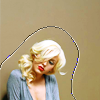
5. Add a new layer. Now, it is easier for you to get better curves or edges if you zoom into your icon/picture, for me i zoomed in 500%. Now take the pen tool and draw around the figure and a dark grayish line should appear like this:
6. When you are done drawing the line, right click your mouse and choose "stroke path". a screen should pop up and make sure the tool is set to "brush". Now right click the line again and press "delete path".

Tada! Now you should produce something like the above! And adding another line gets me this:
This way is a lot better than free handing it with a pen brush because it produces a smoother line! Hope you enjoy the tutorial and i would love to see what you guys made!
Other examples: