Mesh Corset - Part 3
I have decided that I will need to make another detailed photo-journal of making a mesh corset when I make one in a lighter color. The black is far too difficult to photograph clearly. I am very sorry if it's hard to see what is going on in some of the photos.
I've been researching different mesh materials that would be strong enough to use for corsetry. Ideally, they will be natural fiber, possibly cotton but preferably linen because it is stronger. Trouble is, for most uses mesh has gone over to less expensive synthetic fibers. The only market where I can find cotton and linen meshes is grounds for needlepoint and embroidery, and even in that market the materials best suited to corsetry (linen interlock canvas for one) appear to no longer be available. Zweigart, a manufacturer based out of Germany, appears to be one of the main suppliers of high-quality embroidery canvas, and I plan to contact the company about wholesale information. I have found a number of resellers in the US and Britain, but they sell it in sizes appropriate to embroidery projects, meaning that enough material for a single mesh corset will easily cost twice as much as coutil for an equivalent two-layer corset.
Anyway, on to the current corset project.
Now that I have the busk, I finished sewing together the front panel where the hook side of the busk belongs. That finalizes the locations of the hooks, so I can stitch down the ends of the ribbons in such a way that they will not block or interfere with the hooks. I likewise stitched down the ends at the grommet side of the corset, and trimmed the excess.
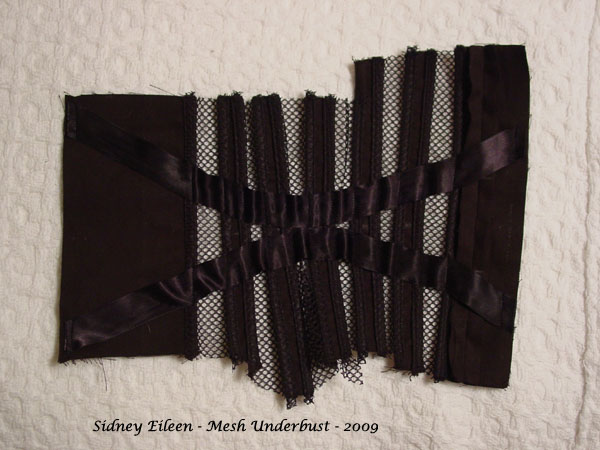
Next I stitched the top and bottom support ribbons in place. They both extend a bit past what will ultimately be the top and bottom edges of the corset, and are stitched down to the coutil in exactly the same manner as the earlier two support ribbons. After stitching down one half, I used a ruler to mark the exact location on the other half before attaching its ribbons.
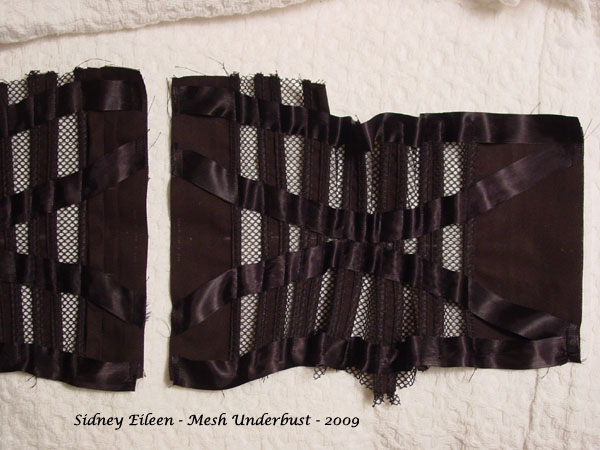
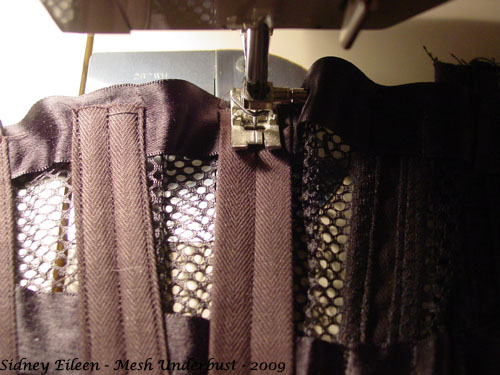
I'm sorry this image is so hard to see. Between the poor lighting, my dieing camera, and the black fabric, it's almost impossible to see what is going on here.
At this point I ironed the seam allowance and the fold-over for the grommet panels, the busk panels, and the second coutil layer for each vertical piece. The vertical coutil pieces are each ironed so they are 7/8" wide, enough room for two 1/4" or one 1/2" wide spring steel flat.
Back at the sewing machine, I secured the re-enforcing twill tape for the grommet area. It's tacked in at the top and bottom edges, near the ironed-in fold that will be the edge of the grommet panel.
Then I folded over the panel and stitched down the open edge.
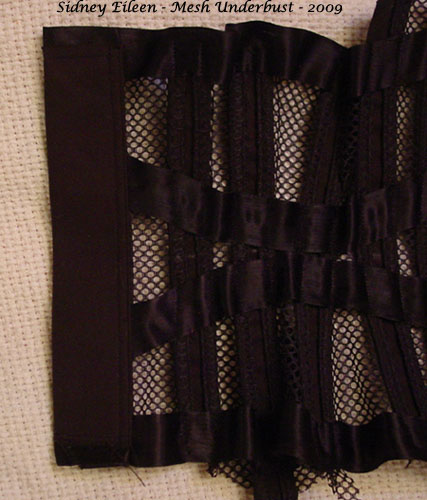
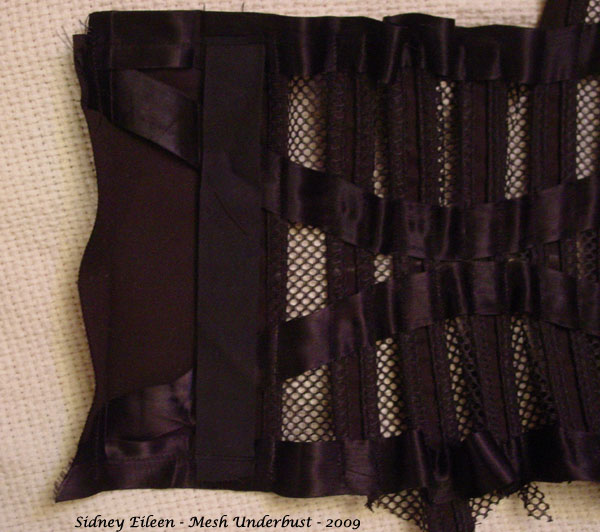
Then I sewed in the boning channels that will support the grommets. In this photo you can also see one vertical panel with its top layer stitched down.
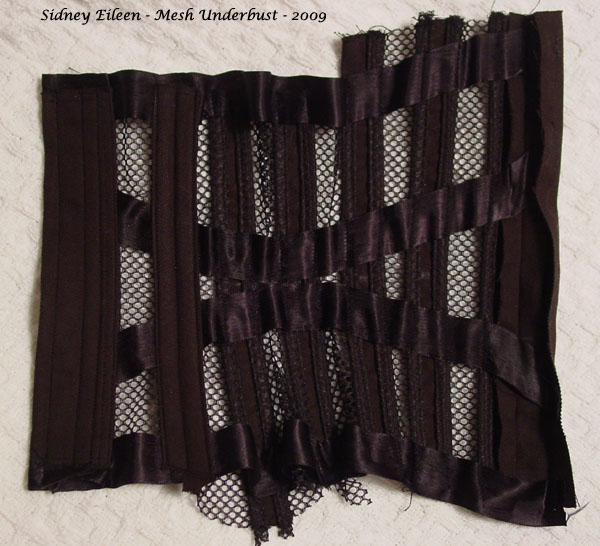
To attach the top coutil layer (the bone casing), I centered the ironed coutil on the coutil corset foundation and stitched down the center. I kept it as even as I could, turned the corset around, and lock-stitched down the same seam. After that, I stitched boning-channel width seams to either side, again lock-stitching.
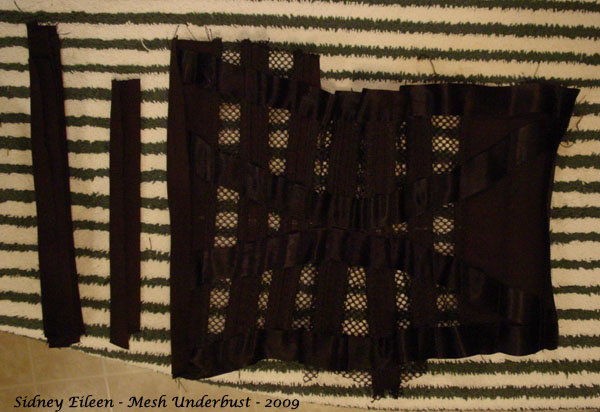
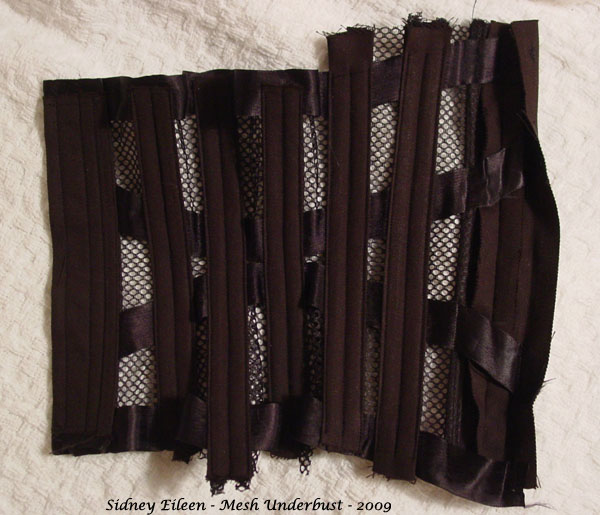
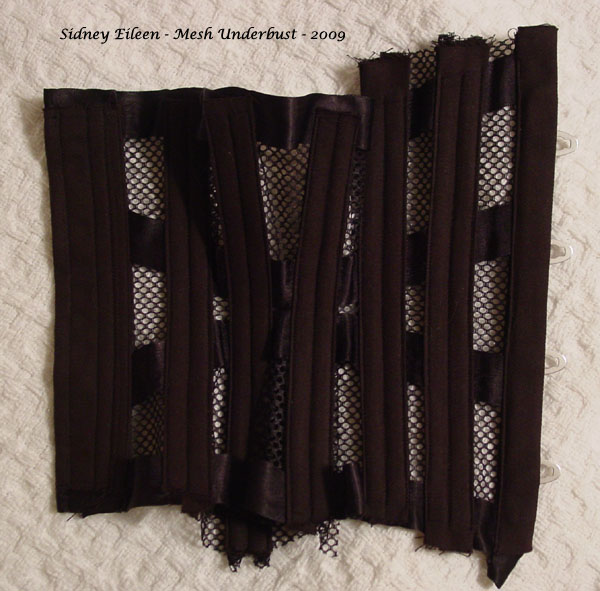
This image shows all the vertical coutil pieces stitched down. All that's left is the busk.
The last thing I did today was insert the hook side of the busk and stitch it down. I wish I had made the panel wide enough for an adjacent 1/4" flat, but I did not. I don't think anything horrible will happen as a result, but it would make for a sturdier garment. Next time I will make this panel wider.
Next is the double-busk, because I didn't leave myself much room to attach it. I think that regardless of the potential problems with edging attachment after, I will attach the double-busk before inserting the other half of the busk. If all goes well, I am hoping to make more progress on this corset tomorrow, and hopefully finish it.
I've been researching different mesh materials that would be strong enough to use for corsetry. Ideally, they will be natural fiber, possibly cotton but preferably linen because it is stronger. Trouble is, for most uses mesh has gone over to less expensive synthetic fibers. The only market where I can find cotton and linen meshes is grounds for needlepoint and embroidery, and even in that market the materials best suited to corsetry (linen interlock canvas for one) appear to no longer be available. Zweigart, a manufacturer based out of Germany, appears to be one of the main suppliers of high-quality embroidery canvas, and I plan to contact the company about wholesale information. I have found a number of resellers in the US and Britain, but they sell it in sizes appropriate to embroidery projects, meaning that enough material for a single mesh corset will easily cost twice as much as coutil for an equivalent two-layer corset.
Anyway, on to the current corset project.
Now that I have the busk, I finished sewing together the front panel where the hook side of the busk belongs. That finalizes the locations of the hooks, so I can stitch down the ends of the ribbons in such a way that they will not block or interfere with the hooks. I likewise stitched down the ends at the grommet side of the corset, and trimmed the excess.

Next I stitched the top and bottom support ribbons in place. They both extend a bit past what will ultimately be the top and bottom edges of the corset, and are stitched down to the coutil in exactly the same manner as the earlier two support ribbons. After stitching down one half, I used a ruler to mark the exact location on the other half before attaching its ribbons.

I'm sorry this image is so hard to see. Between the poor lighting, my dieing camera, and the black fabric, it's almost impossible to see what is going on here.
At this point I ironed the seam allowance and the fold-over for the grommet panels, the busk panels, and the second coutil layer for each vertical piece. The vertical coutil pieces are each ironed so they are 7/8" wide, enough room for two 1/4" or one 1/2" wide spring steel flat.

Back at the sewing machine, I secured the re-enforcing twill tape for the grommet area. It's tacked in at the top and bottom edges, near the ironed-in fold that will be the edge of the grommet panel.

Then I folded over the panel and stitched down the open edge.

Then I sewed in the boning channels that will support the grommets. In this photo you can also see one vertical panel with its top layer stitched down.

To attach the top coutil layer (the bone casing), I centered the ironed coutil on the coutil corset foundation and stitched down the center. I kept it as even as I could, turned the corset around, and lock-stitched down the same seam. After that, I stitched boning-channel width seams to either side, again lock-stitching.

This image shows all the vertical coutil pieces stitched down. All that's left is the busk.

The last thing I did today was insert the hook side of the busk and stitch it down. I wish I had made the panel wide enough for an adjacent 1/4" flat, but I did not. I don't think anything horrible will happen as a result, but it would make for a sturdier garment. Next time I will make this panel wider.

Next is the double-busk, because I didn't leave myself much room to attach it. I think that regardless of the potential problems with edging attachment after, I will attach the double-busk before inserting the other half of the busk. If all goes well, I am hoping to make more progress on this corset tomorrow, and hopefully finish it.