Mesh Corset - Part 1
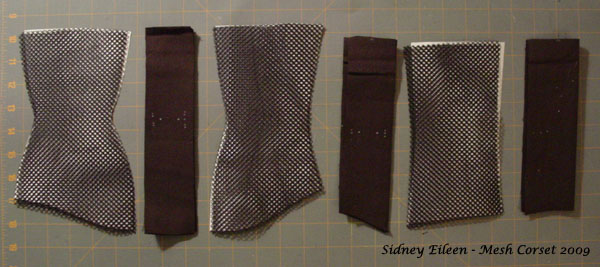
I finally cut all the pieces of the mesh corset yesterday, and started sewing today. Part of the delay was time spent in contemplation of how best to piece the corset. A couple weeks ago I drew up the pattern at scale as though it was going to be a normal underbust corset, and waited for the mesh fabric (a heavy-duty sport and scuba diving mesh) to arrive before figuring out seam allowances and boning placement.
I want to place the boning along each seamline, like with a normal corset. It will need to be cased in coutil, and that coutil is also needed to secure the mesh in such a way that it does not tear free. I decided to make 3/4" wide (finished width) coutil strips for the boning and mesh anchoring. The center of that 3/4" is the location of the seam line on the scale version, so I removed 3/8" from both sides of each panel developed at scale. All this means that the final pattern has 13 panels per side. The normal 6 are mesh, and each mesh panel is couched with perfectly straight coutil panels.
I decided that rolling over the mesh and coutil together would create a strong seat for the mesh, so the coutil panels have 5/8" seam allowance and the mesh panels have 1.5" seam allowance.
The three following images are the entire pattern for the corset. Sorry for the poor quality of the images. They are drawn in pencil, and the lighting was not ideal. The right-most panel on the top image is the grommet panel at the back of the corset. The left-most panels on the third image are for the busk.
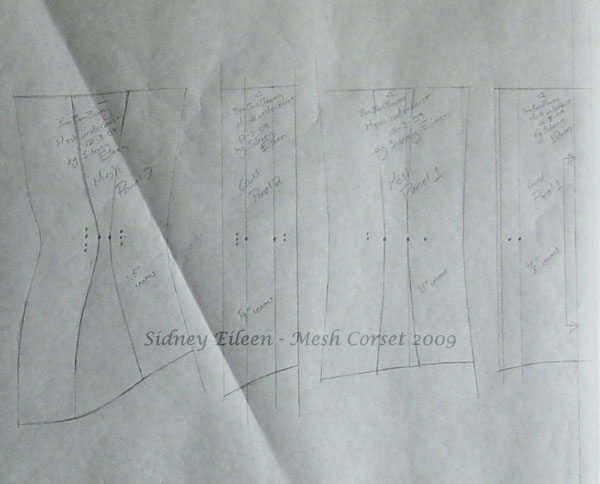
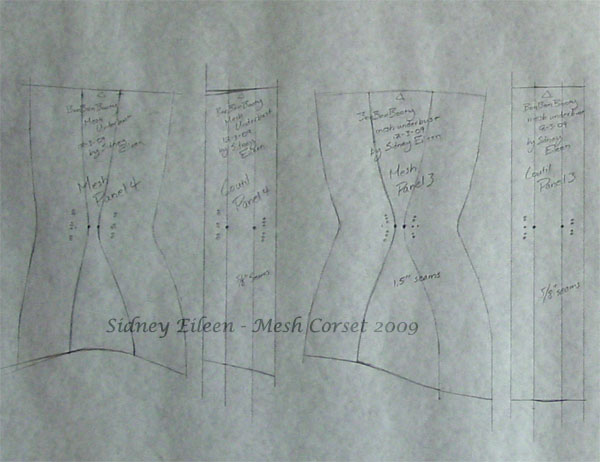
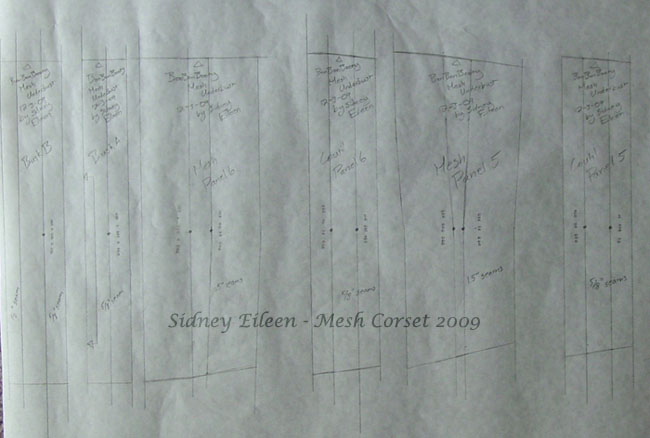
The next problem was how to mark the mesh panels. I decided to keep the mesh panels stacked with the pattern piece so I didn't lose track of which was which, and then I'll mark each with chalk before sewing it together.
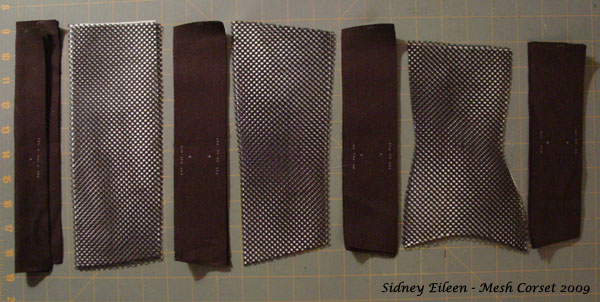
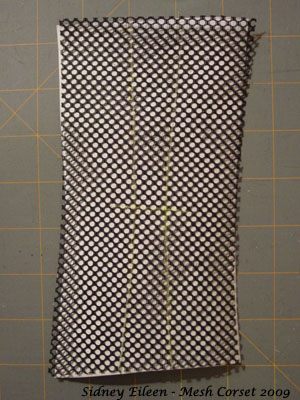
I took each mesh panel one at a time and set it over the pattern piece to mark. I used a rolling chalk marker, like the kinds marketed for quilting. I marked the seam lines, and the waistline point. The yellow chalk is willing to adhere to the polyester mesh just long enough to sew the mesh panel to the coutil on both sides.
After the mesh is marked, it must be pinned to the coutil with the two seamlines matched up. On the coutil the seam allowance is 5/8", and on the mesh the seam allowance is 1.5". The mesh is marked along the entire seam, and I use the ruler to double-check that I am lining it up 5/8" from the edge of the coutil.
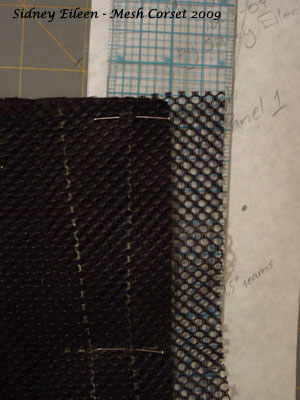
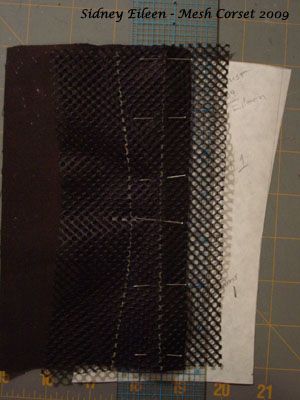
I used a very small stitch width (just a hair above 1) to sew the seam. That will ensure that the mesh is captured completely, despite the small lines of fabric.
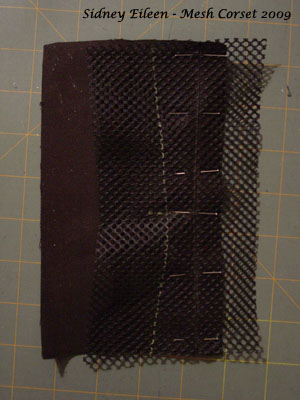
After the seam is in place, I pin the other side of the mesh to its coutil. Then I stitch it into place.
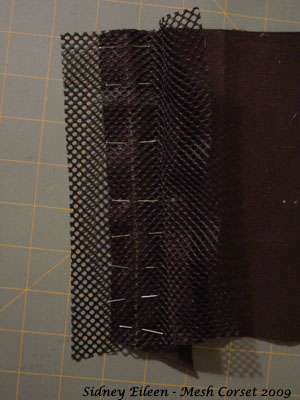
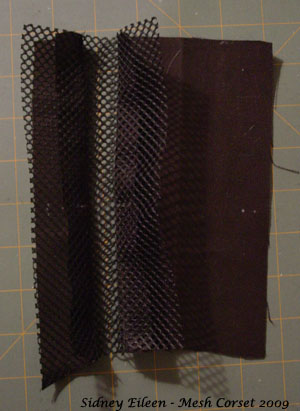
After attaching each mesh panel, I am securing it in place by rolling the seams. This image shows the un-rolled seam.
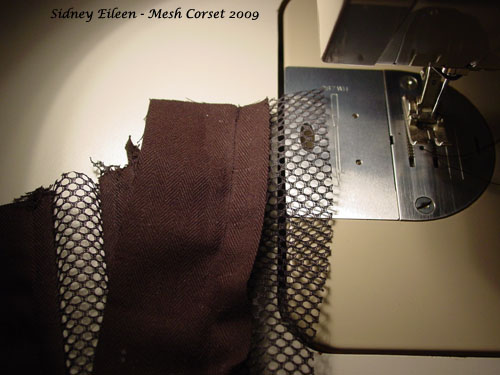
First I fold the excess mesh seam allowance over the coutil seam allowance and stitch it down. The huge range of stretch in the mesh fabric allows it to be folded over without altering the coutil, no matter how curvy the mesh panel is.
Be very careful while sewing at all stages of rolling the seam. The biggest problem I had was a tendency to catch tiny bits of the mesh fabric panel into the seam. Trust me, it's very painful to pick out the very very tiny stitches without harming the mesh.
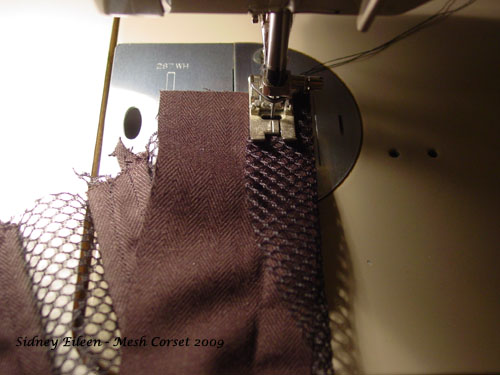
Keeping the same side of the seam up, I folded over the coutil seam allowance by just less than 1/4" (slightly less than 1/2 of the seam allowance) and stitched it down. As I fold the seam allowance like this, it sandwiches in the full length of the mesh fabric, seating the tension of the garment along the full width of the fabric, rather than along a line of stitches.
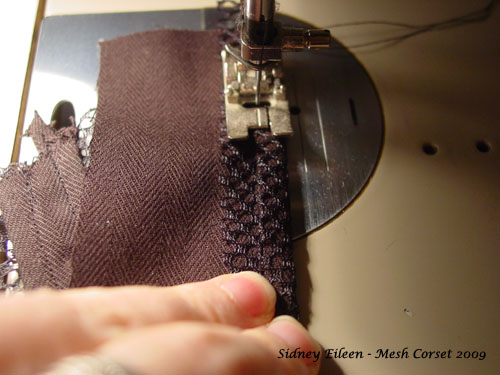
Next I unfolded the garment so far, with the fold of coutil/mesh facing upward. The fold of seam allowance is folded onto the top of the coutil and stitched down. While stitching, be sure to hold tension on the mesh and the coutil panels, to keep the first seam as open and tight as possible. If you let it lax, you can end up with the garment not laying flat due to uneven amounts of fabric in one layer or another. Tension is also critical to ensure that the original seam (the one that defines the shape of the corset) is at the very edge of the coutil panel, without it rolled one way or the other.
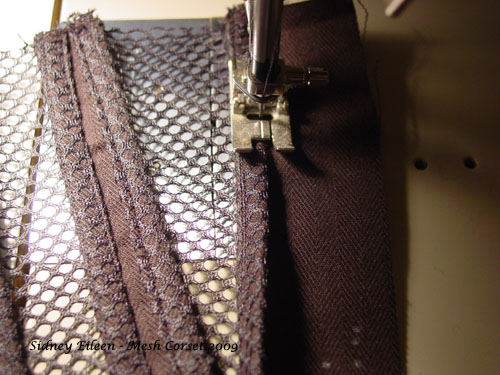
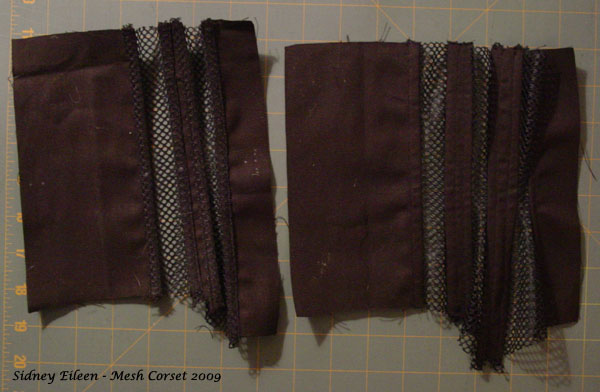
This image shows the corset where I stopped this evening. Each half is shown with a different side up. The rolling of the seams is done to the same side on all seams so they can be finished identically later.
That's all for now. Later! ^_^
I want to place the boning along each seamline, like with a normal corset. It will need to be cased in coutil, and that coutil is also needed to secure the mesh in such a way that it does not tear free. I decided to make 3/4" wide (finished width) coutil strips for the boning and mesh anchoring. The center of that 3/4" is the location of the seam line on the scale version, so I removed 3/8" from both sides of each panel developed at scale. All this means that the final pattern has 13 panels per side. The normal 6 are mesh, and each mesh panel is couched with perfectly straight coutil panels.
I decided that rolling over the mesh and coutil together would create a strong seat for the mesh, so the coutil panels have 5/8" seam allowance and the mesh panels have 1.5" seam allowance.
The three following images are the entire pattern for the corset. Sorry for the poor quality of the images. They are drawn in pencil, and the lighting was not ideal. The right-most panel on the top image is the grommet panel at the back of the corset. The left-most panels on the third image are for the busk.


The next problem was how to mark the mesh panels. I decided to keep the mesh panels stacked with the pattern piece so I didn't lose track of which was which, and then I'll mark each with chalk before sewing it together.


I took each mesh panel one at a time and set it over the pattern piece to mark. I used a rolling chalk marker, like the kinds marketed for quilting. I marked the seam lines, and the waistline point. The yellow chalk is willing to adhere to the polyester mesh just long enough to sew the mesh panel to the coutil on both sides.

After the mesh is marked, it must be pinned to the coutil with the two seamlines matched up. On the coutil the seam allowance is 5/8", and on the mesh the seam allowance is 1.5". The mesh is marked along the entire seam, and I use the ruler to double-check that I am lining it up 5/8" from the edge of the coutil.


I used a very small stitch width (just a hair above 1) to sew the seam. That will ensure that the mesh is captured completely, despite the small lines of fabric.

After the seam is in place, I pin the other side of the mesh to its coutil. Then I stitch it into place.


After attaching each mesh panel, I am securing it in place by rolling the seams. This image shows the un-rolled seam.

First I fold the excess mesh seam allowance over the coutil seam allowance and stitch it down. The huge range of stretch in the mesh fabric allows it to be folded over without altering the coutil, no matter how curvy the mesh panel is.
Be very careful while sewing at all stages of rolling the seam. The biggest problem I had was a tendency to catch tiny bits of the mesh fabric panel into the seam. Trust me, it's very painful to pick out the very very tiny stitches without harming the mesh.

Keeping the same side of the seam up, I folded over the coutil seam allowance by just less than 1/4" (slightly less than 1/2 of the seam allowance) and stitched it down. As I fold the seam allowance like this, it sandwiches in the full length of the mesh fabric, seating the tension of the garment along the full width of the fabric, rather than along a line of stitches.

Next I unfolded the garment so far, with the fold of coutil/mesh facing upward. The fold of seam allowance is folded onto the top of the coutil and stitched down. While stitching, be sure to hold tension on the mesh and the coutil panels, to keep the first seam as open and tight as possible. If you let it lax, you can end up with the garment not laying flat due to uneven amounts of fabric in one layer or another. Tension is also critical to ensure that the original seam (the one that defines the shape of the corset) is at the very edge of the coutil panel, without it rolled one way or the other.

This image shows the corset where I stopped this evening. Each half is shown with a different side up. The rolling of the seams is done to the same side on all seams so they can be finished identically later.

That's all for now. Later! ^_^