#085 - Tutorials
I'm using CS5, just to be sure :)
>>

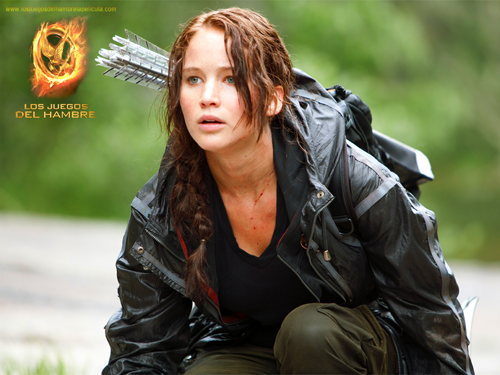
requested by kirtash_girl
So, as it's my first tutorial ever made, I may be very simply in words but I hope you'll get everything :) Thank God, I have PS with English language :D
1. As we have basic picture, we're resizing it to 100px x 75 px. We are making new project (100x100 ofc :D) and filling the solid color #3e3920. Then, we're smudging the icon like this:

2. Next, we're duplicating the image and setting it to soft light 100%.
3. Then, we're putting THIS GRADIENT and setting it to multiply 58%.

Then, we're setting the same gradient to soft light 80%.

4. As we have it, we are adding curver with THESE SETTINGS.

5. The, we are adding THIS TEXTURE and set it to color burn 58%.

6. Later, we are adding THIS PICTURE and set it to screen 100%.
7. Then, we're adding THIS TEXTURE/PICTURE which I made with round soft brush in color: #8bc814, and set it to screen 100%.
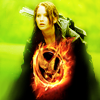
8. Then, we are adding color balance layer with these settings:
Shadows:
C/R: -12
M/G: +36
Y/B: -43
Midtones:
C/R: +26
M/G: +17
Y/B: -16
Highlights:
Cyan: +2
Magenta: -5
Yellow: 0
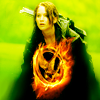
9. Next step is to add THIS TEXTURE and set it to color burn 17%.
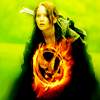
10. And the last one, is to add THIS TEXTURE and set it to screen 100%.
Voila!
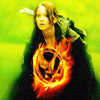
+
>>
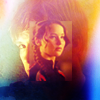
requested by kirtash_girl
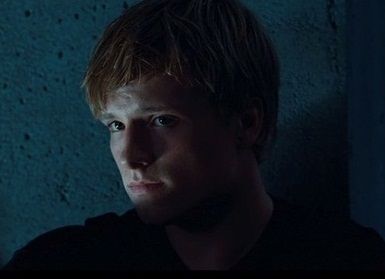
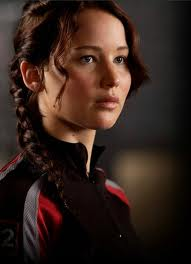
1. At first I cut the images to better sizes:

(Katniss part will be used later)
2. Then I duplicated the Peeta image and set it to screen 100%.
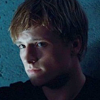
3. Next step is to add curves and THESE SETTINGS.

4. Later, we are adding color balance and set these settings:
Shadows:
C/R: +19
M/G: +10
Y/B: -26
Midtones:
C/R: +38
M/G: +9
Y/B: -41
Highlights:
C/R: +10
M/G: -2
Y/B: -33

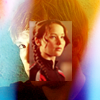
5. And now we are adding the Katniss part, then we are adding THIS TEXTURE and set it to hard light 100% but we're making some shadows at mask layer, like THIS
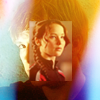
6. Then, we're adding THIS TEXTURE and set it to screen 55%.
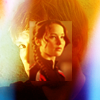
7. Then, the same texture, we set it to soft light 100%.
8. Later we're adding selective color layer and add these settings:
Reds:
C: -42
M: -9
Y: +65
B: -3
Yellows:
C: -37
M: -19
Y: +14
B: -20
Neutrals:
C: -8
M: -11
Y: -40
B: +5
9. Next, we're adding level layer and make THESE SETTINGS.
10. Then we're adding THIS TEXTURE and set it to soft light 37%.
11. Then we're duplicating the texture and settingit to lighten 70% with some shadows in mask layer like THIS.
12. At last step we're adding THIS GRADIENT and set it to soft light 100%.
And that's the end :):)


>>

requested by daydreamshole
1. So, at first, I cut the image and rezised it :)
2. Then we're adding levels layer and the setting are shown HERE.
3. Now We're adding curves layer, details are HERE.
4. Then, we're adding brightness/contrast layer and setting it to:
brightness: -7
contrast: 9

5. Next step is to add color balance layer and set it to:
Shadows:
C/R: +16
M/G: -1
Y/B: +6
Midtones:
C/R: +1
M/G: -12
Y/B: -5
Highlights:
C/R: +5
M/G: +2
Y/B: 0
6. Then, we're adding new layer with solid color #ddd4cc and set it to screen 8%.
7. And now we're adding text, I used Candara Italic, I was lowering the size and the fill to make an echo :)
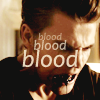
8. Now we're adding selective color layer and set
Neutrals:
C: -45
M: -10
Y: +6
B: +3
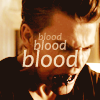
9. Now, we're adding new solid color #8ab2ed and set it to color 69%.
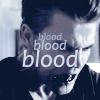
10. Next, we're adding THIS TEXTURE and setting it to soft light 50%.
11. Now, we're adding another texture LOCATED HERE and setting it to screen 25%.
12. Now, again we're adding new texture FROM HERE and settnig it to screen 100%, with some shadows at mask like HERE
13. Again, we're ading new texture FROM HERE and setting it to screen 100%.
14. No surprise, we're adding new texture FROM HERE and setting it to screen 35%.
15. Again, THE TEXTURE, set to soft light 65%.

16. New texture FROM HERE, set to screen 25%.
17. New texture FROM HERE, set to saturation 40%.
18. At the end, we're adding THIS TEXTURE and set it to screen 50%.
And that's it!
