Duplicate Images
Duplicate Images
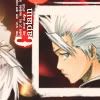
Preview:
In This Tutorial:
*Base Prep
*Duplicating an Image
*Desaturation
*Lighting Textures
*Text Elements
We begin our icon with this image. The artwork's from Bleach by Tite Kubo.
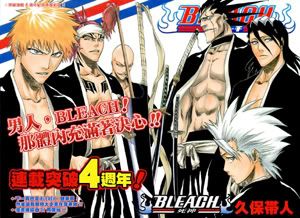
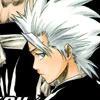
I make the crop down to 100x100 px. Here's the initial crop.
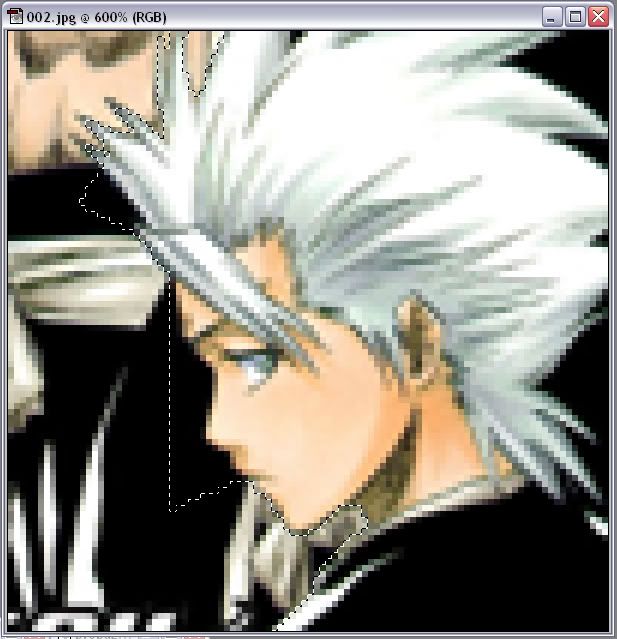
I want the image to have a uniform black background, so we have to fix that. I zoom way in to about 600%(which is about the biggest I can zoom in and still see the whole image on my computer). I select the Polygonal Lasso Tool. Trying to stick close to Hitsugaya's line art, I start to outline him. If you're unfamiliar with the polygonal lasso tool, you click the mouse to start, stretch it along the line art and when you need to make a turn, click again to 'anchor' it. When you have completely outlined it, return to the beginning point and click to connect. The dotted line will then start to marquis. If it doesn't connect right away, click a couple more times until it does.
With the section still selected, make a new layer and flood fill it with black. To de-select the section, right-click while having the Polygonal Lasso Tool active and click on Deselect. Using Ctrl-E, merge the two layers together.
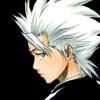
Duplicate the Background layer(it should be your only layer). Using the Move Tool, move the duplicated layer to the right.
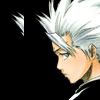
Part of the underlying layer will show, mainly the tip of his hair. Using the Rectangle Tool(make sure it's set to 'Create Filled Region'), draw a black rectangle over it. Ctrl-E again.
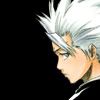
Duplicate yet again and desaturate this duplicated layer(Ctrl-Shift-U).
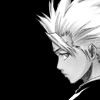
Rotate this layer 180 degrees(Ctrl-T). Then using the Move Tool again, move this layer to the left.
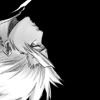
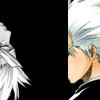
Using the Eraser, remove any of the black that's covering Hitsugaya's face on the bottom layer.
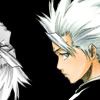
Now I'll use a brush. This brush is by Spiralling and the color I used was white. This brush should be on a new layer.
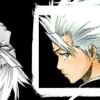
Using the Rectangle Tool again, cover over any parts of the colored Hitsugaya layer that extends out of the frame of the brush. I do this on a new layer just incase, and it has to be below the brush layer. The color's black.
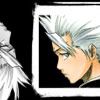
I'm now adding in two light textures. They're both made my myrasis. They go under the brush layer and are set on screen.
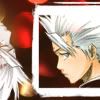
Go to Image-Rotate Canvas-90 CW. When I do text, I zoom way in because, I don't know, I'm just like that. It's going to say Captain, but I want the c to be upper-case and in a different font. So first I make a text box and just put a capital c in it. The font is Carnivalee Freakshow, the size is 26px, and the color is white.
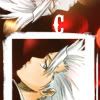
We make another text box and the text is 'aptain'. The font is Georgia, the size is 10px, and the color is white. I duplicate the text so that it stands out more.
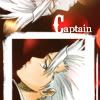
The last text element, is the micro text that you're not meant to read. Type whatever you want until you've got enough to make you happy. The font is courier, the size is 3px, and the color is white. I duplicate this layer also.
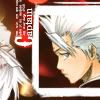
The final layer is a navy exclusion. New layer on the very top and flood fill it with the color #000C17. Set it on Exclusion. This color gives it a pink hue. And it's done!

Questions? Comments? Fire away!
Preview:

In This Tutorial:
*Base Prep
*Duplicating an Image
*Desaturation
*Lighting Textures
*Text Elements
We begin our icon with this image. The artwork's from Bleach by Tite Kubo.

I make the crop down to 100x100 px. Here's the initial crop.

I want the image to have a uniform black background, so we have to fix that. I zoom way in to about 600%(which is about the biggest I can zoom in and still see the whole image on my computer). I select the Polygonal Lasso Tool. Trying to stick close to Hitsugaya's line art, I start to outline him. If you're unfamiliar with the polygonal lasso tool, you click the mouse to start, stretch it along the line art and when you need to make a turn, click again to 'anchor' it. When you have completely outlined it, return to the beginning point and click to connect. The dotted line will then start to marquis. If it doesn't connect right away, click a couple more times until it does.

With the section still selected, make a new layer and flood fill it with black. To de-select the section, right-click while having the Polygonal Lasso Tool active and click on Deselect. Using Ctrl-E, merge the two layers together.

Duplicate the Background layer(it should be your only layer). Using the Move Tool, move the duplicated layer to the right.

Part of the underlying layer will show, mainly the tip of his hair. Using the Rectangle Tool(make sure it's set to 'Create Filled Region'), draw a black rectangle over it. Ctrl-E again.

Duplicate yet again and desaturate this duplicated layer(Ctrl-Shift-U).

Rotate this layer 180 degrees(Ctrl-T). Then using the Move Tool again, move this layer to the left.


Using the Eraser, remove any of the black that's covering Hitsugaya's face on the bottom layer.

Now I'll use a brush. This brush is by Spiralling and the color I used was white. This brush should be on a new layer.


Using the Rectangle Tool again, cover over any parts of the colored Hitsugaya layer that extends out of the frame of the brush. I do this on a new layer just incase, and it has to be below the brush layer. The color's black.

I'm now adding in two light textures. They're both made my myrasis. They go under the brush layer and are set on screen.


Go to Image-Rotate Canvas-90 CW. When I do text, I zoom way in because, I don't know, I'm just like that. It's going to say Captain, but I want the c to be upper-case and in a different font. So first I make a text box and just put a capital c in it. The font is Carnivalee Freakshow, the size is 26px, and the color is white.

We make another text box and the text is 'aptain'. The font is Georgia, the size is 10px, and the color is white. I duplicate the text so that it stands out more.

The last text element, is the micro text that you're not meant to read. Type whatever you want until you've got enough to make you happy. The font is courier, the size is 3px, and the color is white. I duplicate this layer also.

The final layer is a navy exclusion. New layer on the very top and flood fill it with the color #000C17. Set it on Exclusion. This color gives it a pink hue. And it's done!

Questions? Comments? Fire away!