Buttons
There are a hundred different kinds of buttons. Rubbery ones, gel like, watery, metallic etc etc. So I thought we'll get over with that first.
I shall be posting a series of tutorials to make 3D buttons. All the tutorials posted in here won't be completely my techniques. I will actually source stuff from the net, combine those with my techniques and post tuts. So why don't I just post those links? Because honey,its not as easy as it sounds. Most of the tutorials use channels. As I am not very comfortable with them, I find easier ways to do the same stuff.
I want to make sure that every tutorial you guys get is beginner friendly. So,with this, the series starts-
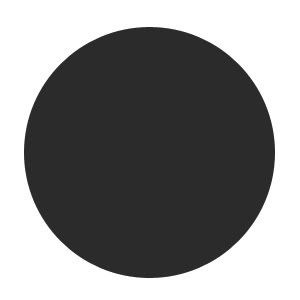
1. First, we make the metallic ring around our glassy button. So, we open a new document and make a darkish grey circle.
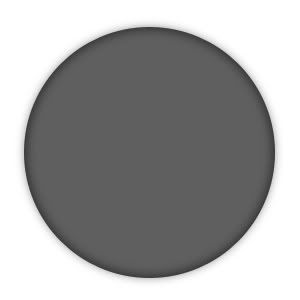
2. Now, press ctrl and click on this layer in the layer palette to load the circle selection. Go to select-modify-contract and contract the selection by some 2 px.
3. Go to select-feather and apply a feather of say, 7 px.
4. Create a new layer. Take a lighter grey and fill your selection.
5. On this layer, with the selection still on, apply a gradient overlay.White to transparent. You should have something like this.
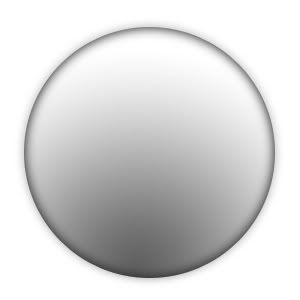
There, isn't that a pretty metal button on its own? You can stop here or proceed to more fun things.
6. Create a smaller circle in the center in some fun color, on a new layer of course.
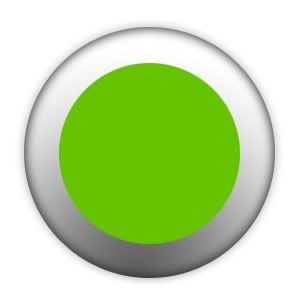
7. Copy the layer. Now, flood fill the original layer with black. You obviously can't see it as the copied green layer is above it.
8. Free transform the black cirle so that its a wee bit bigger than the green one.
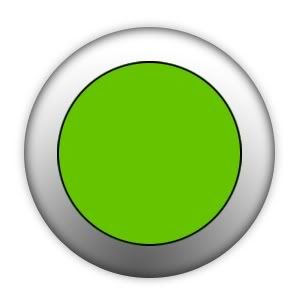
9. And now, you apply a gradient overlay on the black circle. A diagonal black and white thing. Try to achieve this -
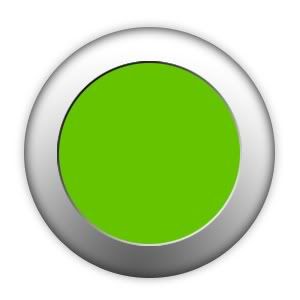
Sorry, I don't remember the exact settings.
10. Next, we work on the green circle. Go to blending modes and apply an inner glow in dark green on multiply mode. We want something like this-

11. Now, an inner shadow again in dark green. The blending mode of the shadow is multiply again.

12. Right, now press ctrl and click on the green circle layer in your palette. The circle gets selected? Now, take an airbrush of size around umm.. 130 px... Take a muddy green, put the blending mode of the brush to linear dodge. Set the opacity to about 28% and paint like this-

13. Make a white circle of a smaller size in a new layer and put the blending mode of the layer to overlay.

14. Now, the windows. In a new layer, make those windows.
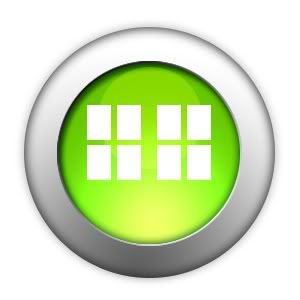
15. Go to liquify, use the pucker brush.
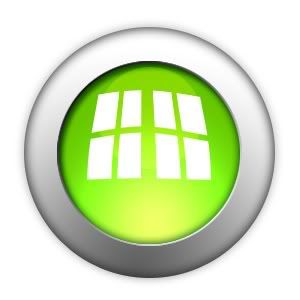
16. Liquify again, bloat this time.

17. Reduce the opacity of this layer to some 30%. Use free transformation so that it fits perfectly in your green circle.

18. Totally optional,but you might to put a small gaussian blur on this layer.

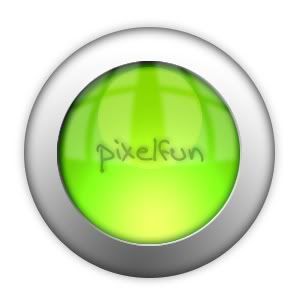
And, done, now put some text, shape or brushes.

- Comment if you like this
- Show me your results
- Any doubt, ask.
I shall be posting a series of tutorials to make 3D buttons. All the tutorials posted in here won't be completely my techniques. I will actually source stuff from the net, combine those with my techniques and post tuts. So why don't I just post those links? Because honey,its not as easy as it sounds. Most of the tutorials use channels. As I am not very comfortable with them, I find easier ways to do the same stuff.
I want to make sure that every tutorial you guys get is beginner friendly. So,with this, the series starts-
1. First, we make the metallic ring around our glassy button. So, we open a new document and make a darkish grey circle.
2. Now, press ctrl and click on this layer in the layer palette to load the circle selection. Go to select-modify-contract and contract the selection by some 2 px.
3. Go to select-feather and apply a feather of say, 7 px.
4. Create a new layer. Take a lighter grey and fill your selection.
5. On this layer, with the selection still on, apply a gradient overlay.White to transparent. You should have something like this.
There, isn't that a pretty metal button on its own? You can stop here or proceed to more fun things.
6. Create a smaller circle in the center in some fun color, on a new layer of course.
7. Copy the layer. Now, flood fill the original layer with black. You obviously can't see it as the copied green layer is above it.
8. Free transform the black cirle so that its a wee bit bigger than the green one.
9. And now, you apply a gradient overlay on the black circle. A diagonal black and white thing. Try to achieve this -
Sorry, I don't remember the exact settings.
10. Next, we work on the green circle. Go to blending modes and apply an inner glow in dark green on multiply mode. We want something like this-
11. Now, an inner shadow again in dark green. The blending mode of the shadow is multiply again.
12. Right, now press ctrl and click on the green circle layer in your palette. The circle gets selected? Now, take an airbrush of size around umm.. 130 px... Take a muddy green, put the blending mode of the brush to linear dodge. Set the opacity to about 28% and paint like this-
13. Make a white circle of a smaller size in a new layer and put the blending mode of the layer to overlay.
14. Now, the windows. In a new layer, make those windows.
15. Go to liquify, use the pucker brush.
16. Liquify again, bloat this time.
17. Reduce the opacity of this layer to some 30%. Use free transformation so that it fits perfectly in your green circle.
18. Totally optional,but you might to put a small gaussian blur on this layer.
And, done, now put some text, shape or brushes.
- Comment if you like this
- Show me your results
- Any doubt, ask.