tutorial #1
A tutorial that was requested.
Creating this icon and others in my last post here

I use Photoshop 7(:shakes fist at people who makes brushes in higher versions:) but this is easily converted.
Step 1

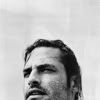
Crop the image. When I cropped mine I had a lot of white spaces so I used the clone brush to clone the clouds to fill in the white. I recommend using the more pinkish-cloudy image of Josh instead of the black and white one on lost-media. The clouds adds more texture.
Step 2

Duplicate the base and set it to screen and opacity to 70%
Step 3

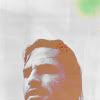
Create a new layer and fill it with #FFFFFF and set it to Hue 100%
Step 4

Then use this brush from pootato.org and set the opacity to 50%
Step 5
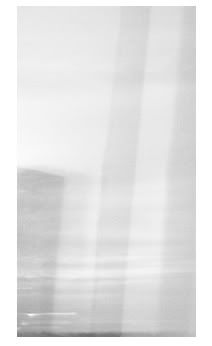
I didn't like how dark his face was so used a layer mask and hid the brush on his face. & for all those who don't know how to mask, you can just erase the part that's covering his face. :P
Step 6
Get this texture from cauldroncake and set it to Pin light 100%. Position it however you like.
Step 7

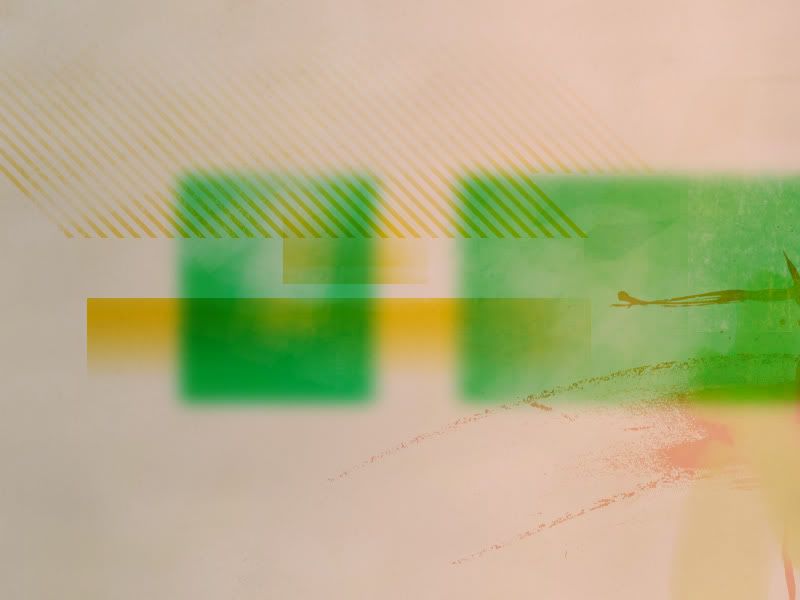
Of course I didn't like the texture covering Josh's lovely face so again I made a layer mask and hid all that but leaving the green at the corner. Again if you want you, can just erase what's covering his face.
Step 8

I then used a brush from ewanism in her recent post. I used the color #FCFF07. Set it on mulitply 100%
Voila! A finished icon! :]
This is my first tutorial so give me a lot of love. :D
Friend? Affiliates?
Creating this icon and others in my last post here
I use Photoshop 7(:shakes fist at people who makes brushes in higher versions:) but this is easily converted.
Step 1
Crop the image. When I cropped mine I had a lot of white spaces so I used the clone brush to clone the clouds to fill in the white. I recommend using the more pinkish-cloudy image of Josh instead of the black and white one on lost-media. The clouds adds more texture.
Step 2
Duplicate the base and set it to screen and opacity to 70%
Step 3
Create a new layer and fill it with #FFFFFF and set it to Hue 100%
Step 4
Then use this brush from pootato.org and set the opacity to 50%
Step 5
I didn't like how dark his face was so used a layer mask and hid the brush on his face. & for all those who don't know how to mask, you can just erase the part that's covering his face. :P
Step 6
Get this texture from cauldroncake and set it to Pin light 100%. Position it however you like.
Step 7
Of course I didn't like the texture covering Josh's lovely face so again I made a layer mask and hid all that but leaving the green at the corner. Again if you want you, can just erase what's covering his face.
Step 8
I then used a brush from ewanism in her recent post. I used the color #FCFF07. Set it on mulitply 100%
Voila! A finished icon! :]
This is my first tutorial so give me a lot of love. :D
Friend? Affiliates?