siiy
in
ohnoez_icons
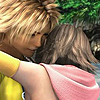
#1 Tutorial.
Going from
>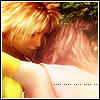
in ten steps.
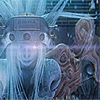
And
>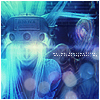
in five steps.
Made in Photoshop CS.
Level: easy.
First tutorial. English isn't my mother language. Don't sue me xD.
Final Fantasy X-2
1.I started with this base:
I sharpened it once, then I copied the base twice and used Gassian Blur with 3,0 and then click on ok. Do it with both duplicated layers. (It looks blurry now)

>
>
2. Make a new layer and fill it with: #0D0340 set to Exclusion.

>
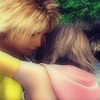
3. Copy the base and drag it atop the exlcusion layer and set it to Soft Light 100%

>
4. Copy the base again and drag it atop the soft light layer and set it to Lighten 100%

>
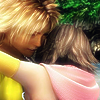
5. Copy one of the Gaussian Blur layers and drag it atop and set it to Soft Light 100%

>
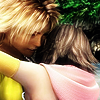
6. Copy the base and drag it on top, then go to, Image > Adjustments > Desaturate. Set it to Soft Light 100%

>
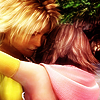
7. Put this Texture
by tcg1026 on top and set it to Soft Light 100%

>
8. Grab this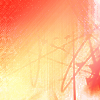
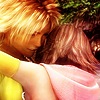
by eggdrpsoup and set it to Soft Light 60%

>
9.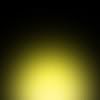
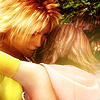
by fluffypink_lana and rotate it so it will lighten in the right corner. Screen 70%

>
10. use this light texture
by fluffypink_lana put it to screen 100% Then copy it and set that layer to screen 50%

>
>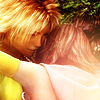
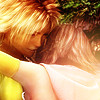
Then I added some tiny text and added a normal white/black border.
This is my final result:
And you're done! ^_^
Second tut (Advent Children):
>
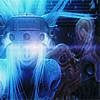
1 Sharpen the base once (or twice)then copy the base and use Gaussian Blur 3,0 then hit ok. Put it to Linear Light 60%

>
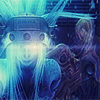
2. Make a new layer and fill it with #1C1F60 set it to exlusion 100%

>
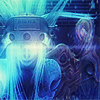
3. Add this
By: ? and set it to color dodge 50%

>
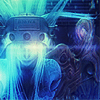
4. Copy
By: ? and set it to Overlay 20%

>
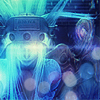
5. Put this light texture
by ianthinus to Screen 60%

>
Then I added some tiny text and a white/black border.
This is my result:
Done! =) I'd love to see your result.

>

in ten steps.
And

>

in five steps.
Made in Photoshop CS.
Level: easy.
First tutorial. English isn't my mother language. Don't sue me xD.
Final Fantasy X-2
1.I started with this base:

I sharpened it once, then I copied the base twice and used Gassian Blur with 3,0 and then click on ok. Do it with both duplicated layers. (It looks blurry now)

>

>

2. Make a new layer and fill it with: #0D0340 set to Exclusion.

>

3. Copy the base and drag it atop the exlcusion layer and set it to Soft Light 100%

>

4. Copy the base again and drag it atop the soft light layer and set it to Lighten 100%

>

5. Copy one of the Gaussian Blur layers and drag it atop and set it to Soft Light 100%

>

6. Copy the base and drag it on top, then go to, Image > Adjustments > Desaturate. Set it to Soft Light 100%

>

7. Put this Texture

by tcg1026 on top and set it to Soft Light 100%

>

8. Grab this

by eggdrpsoup and set it to Soft Light 60%

>

9.

by fluffypink_lana and rotate it so it will lighten in the right corner. Screen 70%

>

10. use this light texture

by fluffypink_lana put it to screen 100% Then copy it and set that layer to screen 50%

>

>

Then I added some tiny text and added a normal white/black border.
This is my final result:

And you're done! ^_^
Second tut (Advent Children):

>

1 Sharpen the base once (or twice)then copy the base and use Gaussian Blur 3,0 then hit ok. Put it to Linear Light 60%

>

2. Make a new layer and fill it with #1C1F60 set it to exlusion 100%

>

3. Add this

By: ? and set it to color dodge 50%

>

4. Copy

By: ? and set it to Overlay 20%

>

5. Put this light texture

by ianthinus to Screen 60%

>

Then I added some tiny text and a white/black border.
This is my result:

Done! =) I'd love to see your result.