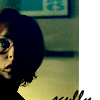
New tutorial for PSP
Make this:

1. We're starting with this image:

2. Duplicate the background 3 times, and set accordingly;
Copy 1: Screen 100%
Copy 2: Soft light 100%
Copy 3: Screen 100%
Merge all layers.

3. (Some of the credit for this part of the tutorial has to go to unafraid_ ) Now add this layer and set to exclusion 100%:

>>

4. Now add this layer set on soft light 100%:

>>

5. Now add this layer on soft light 100%:
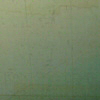
>>

Merge all layers.
6. Now add a new raster layer. Fill with a light blue colour, I'm using #86DAEC. Set the layer to burn 100%.

>>
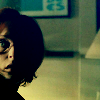
Merge all layers.
7. Using the selection brush (the one that looks like a rectangle) select a long section of the icon. Fill with white.
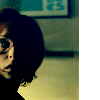
8. Now add some text, and your finished! :)
