TEXT TUTORIAL for GIMP
HOW TO GET A TRANSPARENT TEXT WITH BORDER LIKE THIS FROM A CLASSIC COURIER NEW FONT

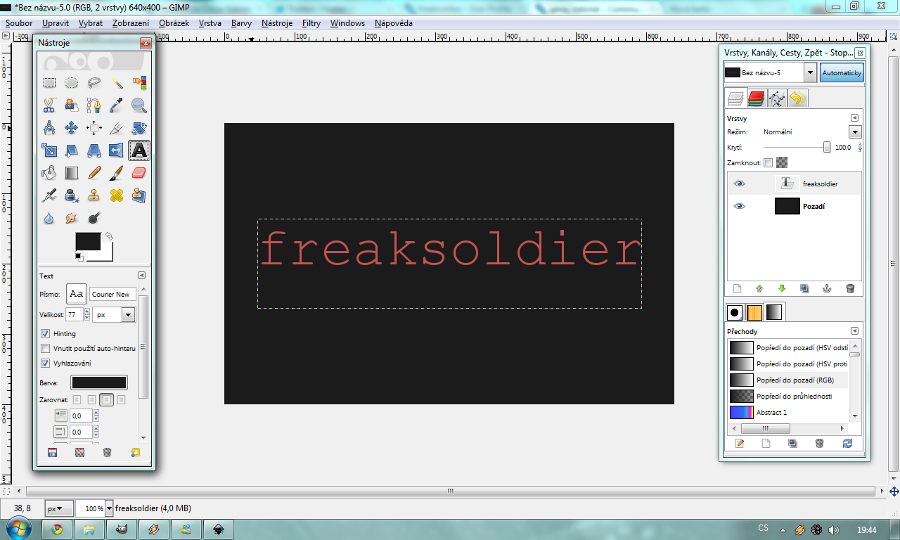
Firstly, create a new file, the size of the image depends on your personal tastes. Choose your TEXT TOOL and write something you like. i chose my nickname, because i am egoistic like that. this is what you should get.

click to enlarge
exuse the czech language in my gimp, i reinstalled it by now, so all important parts will be in english. anyway, notice the layers dock on the right side. you have the background, in my case dark grey, and another text layer.
now, create a new, transparent layer and move it underneath your text layer. click the text layer with the right button on your mouse and choose MERGE DOWN. this is what you should get:

it says BACKGROUND (the dark one) and NEW LAYER (the transparent one). remember, it's important that the text layer should now be transparent!
now, we will be working with the transparent layer, so choose it, like on the picture above. now click LAYER - TRANSPARENCY - ADD TO SELECTION. like this:

you image should now look like this:

now, here comes the magic, but don't worry, it's very easy. just like you clicked LAYER, you will now click SELECT - GROW.

the program will ask how many pixels. it's only up to you, it depends on your preferences. i chose, if i remember correctly, 5 pixels. you should now get something like this -

the more pixels you choose, the bigger the selection will be.
now, take your PAINTBRUSH TOOL and choose the brush CIRCLE (19). we need to paint the insides of the selection, and the bigger the brush is, the faster it will get done, so i even scaled it to 10,00. you should get something like this this:

of course, if you chose different color then the one you wrote the text with, for example white, you got a very nice white border around the text. but, we want the inside of the text to be transparent, so, now click SELECT once again, but instead of GROW now click SHRINK (it's right above GROW, picture here)
as you can see, the selection grew smaller, so now grab your ERASER TOOL and once again, choose CIRCLE (19) and erase the paint from the selection - it should prevent you from erasing anything else, so don't worry. you will be left with this:

voilá, we're done!! in my honest opinion, it looks great and it's very easy to make, so i use it a lot. i'm pretty sure there are even easier ways to achieve this effect, but this is what i use and i wanted to share with you, if you're looking for nice text effects.
good look with your tries, i really hope this tutorial was easy to understand (tho i kinda doubt it) and will be at least a bit useful to you! have fun with GIMP!