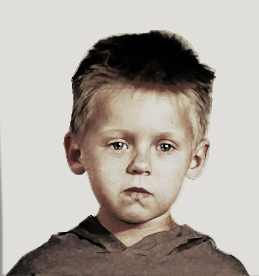
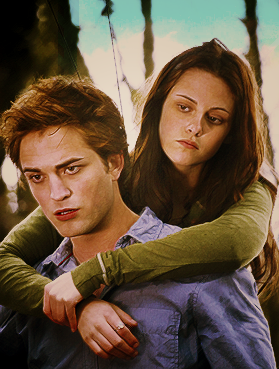
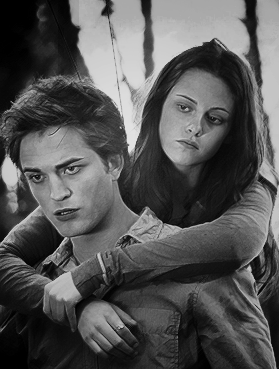
tutorial;002
This tutorial is requested by Ally, so this is for you dear!
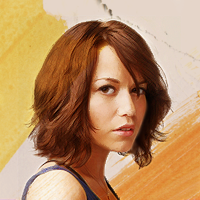
This is an effect to make pictures look kind of hand-drawn/painted. I understand that the style isn't for everyone because sometimes, they look a bit too sharp and some prefer the blurred effect, but this has always been one of my favorite "tricks" in PS. Some people may be well aware of how to do this already, but I learned it through fiddling around with the program (there may be easier ways!). Like most tutorials, the exact steps aren't for every image but the gist is there. :)
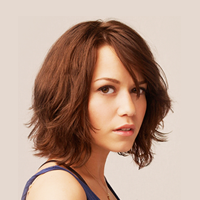
>
1. Duplicate image (4x --so there should be 5 layers in all, including the original background layer).
Set the first duplicate to screen, then sharpen (Filter > Sharpen), lower opacity to 50%.
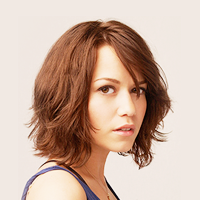
2. For the second: Set to soft light, then find edges (Filter > Stylize > Find Edges), then invert
(Image > Adjustments > Invert or Ctrl+I), lower opacity to 40% (it depends on the image, though).
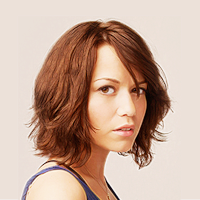
3. Third: dry brush (Filter > Artistic > Dry Brush).
brush size: 1
brush detail: 10
texture: 2
Set to multiply, opacity 40%.
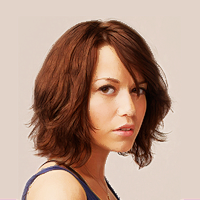
4. For the fourth: to have defined details. In this case, we want to highlight
the hair: using angled strokes (Filter > Brush Strokes > Angled Strokes).
direction balance: 34
stroke length: 9
sharpness: 4
Set to screen, opacity 65%. Erase everything save the parts you want defined.
Here, I left out the hair and some parts of the shoulder.
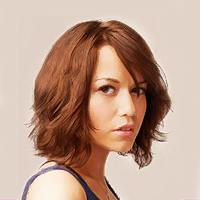
5. Now for the coloring, it's up to you what you want. I used subtle
selective coloring here (Layer > Adjustment Layer > Selective Color).
reds - black: +17
whites - black: -3
neutrals - yellow: +2
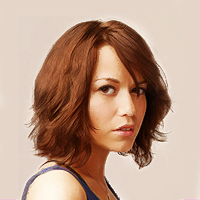
6. I just added this texture by kiho_chan for design: multiply, 100%.

7. Flatten everything then soften the edges that are way too sharp.
Done.

Note: For icon-making, often, I stop at step #2 because I think it's enough to make the image look like it had been drawn. Just add the coloring you want after that, then voila.
Hope you find this useful! :)
Other examples:


This is an effect to make pictures look kind of hand-drawn/painted. I understand that the style isn't for everyone because sometimes, they look a bit too sharp and some prefer the blurred effect, but this has always been one of my favorite "tricks" in PS. Some people may be well aware of how to do this already, but I learned it through fiddling around with the program (there may be easier ways!). Like most tutorials, the exact steps aren't for every image but the gist is there. :)


>

1. Duplicate image (4x --so there should be 5 layers in all, including the original background layer).
Set the first duplicate to screen, then sharpen (Filter > Sharpen), lower opacity to 50%.

2. For the second: Set to soft light, then find edges (Filter > Stylize > Find Edges), then invert
(Image > Adjustments > Invert or Ctrl+I), lower opacity to 40% (it depends on the image, though).

3. Third: dry brush (Filter > Artistic > Dry Brush).
brush size: 1
brush detail: 10
texture: 2
Set to multiply, opacity 40%.

4. For the fourth: to have defined details. In this case, we want to highlight
the hair: using angled strokes (Filter > Brush Strokes > Angled Strokes).
direction balance: 34
stroke length: 9
sharpness: 4
Set to screen, opacity 65%. Erase everything save the parts you want defined.
Here, I left out the hair and some parts of the shoulder.

5. Now for the coloring, it's up to you what you want. I used subtle
selective coloring here (Layer > Adjustment Layer > Selective Color).
reds - black: +17
whites - black: -3
neutrals - yellow: +2

6. I just added this texture by kiho_chan for design: multiply, 100%.

7. Flatten everything then soften the edges that are way too sharp.
Done.

Note: For icon-making, often, I stop at step #2 because I think it's enough to make the image look like it had been drawn. Just add the coloring you want after that, then voila.
Hope you find this useful! :)
Other examples:
