Tutorial #01
How to go from

to

in five easy steps
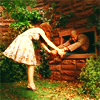
First, I chose this picture of Chuck from Pushing Daisies. I crop it.

Now, I duplicated this layer once and placed it to Screen, 29%

I duplicated the bottom layer once again, and set it to Soft Light 100%.

Next is a Hue/Saturation layer. Up the Master Saturation +27.
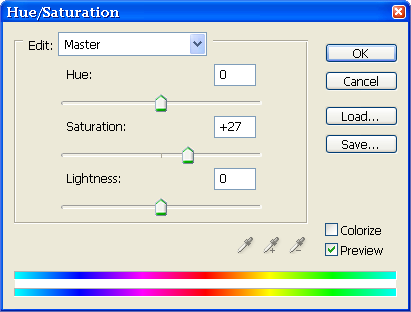
And I got this:

Now it's a Selective Colour layer, and I imput these numbers:
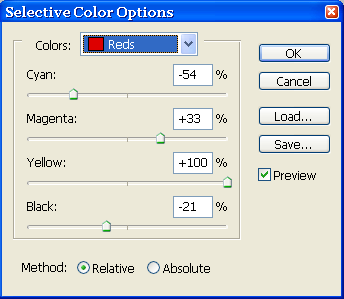
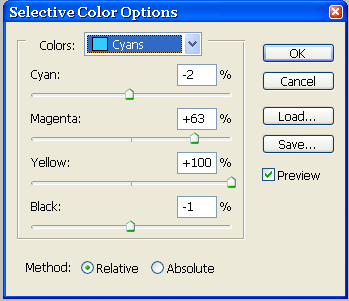
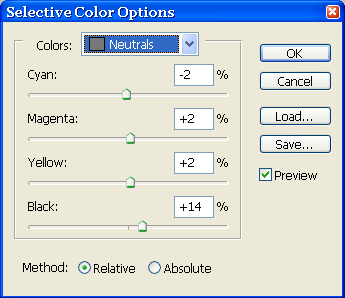
And I got this:

And finally it's just a simple Curves layer, where all I literally did was press

, click and OK and nothing else.
And I got this:

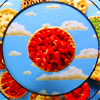
Icons make with the same colouring:

PSD :)
FRIEND the community for updates.