PS tut: color->b&w
Tut written for art_playground.
We'll start with this:
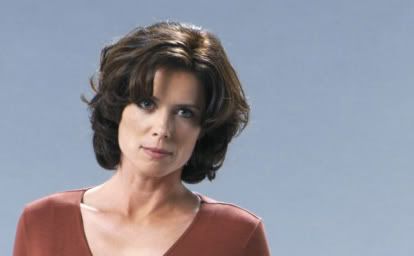
I usually adjust the original a bit, to bring out the details. In this case, I used a Brightness/Contrast Layer (Layer-> New Adjustment Layer -> Brightness/Contrast...) with +4 for brightness, +27 for contrast.
Our base is:
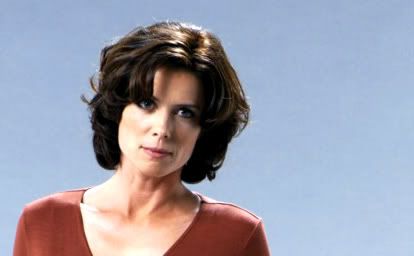
The most common way to achieve b/w images is desaturating: Layer -> New Adjustment Layer -> Hue/Saturation:
The result is:
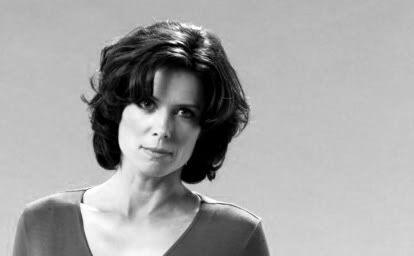
You can control the output more is you use a Channel Mixer layer(make sure you check the Monochrome box): Layer -> New Adjustment Layer -> Channel Mixer:
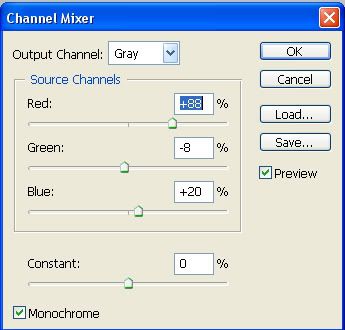
The result is:
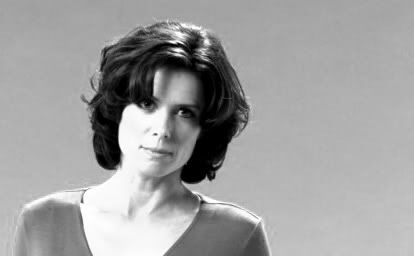
This is very flexible, and if you play a bit with the options, you can achieve interesting things :)
An easier way to do this is to add a new layer (Ctrl+Shift+N) and fill it with black or white and set the blending mode to Color or Saturation:
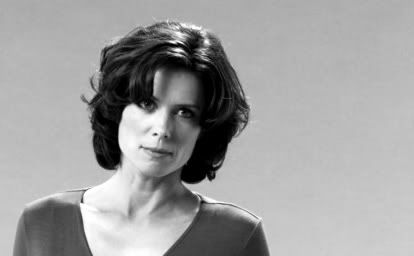
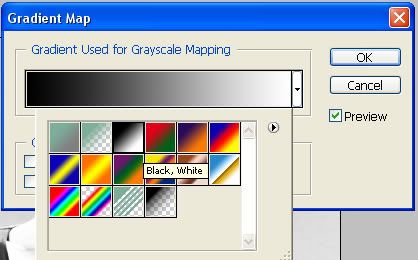
Using a Gradient Map: Layer -> New Adjustment Layer -> Gradient Map and choose the black and white gradient:
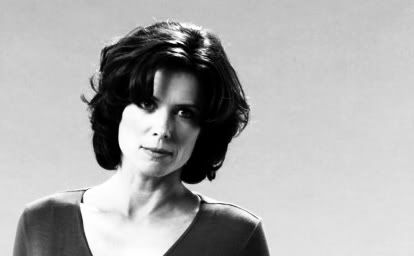
The result is:
Using a gradient: Layer -> New Fill Layer -> Gradient:

If there's anything I missed, please tell me :)
Pic is of Torri Higginson, who plays Dr. Elizabeth Weir in Stargate Atlantis. Pic from New Atlantis - The Evolution
.:. Comments make me happy :)
.:. Add comm for constant updates.
We'll start with this:

I usually adjust the original a bit, to bring out the details. In this case, I used a Brightness/Contrast Layer (Layer-> New Adjustment Layer -> Brightness/Contrast...) with +4 for brightness, +27 for contrast.
Our base is:

The most common way to achieve b/w images is desaturating: Layer -> New Adjustment Layer -> Hue/Saturation:
The result is:

You can control the output more is you use a Channel Mixer layer(make sure you check the Monochrome box): Layer -> New Adjustment Layer -> Channel Mixer:

The result is:

This is very flexible, and if you play a bit with the options, you can achieve interesting things :)
An easier way to do this is to add a new layer (Ctrl+Shift+N) and fill it with black or white and set the blending mode to Color or Saturation:

Using a Gradient Map: Layer -> New Adjustment Layer -> Gradient Map and choose the black and white gradient:

The result is:

Using a gradient: Layer -> New Fill Layer -> Gradient:

If there's anything I missed, please tell me :)
Pic is of Torri Higginson, who plays Dr. Elizabeth Weir in Stargate Atlantis. Pic from New Atlantis - The Evolution
.:. Comments make me happy :)
.:. Add comm for constant updates.