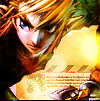
tutorial no. 3~!!!
I'm still making tuts...because I'm bored and have no life. So like...
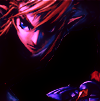
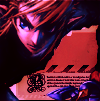
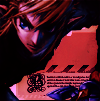
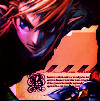
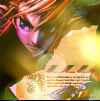
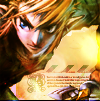
from
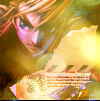
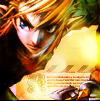
to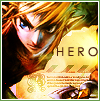
only in PS 7~!!.
Also, I think it should be translatable, to think that it only uses textures, color balance, curves, and all that jazz...even to the PSP user(I think :[).
Get your image. I used this transparent PNG from celestial-star.net, which is by the way, free. No need for registration. So anyways, I cropped it to my liking and ended up with this:
there's a space for the text, and always remember, it has no background, okie? Now, let's start...
Step 1
Now that you have your base image, let's colorize it. From this step, I followed a tutorial. Unfortunately, I can't remember who I got it from, so if it's yours, please don't hesitate to drop a comment and tell me that it is yours. Also, I modified it to suit my image. Anyways, get your base and duplicate it 2 times. Set the 1st duplicate to Soft Light 77% and the second one to Overlay 77%.

--->
Step 2
After that, flood fill the whole canvas with #1C192C and set it to Exclusion 100%

--->
Step 3
Fill the whole canvas with #9AEAF6 and set to Color Burn 100%.

--->
Step 4
fill it with #A7F7F0 and set it to Soft Light 43%.

--->
Step 5
fill with #F34E0D and set it to Soft Light 100%.

--->
Step 6
Duplicate your base and drag it to the top. Then, desaturate it(Ctrl+Shft+U) and gaussian blur it. With the radius of 5. After that, duplicate the blurred and desaturated base. Set the first one to Overlay 100% and the second one, Screen 100%.

--->
Step 7
Now for the color balance~!!! Here's my settings:
shadows: 70, 0, 38
midtones: 18, 0, 15
highlights: 31, 0, 77

--->
Gaaah~!! It looks terribly pink. *blech*
Step 8
Curves~!! Here's my settings:
Input: 163
Output: 99
--->
Step 9
fill with black and set to Soft Light 30%

--->
Now, we're done with colorization. Also, creds to the tut on this...I swear.
Step 10
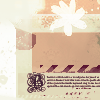
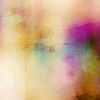
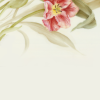
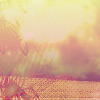
Now let's slap on some textures~!!! Take this nice spring-y texture from kaien-kun and put it in the most bottom of all your layers. That is your background.
--->
Step 11
Duplicate your base again and drag it to the topmost of the layers and set it to Multipy 100%.

--->
Step 12
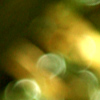
Another spring-y texture from 77words and set it to Overlay 100%.
--->
Gaaaah, it's still PINK~!! V.V
Step 13
Slap this texture from fuzzy and set to Soft Light 100%

--->
Step 14
Another texture by wonderful gender. Set it to Darken 100%. I also rotated and flipped it so that it's in the side of Link.
--->
Step 15
Texture again. This time it's by silverge and set it to screen 100%.
--->
Now it looks bright.
Step 16
One last texture...I promise. Slap this texture by immoral and set it to softlight 100%.
--->
It looks brighter than before.
Step 17
Duplicate your base and drag it to the top. Then, desaturate(Ctrl+Shft+U) it and set to Soft Light 100%.

--->
.
Step 18
Duplicate your base again and drag it to the top. Set it to Soft Light 100%

--->
Teh Link shines~!!! Sugee~!!
Step 19
Promise, we are almost done! Now, create a new layer. Then, press, Ctrl+Alt+Shft+E to stamp all the layers in one layer...get it? Anyways, gaussian blur it with the radius of 3 and set to Soft Light 100%.
--->
Step 20
This is the last step...srsly. Again, stamp visible on a new layer(you know what to do). Then, go to Filter>Sharpen>Sharpen. In my pic, it looks really ugly with it, so I lowered the opacity till it fits my pic. I used 50% opacity.
--->
And you're done~!! You can just leave it like that or add some text or/and border of some sort.
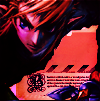
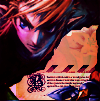
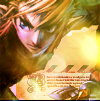
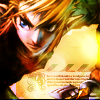
Final Result

And that's it~!! Experiment and stuff. Uwaaah~!! Te Link shines~!! Also, to the ouranhostawards participants, you might notice the textures I used here. Yeah, they are from the Week 42 challenge. Hehehe, recycling and stuff. ^^
Comments are always <3 and well, enjoy~!!
from
to
only in PS 7~!!.
Also, I think it should be translatable, to think that it only uses textures, color balance, curves, and all that jazz...even to the PSP user(I think :[).
Get your image. I used this transparent PNG from celestial-star.net, which is by the way, free. No need for registration. So anyways, I cropped it to my liking and ended up with this:
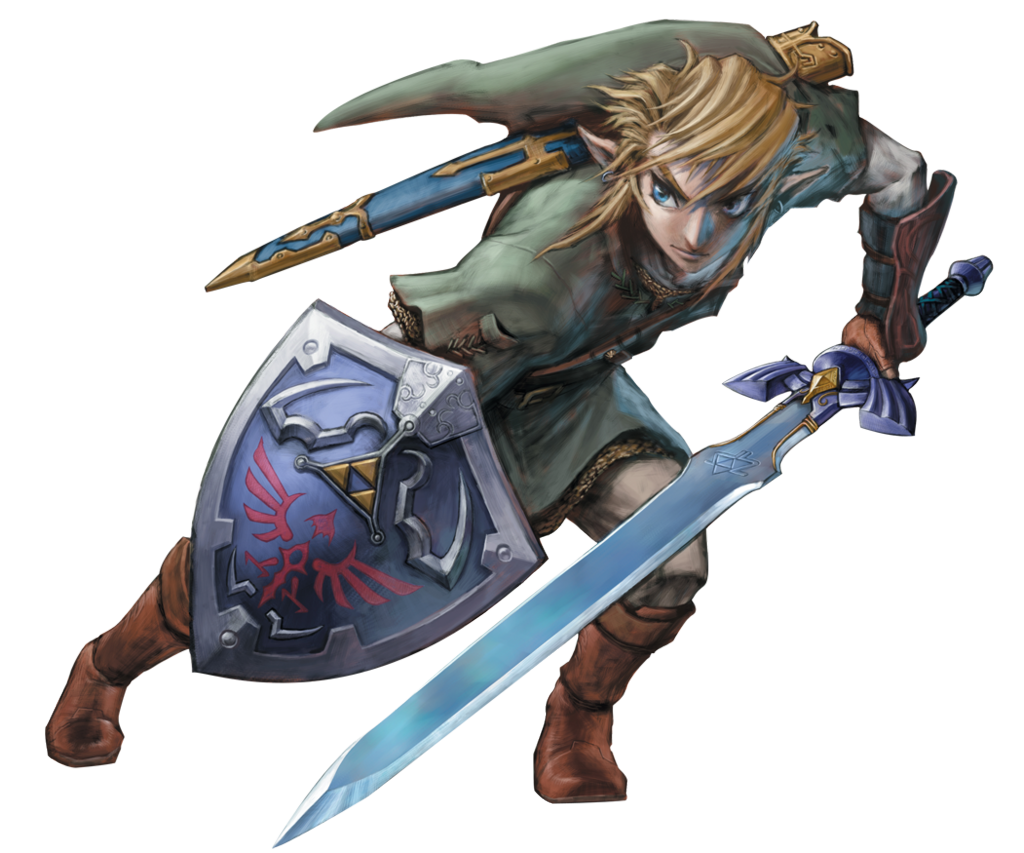
there's a space for the text, and always remember, it has no background, okie? Now, let's start...
Step 1
Now that you have your base image, let's colorize it. From this step, I followed a tutorial. Unfortunately, I can't remember who I got it from, so if it's yours, please don't hesitate to drop a comment and tell me that it is yours. Also, I modified it to suit my image. Anyways, get your base and duplicate it 2 times. Set the 1st duplicate to Soft Light 77% and the second one to Overlay 77%.
--->
Step 2
After that, flood fill the whole canvas with #1C192C and set it to Exclusion 100%
--->
Step 3
Fill the whole canvas with #9AEAF6 and set to Color Burn 100%.
--->
Step 4
fill it with #A7F7F0 and set it to Soft Light 43%.
--->
Step 5
fill with #F34E0D and set it to Soft Light 100%.
--->
Step 6
Duplicate your base and drag it to the top. Then, desaturate it(Ctrl+Shft+U) and gaussian blur it. With the radius of 5. After that, duplicate the blurred and desaturated base. Set the first one to Overlay 100% and the second one, Screen 100%.
--->
Step 7
Now for the color balance~!!! Here's my settings:
shadows: 70, 0, 38
midtones: 18, 0, 15
highlights: 31, 0, 77
--->
Gaaah~!! It looks terribly pink. *blech*
Step 8
Curves~!! Here's my settings:
Input: 163
Output: 99
--->
Step 9
fill with black and set to Soft Light 30%
--->
Now, we're done with colorization. Also, creds to the tut on this...I swear.
Step 10
Now let's slap on some textures~!!! Take this nice spring-y texture from kaien-kun and put it in the most bottom of all your layers. That is your background.
--->
Step 11
Duplicate your base again and drag it to the topmost of the layers and set it to Multipy 100%.
--->
Step 12
Another spring-y texture from 77words and set it to Overlay 100%.
--->
Gaaaah, it's still PINK~!! V.V
Step 13
Slap this texture from fuzzy and set to Soft Light 100%
--->
Step 14
Another texture by wonderful gender. Set it to Darken 100%. I also rotated and flipped it so that it's in the side of Link.
--->
Step 15
Texture again. This time it's by silverge and set it to screen 100%.
--->
Now it looks bright.
Step 16
One last texture...I promise. Slap this texture by immoral and set it to softlight 100%.
--->
It looks brighter than before.
Step 17
Duplicate your base and drag it to the top. Then, desaturate(Ctrl+Shft+U) it and set to Soft Light 100%.
--->
.
Step 18
Duplicate your base again and drag it to the top. Set it to Soft Light 100%
--->
Teh Link shines~!!! Sugee~!!
Step 19
Promise, we are almost done! Now, create a new layer. Then, press, Ctrl+Alt+Shft+E to stamp all the layers in one layer...get it? Anyways, gaussian blur it with the radius of 3 and set to Soft Light 100%.
--->
Step 20
This is the last step...srsly. Again, stamp visible on a new layer(you know what to do). Then, go to Filter>Sharpen>Sharpen. In my pic, it looks really ugly with it, so I lowered the opacity till it fits my pic. I used 50% opacity.
--->
And you're done~!! You can just leave it like that or add some text or/and border of some sort.
Final Result
And that's it~!! Experiment and stuff. Uwaaah~!! Te Link shines~!! Also, to the ouranhostawards participants, you might notice the textures I used here. Yeah, they are from the Week 42 challenge. Hehehe, recycling and stuff. ^^
Comments are always <3 and well, enjoy~!!