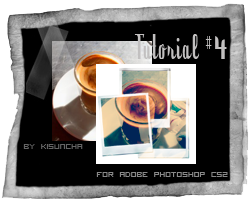
Tutorial#4
This tutorial was requested be saharaam. Thank you, hun :*

Again tutorial with coffee icon. I love coffee and i LOVE coffee icon. so, let's start:
1. Here is our base. First of all i want it to be a bit lighter. Go Layer->New Adjustment layer->Curves. Settings:
RGB - Input: 208 Output: 234
Green - Input: 220 Output: 232
Blue - Input: 212 Output: 235
2. New fill layer #e6e6e6 set to color burn.
3. New fill layer #002456 set to exclusion.
4. Duplicate the color burn layer and move it to the top.
5. Duplicate the exclusion layer and move it to the top.
6. New fill layer #9edeff set to color burn.
7. New fill layer #eddec1 set to color burn.
8. Now the coloring is done. Take this mask (made by ewanism), set it on screen on top of all layers. I moved the image with coffee i bit down, so the cup can be in the center of icon, but you can leave this step. And you're done :D
Layers.
I'd love to look what you have and fell free to ask questions :D