(no subject)
This is the tutorial requested by lilplague, enjoy it!!
from this
to this

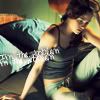
1. I used this picture from twilight latino gallery. Take the picture, resize it and crop it.

2. Create a selective color layer:
reds: -44 +25 +100 0
yellows: -100 0 0 0
neutrals: +16 -17 -18 0
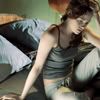
3.Create a channel mixer layer:
red: +122 -14 +10 0
green: 0 +120 0
blue: -6 -18 +124

4.New selective color layer:
whites: +100 -100 -100 0

5. Create a new layer, fill it with #EF979C and set it to linear burn. 15% opacity.
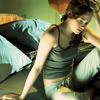
6. Create a curves layer and set this points:
RGB:
point 1: 153 144
point 2: 190 191
red:
point 1: 143 143
point 2: 172 175
green:
point 1:58 55
blue:
point 1: 141 154
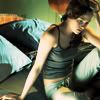
7. Create a new layer, fill it with #EF8846 and set it to color burn, 13% opacity.
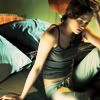
8.Create a new layer, fill it with #140043 and set it to exclusion, 25% opacity
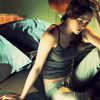
9. Now add some text and it's done. I used the font Pea Jamie

.psd
more examples
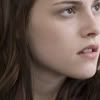
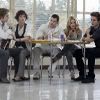

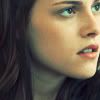
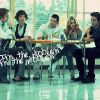

more tutorials here
from this
to this
1. I used this picture from twilight latino gallery. Take the picture, resize it and crop it.
2. Create a selective color layer:
reds: -44 +25 +100 0
yellows: -100 0 0 0
neutrals: +16 -17 -18 0
3.Create a channel mixer layer:
red: +122 -14 +10 0
green: 0 +120 0
blue: -6 -18 +124
4.New selective color layer:
whites: +100 -100 -100 0
5. Create a new layer, fill it with #EF979C and set it to linear burn. 15% opacity.
6. Create a curves layer and set this points:
RGB:
point 1: 153 144
point 2: 190 191
red:
point 1: 143 143
point 2: 172 175
green:
point 1:58 55
blue:
point 1: 141 154
7. Create a new layer, fill it with #EF8846 and set it to color burn, 13% opacity.
8.Create a new layer, fill it with #140043 and set it to exclusion, 25% opacity
9. Now add some text and it's done. I used the font Pea Jamie
.psd
more examples
more tutorials here