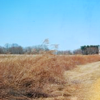
Tutorial #1: landscape
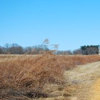
from this
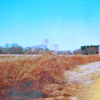
to this
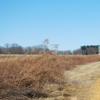
1. First of all take your picture, resize it and crop it. This tutorial works better with picture like this with blue sky and yellowish lands.
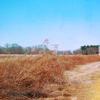
2. Now, I want to stress the blue sky, so vreate a new channel mixer layer and play with the values:
red: +110 0 -16
blue: -4 0 +108
3. The icon is a bit dark so add this texture by innocent-lexys and set it to overlay, 35% opacity.
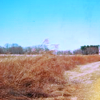
4. The land and the sky looks to pale, it's time to play with the selective coloring. Create a new selective color layer:
reds: -14 +45 +32 0
cyans: +39 +4 +82
whites: -100 0 -100 0
neutrals: -3 +2 +5 0
5. Now the icon is a little bit yellow, so create a new color balance layer:
midtones: +11 +2 +3
shadows: +2 0 0
highlights: -18 -2 +26
6. Add some blue to the sky with a new channel mixer layer:
red: +104 0 -10
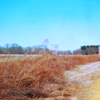
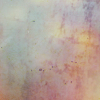
7. And I love the final style using this kind of textures by dissendiun, so past the texture in the top and set it to lighten.
.psd
Tell me if you want me to write the tutorial in spanish or if you would like to see a tutorial of any other graphic