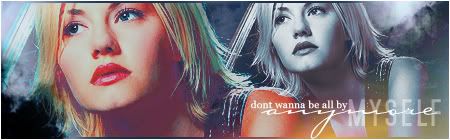
all by myself
making this today :)
This is long, i warn you, but i loved the result. remember, this coloring will NOT work on ALL images. Do NOT be afraid to try your own thing!
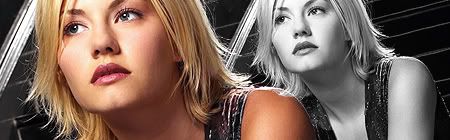
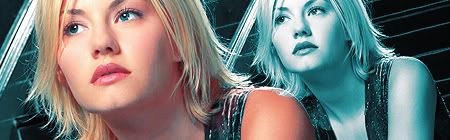
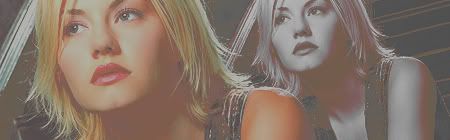
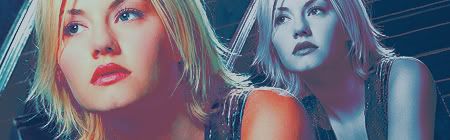
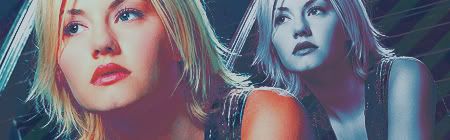
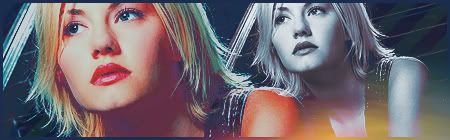
First, find one image you like. Paste it onto a new canvas (appx 450x140). Duplicate your image and resize it and arrange it on your canvas. Desaturate your smaller image. Set the blendmode to LIGHTEN. Blend your images together:
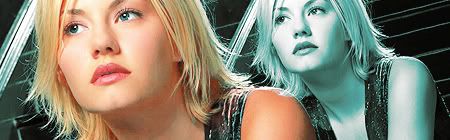
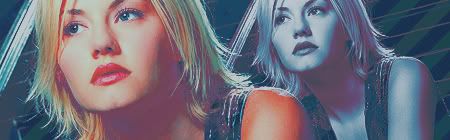
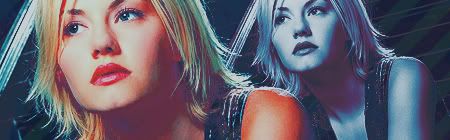
Add a new selective color layer. Settings as followed:
reds: -100 0 0 0
cyans: 100 0 0 0
blues: 100 0 0 0
neutrals: 67 0 -9 -19
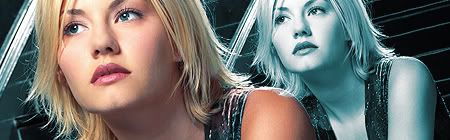
Add a new selective color layer. Settings as followed:
reds: -100 0 0 0
cyans: 100 0 0 0
blues: 100 0 0 0
neutrals: 36 0 18 -18
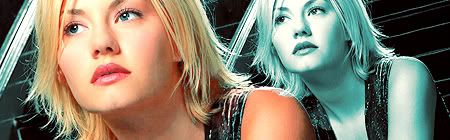
Add a new selective color layer. Settings as followed:
reds: -100 0 0 0
neutrals: -17 0 -18 10
Add a new color balance layer. Settings as followed:
midtones: 26 0 -25
shadows: -67 0 27
highlights: 10 0 -19

Add a new selective color layer. Settings as followed:
neutrals: -25 0 32 -20
Add a new color balance layer. Settings as followed:
midtones: -25 0 22
shadows: 23 0 0
highlights: 0 0 -15
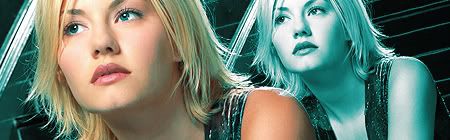
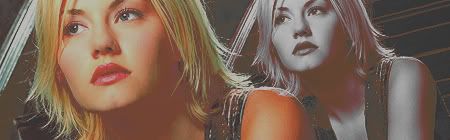
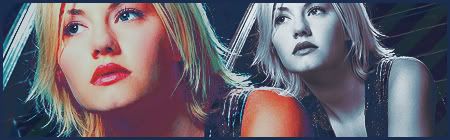
Now, it gets a little tricky. Print stamp your current image (control>alt>shift>e). Then, Take your desaturated, duplicated layer and drag it to the top of your image. Set this layer to LIGHTEN. Print Stamp AGAIN.
Add a new curves layer. Settings as followed:
O: 125
I: 103

OK this part is SUPER tricky. Add a new curves layer. Use the PRESET setting: COLOR NEGATIVE (RGB). You SHOULD find that in the drop down menu of the curves window. Lower the opacity to 30%.
Add a new curves layer. Settings as followed:
Point 1:
I: 38
O: 17
Point 2:
I: 212
O: 231
Point 3:
I: 231
O: 250
Point 4:
I: 255
O: 255
Add a new curves layer. Settings as followed:
O: 125
I: 103
New Selective Color Layer. Settings as followed:
reds: -100 0 0 0
neutrals: 49 -10 -24 -15
New Selective Color Layer. Settings as followed:
reds: 0 0 0 33
yellows: 0 0 0 -25
cyans: 0 0 0 40
blues: 0 0 0 36
neutrals: -15 -6 -19 42
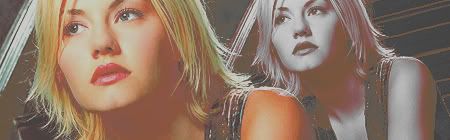
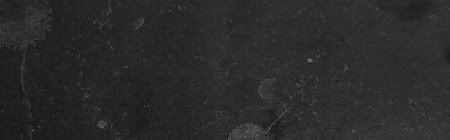
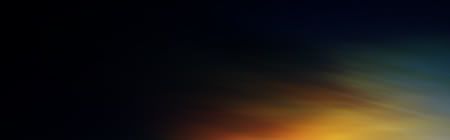
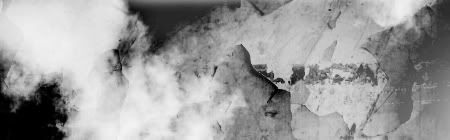
Add this pattern and set to lighten. Erase any parts that may cover facial/important areas on your banner/sig.

Add this pattern and set to lighten.
Add a new GRADIENT MAP layer. Set to SOFTLIGHT 20%.
Add a new curves layer. Settings as followed:
Point 1:
O: 56
I: 73
Point 2:
O: 164
I: 163
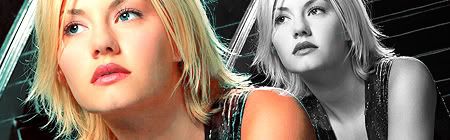
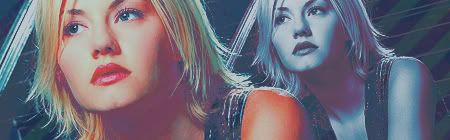
Again, Print stamp your current image (control>alt>shift>e). Then, Take your desaturated, duplicated layer and drag it to the top of your image. Set this layer to LIGHTEN 50%.
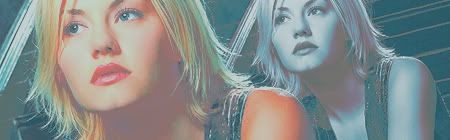
Add this pattern and set it to lighten.
Lastly, take this pattern and set to LUMINOSITY and erase the parts that cover the main parts of the face/focal point of sig/banner.
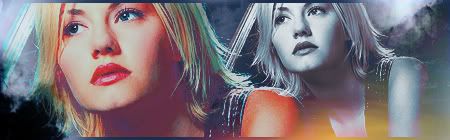
Finally, add text & a banner, and you're finished.