(no subject)
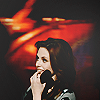
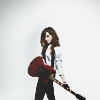
Tutorial # 22: Penn Badgley & Blake Lively

to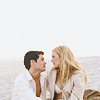
PSCS3 | non-translatable | psd included | examples
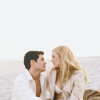
This tutorial was requested by milly91 for the coloring in this post.
1. Open up your base and resize it to the size you like. Crop it if you want.

2. Smudge the blue background or resize it ( like in the 2nd tutorial)
3. Duplicate your base two times and set both to Screen 100%. Duplicate your base a third time and set it to Screen 40%.
4. Create a new Selective Color Layer and enter the following:
Reds: 0, 0, +30, 0
Yellows: 0, 0, -26, 0
Whites: 0, 0, 0, -22

5. Create another Selective Color Layer and enter the following:
Reds: 0, 0, +28, 0
Neutrals: +11, +3, +6, +22
6. Paste this texture (tell me if you made it) and set it to Difference at Opacity 52% and Fill 47%

>
7. Paste this texture (tell me if you made it) and set it to Soft Light at 46%
>
8. Paste this texture (tell me if you made it) and set it to Lighten at 60%

>
9. Now press CTRL+ALT+SHIFT+E and a new merged layer will appear above all layers, sharpen the layer then set it to 60%

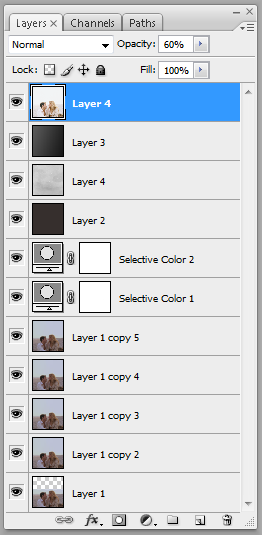
And your done! This is how the layer palette should look like:
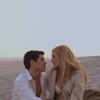
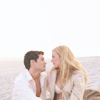
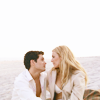
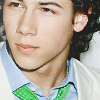
Other Examples:

DOWNLOAD THE PSD: link 1 - link 2
original post here
to
PSCS3 | non-translatable | psd included | examples
This tutorial was requested by milly91 for the coloring in this post.
1. Open up your base and resize it to the size you like. Crop it if you want.
2. Smudge the blue background or resize it ( like in the 2nd tutorial)
3. Duplicate your base two times and set both to Screen 100%. Duplicate your base a third time and set it to Screen 40%.
4. Create a new Selective Color Layer and enter the following:
Reds: 0, 0, +30, 0
Yellows: 0, 0, -26, 0
Whites: 0, 0, 0, -22
5. Create another Selective Color Layer and enter the following:
Reds: 0, 0, +28, 0
Neutrals: +11, +3, +6, +22
6. Paste this texture (tell me if you made it) and set it to Difference at Opacity 52% and Fill 47%
>
7. Paste this texture (tell me if you made it) and set it to Soft Light at 46%
>
8. Paste this texture (tell me if you made it) and set it to Lighten at 60%
>
9. Now press CTRL+ALT+SHIFT+E and a new merged layer will appear above all layers, sharpen the layer then set it to 60%
And your done! This is how the layer palette should look like:
Other Examples:
DOWNLOAD THE PSD: link 1 - link 2
original post here