(no subject)
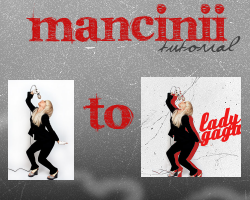
THE TUTORIAL
01. Resize your image etc. Make two separate copies of it.
- *OPTIONAL* - Colourize your image to 0 // or Desturate the image
02. Find a background you like or you can just leave it blank if you want. I chose this;
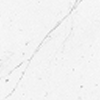
03. Paste one of the copies onto your background set to multiply 100.
04. Go to the other copy of your icon.
- New Raster Layer
- Pick a bright colour i picked red.
- Set to lighten 100

- Merge all layers
05. Copy that and paste it onto your other copy with the background and set it to Darken 100%
06. Move the red image to one side and erase the bits you don't want.
07. Copy set 04 as much as you want.
Merge all add your text etc.
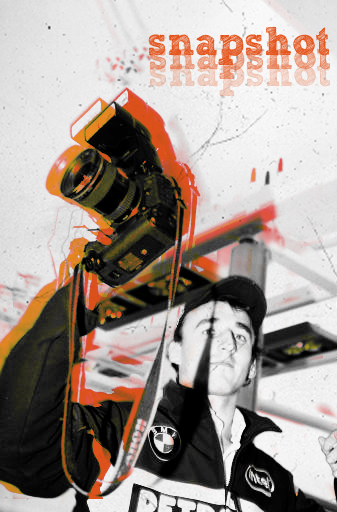
OTHER EXAMPLES;



BANNER EXAMPLES

Any questions just ask; Hope the tut was helpful :DD As ever would luff to see your versions :DD
THIS TUTORIAL WAS ADDED TO THE TUTORIAL LIST HERE