alex gaskarth wallpaper


Today we'll be making:

image & text: moderately heavy. made in: photoshop cs2. pretty simple, but if you need more clarification - i can help!
1. Create a new canvas. I was creating a wallpaper so I used the size 1024 x 768.
2. Fill the background with the color black. [For tutorial purposes, I'm going to fill it with white so it's easier for you guys to see]
3. Pick out the images you want used in your graphic and open them up in Photoshop. I'm going to be using three images taken by Josh Hofer of Alex Gaskarth.
4. Move all the pictures onto your main canvas and change them into black and white. You can do this any way you want. I prefer doing Image > Adjustments > Desaturate and then play around with the coloring in Selective Color.
5. Feather each image in order to get rid of all the extra crap in the background besides the focal point of the image. Here's a mini-tutorial in a tutorial on how to do that:
- Use the Lasso Tool and lasso around the focal point [Alex Gaskarth, in my case] of the images.
- Once you've done that, go to Select > Feather. You'll see a pop up appear somewhat like the following screencap.

I usually always set my feather radius to 20, but you can adjust that if you'd like.
- After the lasso contracts, press the "Add Layer Mask" button on your Layers window. I circled it in the image below.

- Sometimes you'll still see the edges of the image after you feather it. You can use the Eraser Tool to erase the parts of the image you don't want seen.
- And there you go! That's how to feather. Now do that to all the images you chose.
6. After you feather, position your images the way you'd like them. I positioned mine to look like this:

7. Now is time for the texture part! Choose a cool light texture you'd like to use as the "platform" for the images you just feathered. I used this one by yawee at deviantart.
8. Place the texture where you'd like it and move it under all the focal image layers.

9. Feather the texture as you please.
10. Now feel free to add text and all that jazz.
See, it wasn't that hard! :D
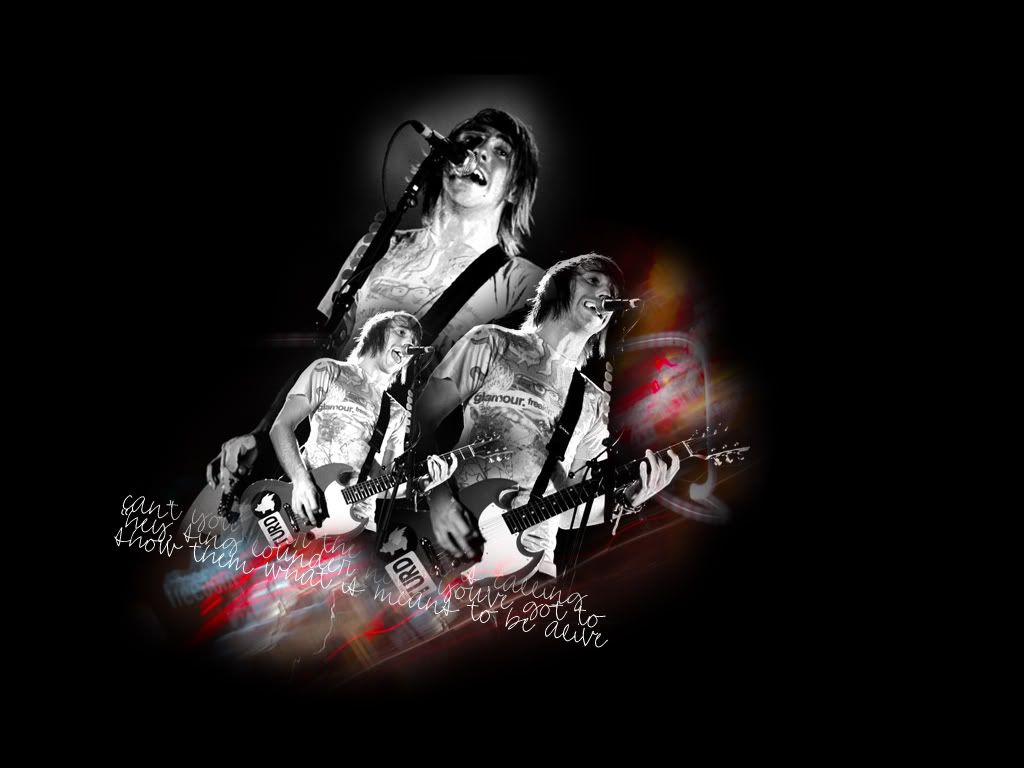
Finished product:
Feel free to use.
And here's a .PSD of the original wallpaper I had made with this same technique. Oh and here is that wallpaper:
(:
♥ Let me know what you think!
♥ I'd love to see your results.
♥ Join narcotic_talk.