(no subject)
Tutorial # 20: Kristen Stewart & Robert Pattinson

and
to
PSCS2 | translatable (except for coloring) | psd included | examples
Tutorial requested by
treetop_cherry for this icon in this post.
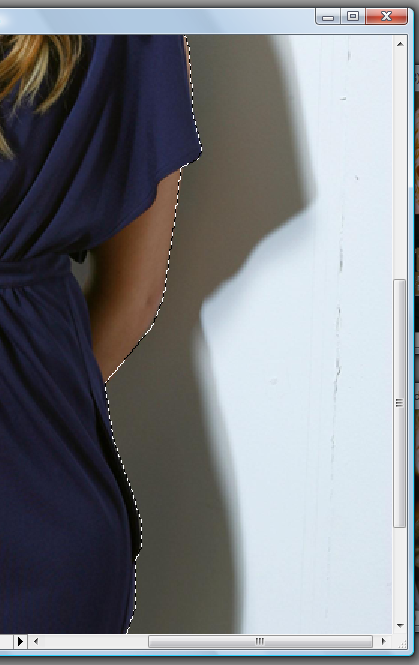
1. Open this image of Kristen Stewart. Crop Kristen using the polygonal lasso tool.

>
2. Open this image of Robert Pattinson. Crop Rob also using the polygonal lasso tool.

>
3. Create a new 100x100 canvas and fill it with a black background.

4. Paste Kristen's cropped out image and resize it to the size you want.

5. Now paste Robert's cropped out image under Kristen's and resize it to the size you want. Set Robert's cropped out image's opacity to 83%.

6. We are now done with the cropping and pasting, and now we will start with the coloring. Create a new curves layer and enter the following:
RGB:
Input: 81, Output: 127
Blue:
Point One: Input: 90, Output: 75
Point Two: Input: 143, Output: 148

I set this layer to fill 70%.
7. Now create a new selective color layer and enter the following:
Reds: -100, +27, +100, +20
Yellows: +100, +100, +100, 0
Whites: 0, 0, -20, 0
Neutrals: 0, +20, +51, 0

I set this layer to fill 90%.
8. Paste this texture by
crystalcocaine and set it to screen fill 65%

And your DONE!
DOWNLOAD THE PSD HERE (link 1)
DOWNLOAD THE PSD HERE (link 2)
Other Examples:


original post can be found here at my journal

and

to

PSCS2 | translatable (except for coloring) | psd included | examples
Tutorial requested by
treetop_cherry for this icon in this post.
1. Open this image of Kristen Stewart. Crop Kristen using the polygonal lasso tool.

>

2. Open this image of Robert Pattinson. Crop Rob also using the polygonal lasso tool.

>

3. Create a new 100x100 canvas and fill it with a black background.

4. Paste Kristen's cropped out image and resize it to the size you want.

5. Now paste Robert's cropped out image under Kristen's and resize it to the size you want. Set Robert's cropped out image's opacity to 83%.

6. We are now done with the cropping and pasting, and now we will start with the coloring. Create a new curves layer and enter the following:
RGB:
Input: 81, Output: 127
Blue:
Point One: Input: 90, Output: 75
Point Two: Input: 143, Output: 148

I set this layer to fill 70%.
7. Now create a new selective color layer and enter the following:
Reds: -100, +27, +100, +20
Yellows: +100, +100, +100, 0
Whites: 0, 0, -20, 0
Neutrals: 0, +20, +51, 0

I set this layer to fill 90%.
8. Paste this texture by
crystalcocaine and set it to screen fill 65%

And your DONE!
DOWNLOAD THE PSD HERE (link 1)
DOWNLOAD THE PSD HERE (link 2)
Other Examples:


original post can be found here at my journal