(no subject)
>
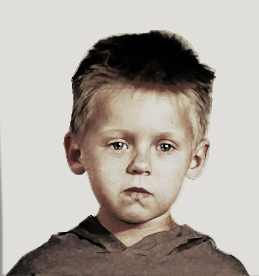
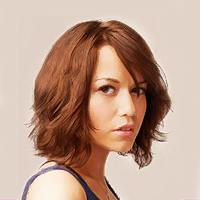
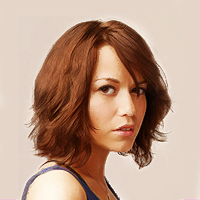
(sort of drawn/painted effect)
In Photoshop.
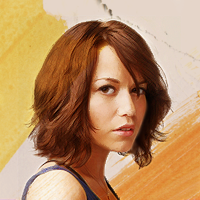
1. Duplicate image (4x --so there should be 5 layers in all, including the original background layer).
Set the first duplicate to screen, then sharpen (Filter > Sharpen), lower opacity to 50%.
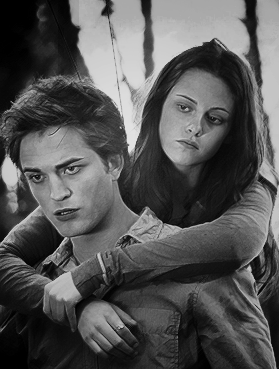
2. For the second: Set to soft light, then find edges (Filter > Stylize > Find Edges), then invert
(Image > Adjustments > Invert or Ctrl+I), lower opacity to 40% (it depends on the image, though).

3. Third: dry brush (Filter > Artistic > Dry Brush).
brush size: 1
brush detail: 10
texture: 2
Set to multiply, opacity 40%.
4. For the fourth: to have defined details. In this case, we want to highlight
the hair: using angled strokes (Filter > Brush Strokes > Angled Strokes).
direction balance: 34
stroke length: 9
sharpness: 4
Set to screen, opacity 65%. Erase everything save the parts you want defined.
Here, I left out the hair and some parts of the shoulder.
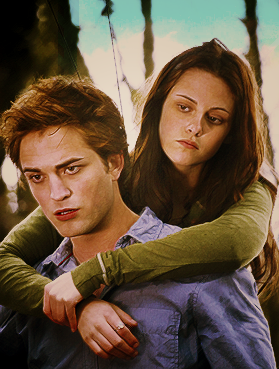
5. Now for the coloring, it's up to you what you want. I used subtle
selective coloring here (Layer > Adjustment Layer > Selective Color).
reds - black: +17
whites - black: -3
neutrals - yellow: +2
6. I just added this texture by kiho_chan for design: multiply, 100%.
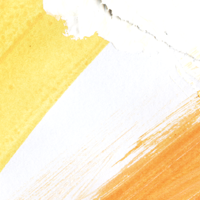

7. Flatten everything then soften the edges that are way too sharp.
Done.
Hope you find this useful! :)
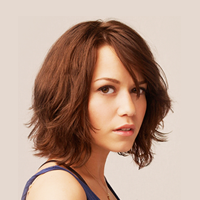
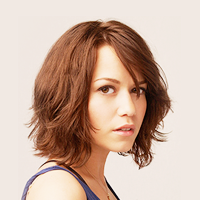
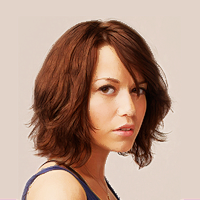
Other examples: