(no subject)
Alrighty. First tutorial, so bear with me. I'm gonna show you how to make the icon I'm posting with (on the left). I got a lot of nice compliments from it, so I thought I'd give this a try. Made in PS CS2, no selective color, so probably translatable.
Okay, we're starting with this image:
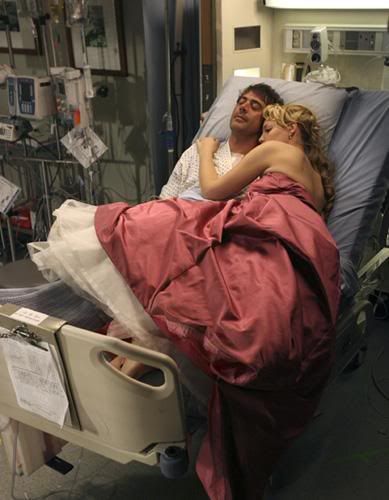
1. Crop, lighten, sharpen, etc. all you want. I ended up with this:
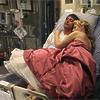
2. Duplicate this layer and desaturate
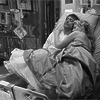
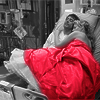
3. Now, using a round fuzzy brush and a pinky color (I used #f83957), brush over Izzie's dress. Set this layer to overlay.
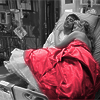
4. Duplicate this layer and set it to soft light.
5. Now, open up this texture:
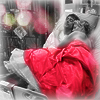
and flip it horizontally. Paste it over your image as a new layer and set to screen. I erased the specks around Denny and Izzie's faces. Set the layer style to Inner Glow, #ffffff, screen, 75%, size 10 px.
6. Open this texture:
and rotate it 180 degrees. Paste it over the top. Use the magic wand tool to select the black area and delete it. Set the layer style to Outer Glow, default settings. And you're done! It looks a bit different, but it's pretty close.

Comments are love, I'd love to see your results.
EDIT:
*facepalm* I just realized what I missed. The first time I made it I threw on a scratchy texture set to screen before the light texture.
Okay, we're starting with this image:

1. Crop, lighten, sharpen, etc. all you want. I ended up with this:

2. Duplicate this layer and desaturate

3. Now, using a round fuzzy brush and a pinky color (I used #f83957), brush over Izzie's dress. Set this layer to overlay.

4. Duplicate this layer and set it to soft light.

5. Now, open up this texture:

and flip it horizontally. Paste it over your image as a new layer and set to screen. I erased the specks around Denny and Izzie's faces. Set the layer style to Inner Glow, #ffffff, screen, 75%, size 10 px.

6. Open this texture:

and rotate it 180 degrees. Paste it over the top. Use the magic wand tool to select the black area and delete it. Set the layer style to Outer Glow, default settings. And you're done! It looks a bit different, but it's pretty close.

Comments are love, I'd love to see your results.
EDIT:
*facepalm* I just realized what I missed. The first time I made it I threw on a scratchy texture set to screen before the light texture.