First Tutorial
From this 
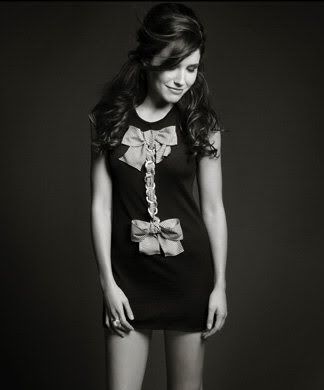
to this
This is my first tutorial so bear with me!! This tutorial was done using photoshop CS2 but should be transferable. I used this pic http://i103.photobucket.com/albums/m151/Saving_Grace_23/Caps/3dc665advt1.jpg from sophiabush.net
Open your image and create a new layer. Name it Skin. Select your paintbrush tool and select a small soft brush (about the same width as her arm). Paint all of her skin with a peachy color. I used #FAECC8. Change the blend mode to color at 100% opacity.. It will look a little funny, but we will fix that later.
Create a new layer name it eyes. For the rest of the coloring i zoomed into 350%. For her eye makeup i used a small soft brush with #315D31. Paint following the shape of her eye. Set the blend mode to color at 50% opacity. Next i took a very thin brush and added a black line to give the effect of eyeliner.
Create a new layer and name it lips. I used #FC788D and painted on her lips. Change the blend mode to color at 45% opacity.
Create a new layer and name it bow. Paint on the bow on the front of her dress. I used #FB0707. Change the blend mode to darken at 100% opacity.
Create a new layer and name it hair. Paint over her hair with a brown color. I used #8F7F57. Change blend mode to color at 100% opacity. Next i took the burn tool and went over parts of her hair to darken it.
Create a new layer and name it ring. Color over the ring on her right hand (the hand on your left). I used #9C9C9A. Set it to color at 100% opacity.
Now we are going to fix her skin color. Select the skin layer. Right click on it and select merge down. This will merge the skin layer with the base picture. With your background layer selected go to Image>Adjustments>Variations. You will see a sider and to the left side it will say fine and the right side will say course. Move the slider to one bar left of center (closer to fine). Chose more yellow and then more blue. Move the slider one more bar to the left (closer to fine). Chose more yellow. Click ok
Go to Imagehange the brightness to +12 and the contrast to +9. This will differ from pic to pic, just see what looks best with your pic.
Done!!
Hope i didn't confuse anyone to much. Hope it helps! I would love to see what everyone comes up with!!