PS CS2 tutorial
Hey, guys! This is my first tutorial, so go easy on me.
How to get from this to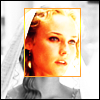
using PS CS2. It's probably translatable, but I wouldn't know. ^_^
Dial-up users, BEWARE. Picture heavy. Also, very long-at least in my opinion.
1) I started off with this image of Diane Kruger in Troy:
2) Opened it in PS CS2.
3) I used the crop tool to crop the image in a perfect square.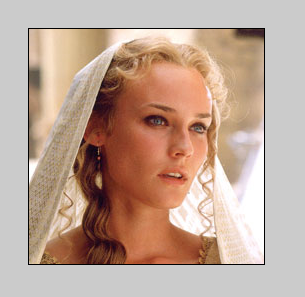
(I find it easiest to crop by setting the width and height to 100 in:
)
4) Image >> Image Size >>Height:100 Width: 100
5) I blurred the image (Filter >> Blur >>Blur) then duplicated it twice.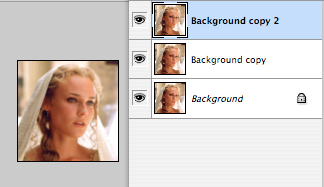
6) Then, I set the second layer to Overlay 100%, and the third layer to Screen 100%.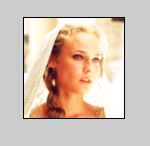
7) It looks a bit too blurred, so I clicked the second layer and sharpened (Filter >> Sharpen >> Sharpen) it twice.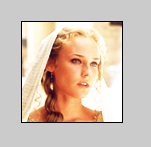
8) Merge (Layer >> Merge Down) all layers. Note: You should merge the second and first layer first, and then the third layer with the merged first/second layer. This keeps the image the same as when it was 3 different layers. If that was confusing, this should clarify it: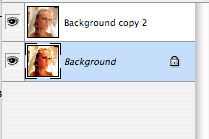
TO
9) Select the layer(Select >> All) and copy it (Edit >> Copy).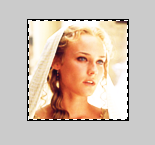
10) Deselect(Select >> Deselect), then Grayscale it(Image >> Mode >> Grayscale).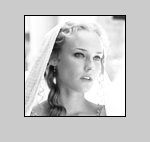
11) Make a new layer and turn it back to RGB color (Image >> Mode >> RGB Color). If a pop-up comes on asking about flattening layers, click Don't Flatten. Then Paste.
12) Using the Rectangular Marquee Tool, select the part you want to be colored.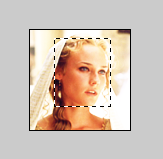
13) Select >> Inverse. Press delete.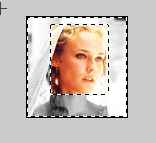
14) Select >> Inverse again. New layer with the selection still selected.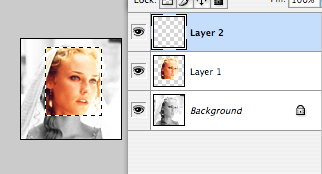
15) Edit >> Stroke. (The color doesn't matter, you'll be gradient overlaying it anyway. Unless you want the border to be only one color, in which case, pick your color and skip steps 17 and 18.)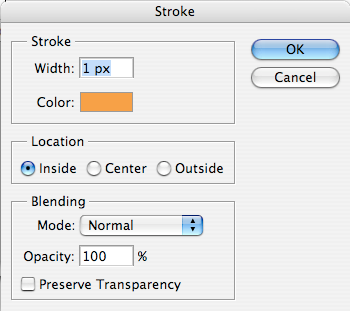
(Color is #ffa234)
16) Deselect.
17) With the top layer highlighted, click layer style >> gradient overlay. (This should be on the very bottom of the layer window. It is the button with something that looks like the letter "f" on it: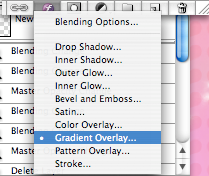
)
18) Put these settings:
(Note: Play with these settings as you wish it! Change the gradient, blend mode, style, angle, whatever!)
*Optional* 19a) Add a border by: Select >> All. Edit >> Stroke.
19b) And voila! You have your icon!
I'd love to see what you come up with! :D
How to get from this to

using PS CS2. It's probably translatable, but I wouldn't know. ^_^
Dial-up users, BEWARE. Picture heavy. Also, very long-at least in my opinion.
1) I started off with this image of Diane Kruger in Troy:

2) Opened it in PS CS2.
3) I used the crop tool to crop the image in a perfect square.

(I find it easiest to crop by setting the width and height to 100 in:

)
4) Image >> Image Size >>Height:100 Width: 100

5) I blurred the image (Filter >> Blur >>Blur) then duplicated it twice.

6) Then, I set the second layer to Overlay 100%, and the third layer to Screen 100%.

7) It looks a bit too blurred, so I clicked the second layer and sharpened (Filter >> Sharpen >> Sharpen) it twice.

8) Merge (Layer >> Merge Down) all layers. Note: You should merge the second and first layer first, and then the third layer with the merged first/second layer. This keeps the image the same as when it was 3 different layers. If that was confusing, this should clarify it:

TO

9) Select the layer(Select >> All) and copy it (Edit >> Copy).

10) Deselect(Select >> Deselect), then Grayscale it(Image >> Mode >> Grayscale).

11) Make a new layer and turn it back to RGB color (Image >> Mode >> RGB Color). If a pop-up comes on asking about flattening layers, click Don't Flatten. Then Paste.
12) Using the Rectangular Marquee Tool, select the part you want to be colored.

13) Select >> Inverse. Press delete.

14) Select >> Inverse again. New layer with the selection still selected.

15) Edit >> Stroke. (The color doesn't matter, you'll be gradient overlaying it anyway. Unless you want the border to be only one color, in which case, pick your color and skip steps 17 and 18.)

(Color is #ffa234)
16) Deselect.
17) With the top layer highlighted, click layer style >> gradient overlay. (This should be on the very bottom of the layer window. It is the button with something that looks like the letter "f" on it:

)
18) Put these settings:

(Note: Play with these settings as you wish it! Change the gradient, blend mode, style, angle, whatever!)
*Optional* 19a) Add a border by: Select >> All. Edit >> Stroke.
19b) And voila! You have your icon!

I'd love to see what you come up with! :D